

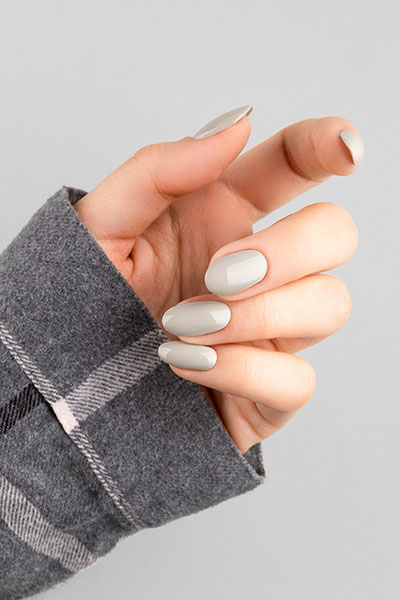
The Best Nail Designs Photos and Editing Tutorials
Anybody who’s close to me knows very well: I’m OBSESSED with nails! I absolutely love taking care of them, making them look suuuper pretty and creating new styles and designs. Naturally, taking photos of my nails is part of this obsession too, and I do it often! Always trying to capture the perfect angle and lighting… And then afterwards comes the editing. Some retouching here and there to erase imperfections and improve the pic is a must. Or, when I’m feeling more creative and the nail designs I’m currently using is a bit boring, I’ll create them digitally. Just for fun!
Here are some tips if you’re also passionate about anything manicure and want to up your nail design editing game!
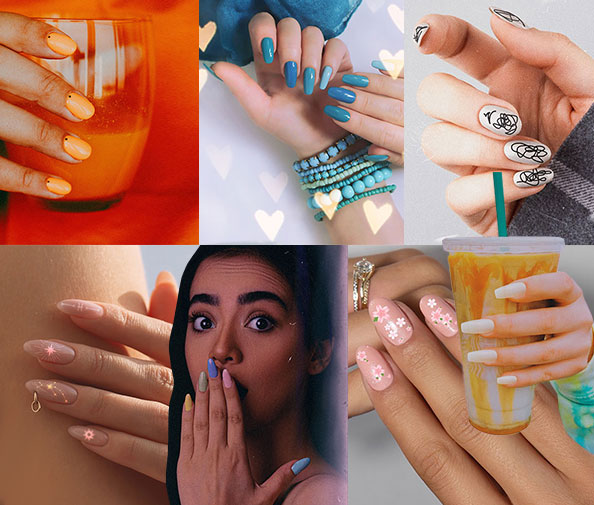
Table of contents
- How to retouch your nail designs photos
- How to create nail designs edits on your phone
- Aesthetic nail design edit ideas
- Festival nail designs ideas
- Nail photo ideas
How to retouch your nail designs photos
Let’s start with retouching, which I consider the basic editing all nail photos should have.
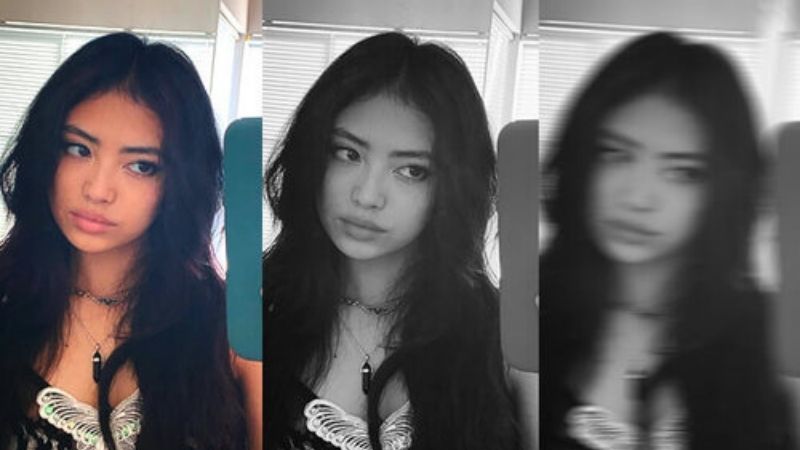
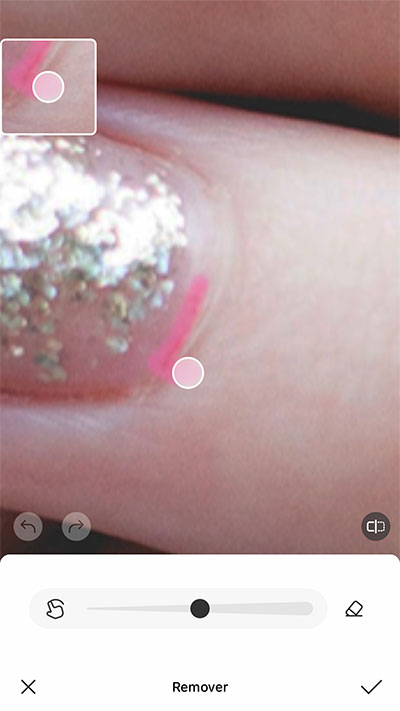
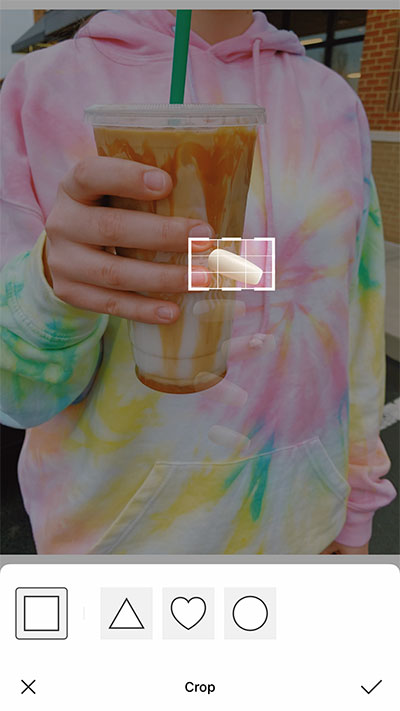
All you need is the BeautyPlus app basically, to remove all the little imperfections on your nail pics. In the example below, I started with the Remover tool to clear out little white dots, some pieces of cuticle and nail polish, and other tiny things that didn’t belong.
Next I opened the Slim tool and adjusted the edges of the nails to make them more even. See in the before and after comparison how it looks more neat? That’s a fantastic trick for photo retouching in general! You can also use it to make your nails longer.

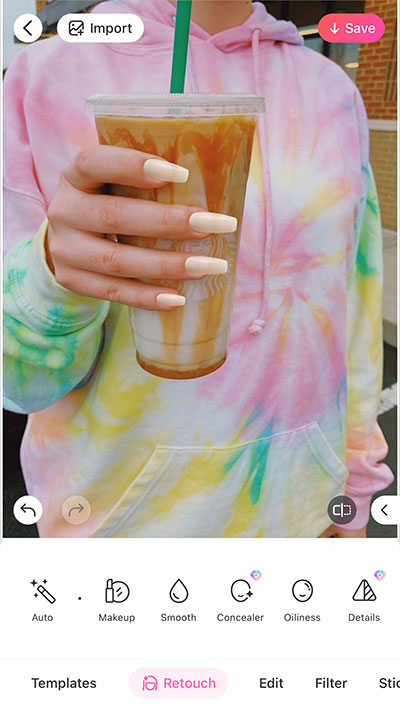
It’s possible to change your nails altogether with the BeautyPlus app too, if that’s what you want. Import the image of the new nails and place them on your fingers above the real ones.
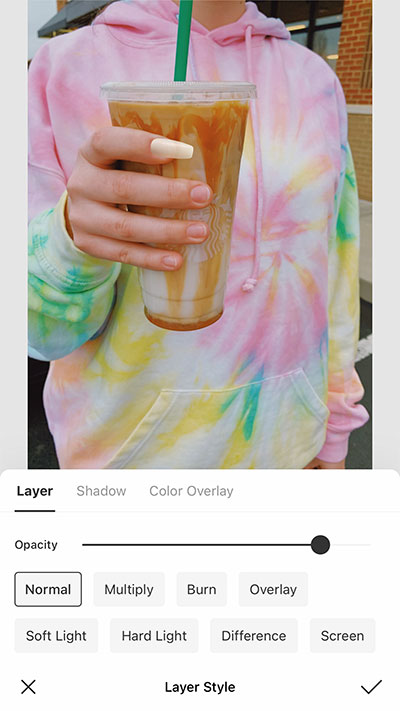
Pro tip: decrease the opacity of the new nails a bit to make them look more natural.
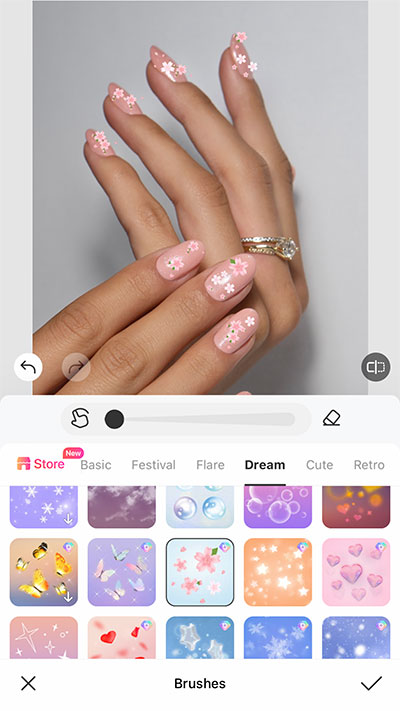
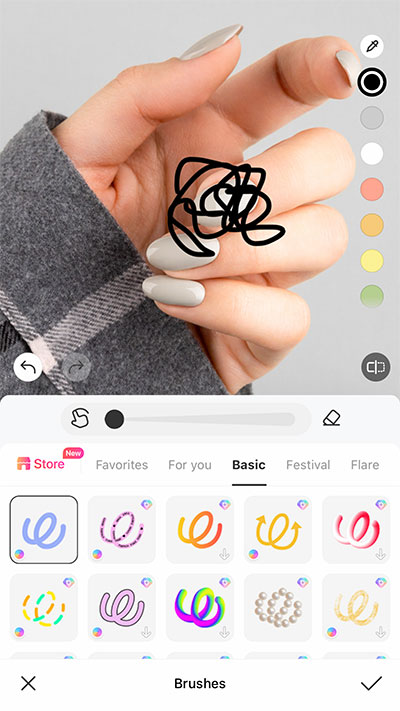
How to create nail designs edits on your phone
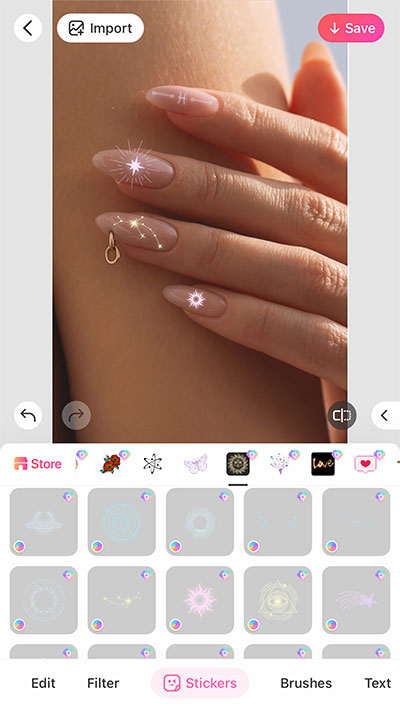
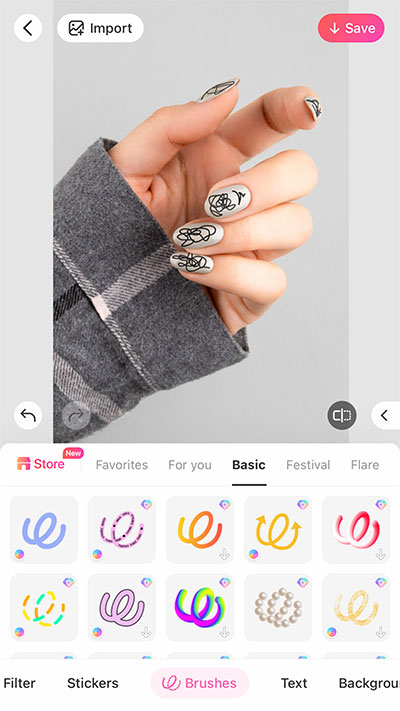
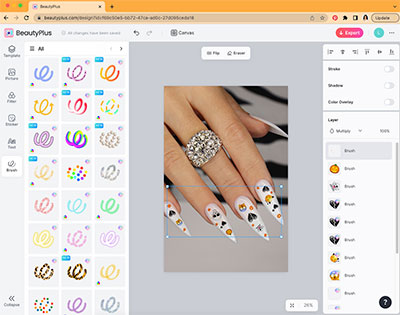
Creating nail art digitally is really fun and very easy with the BeautyPlus app. One way to do it is to use the Brush tool. There are sooo many styles on the app, pick the one that matches the vibe you want and start applying.
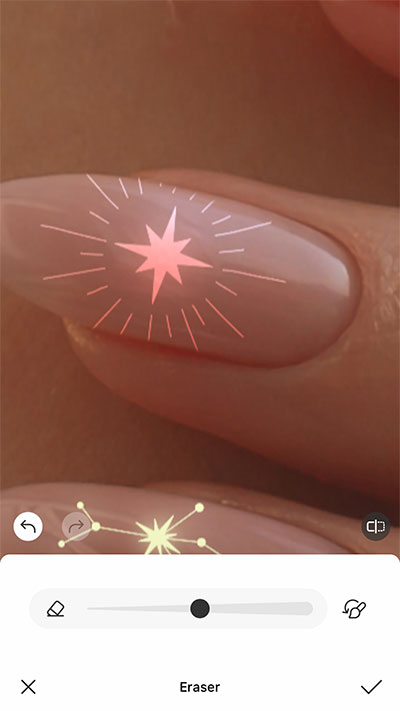
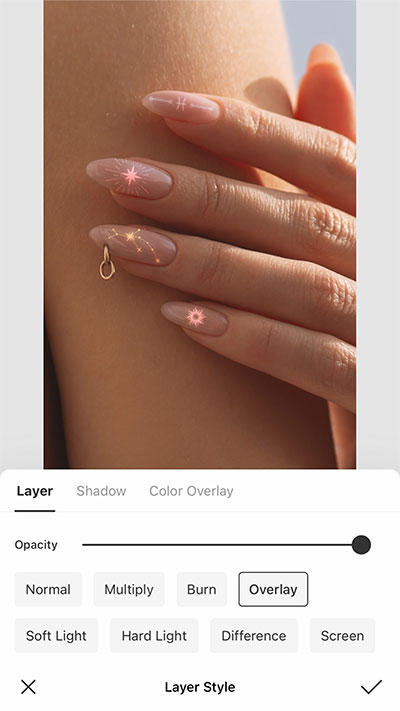
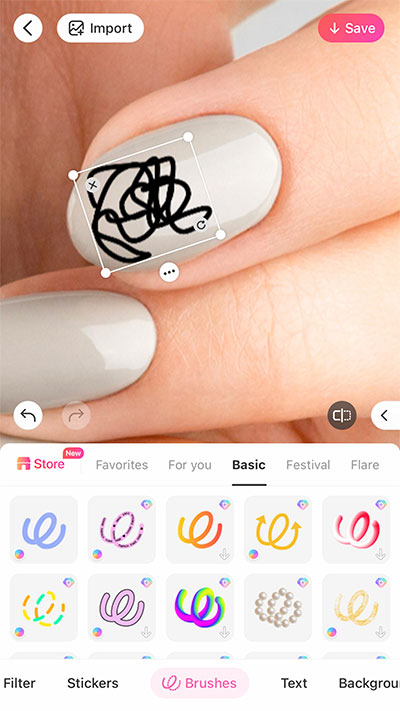
Remember: after you tap the ✅, the art you’ve created will become a new layer on the edit. That means you can click the three dots on that layer and edit it individually. You’ll be able to use the eraser and to change the blending opacity, for example.
These are crucial adjustments, in my opinion, to make your digital nail design look more real!
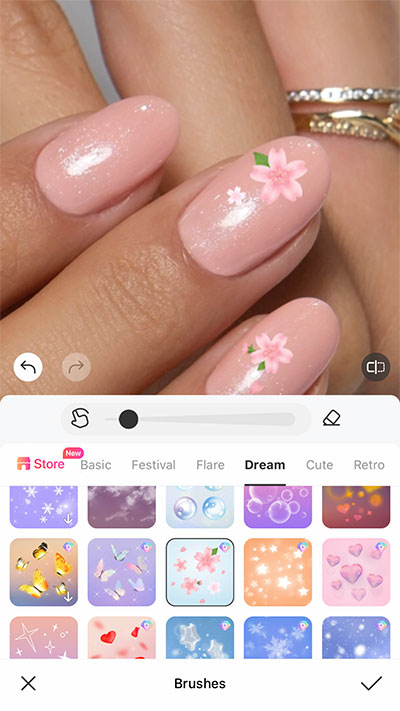
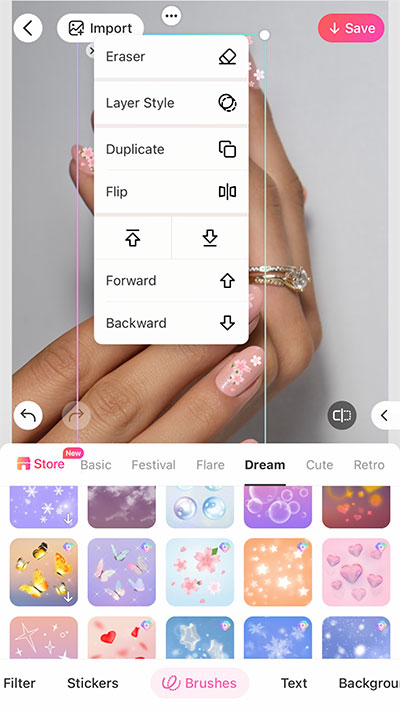
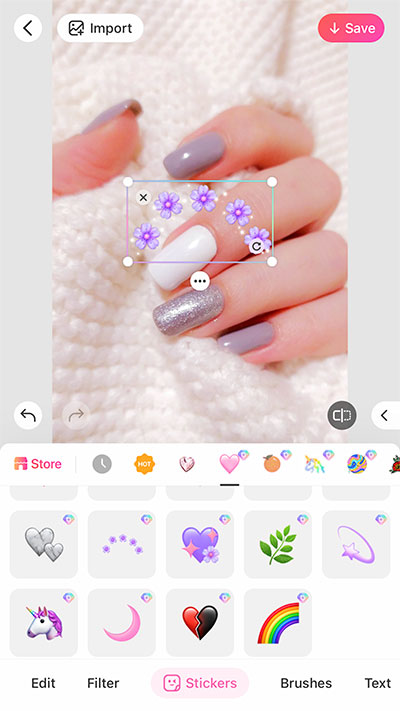
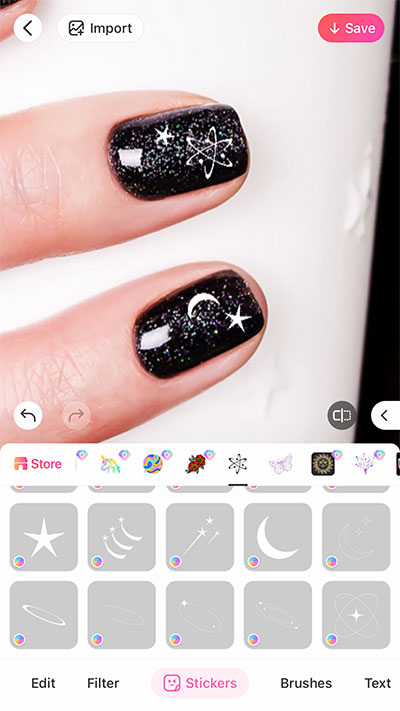
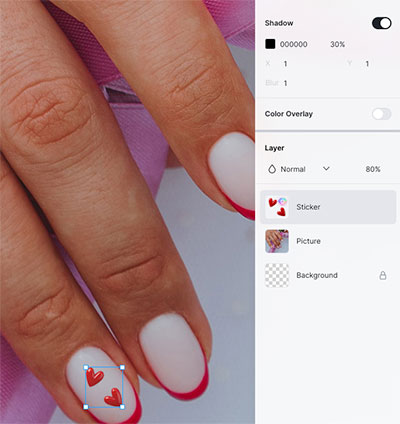
Same thing goes for when you choose to use stickers to create your nail art. Select your favorite image and place it nicely. Then, click the three dots to adjust the fine details.

These are my two go-to nail design edit methods, but the alternatives are endless. You can even import your own images – even photos – and apply them to your nails!
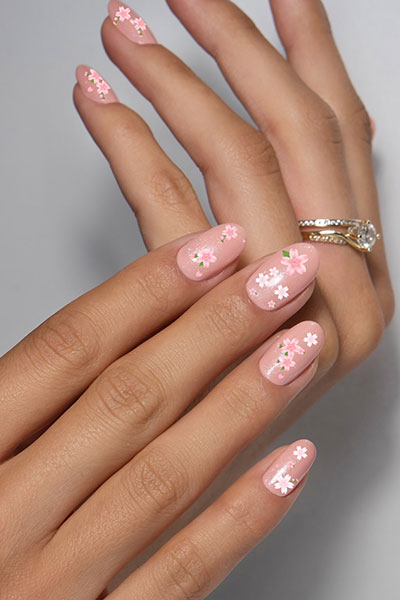
Aesthetic nail design edit ideas
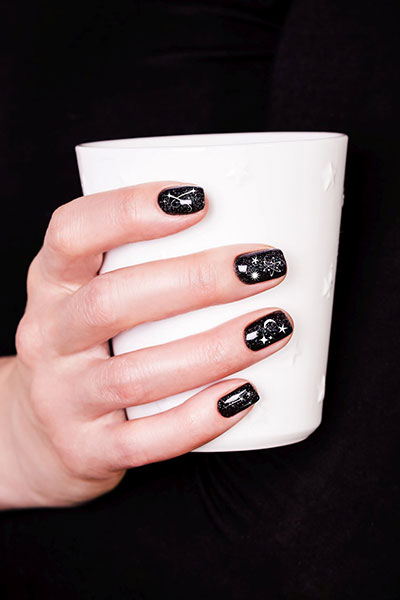
Here are some super trendy nail design ideas that you can create easily using the BeautyPlus app. In the first example, I started with dark nails that looked good, but definitely needed some extra flare.
In a matter of seconds you can apply some stickers on them and they instantly become cooler and more aesthetic. The whole photo is much more interesting now!


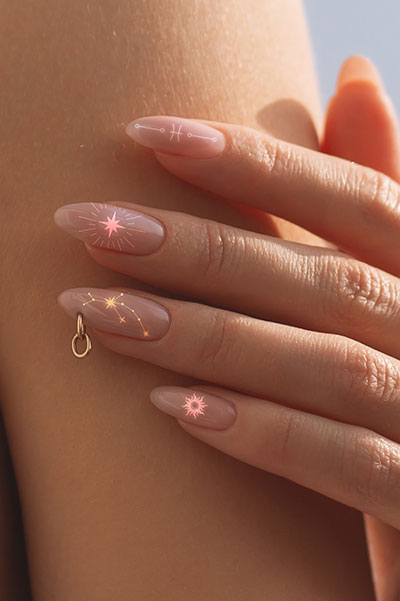
This second example is so cute for longer nails with no or just some clear nail polish on them.
Astrology symbols are perfect for a mystic and elegant nail design like this one. The trick to make them shiny like this is to change the opacity to “overlay”. And don’t forget to use the eraser to trim anything out if it goes beyond the edges of the nail. It looks really beautiful!
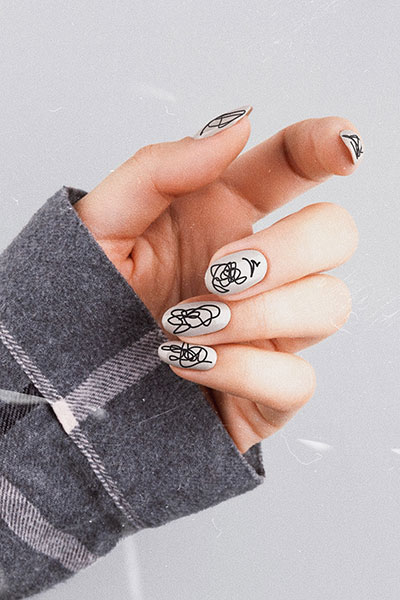
Another hot trend in nail design right now is freestyle nail art. This is super easy to achieve with the app too.
Use the basic brush tool, in any color you want, and make your drawing. If it’s too big, even with the smaller brush size, just tap the ✅ and it will be turned into its own layer. Then you can decrease the size of the drawing and adjust it separately.
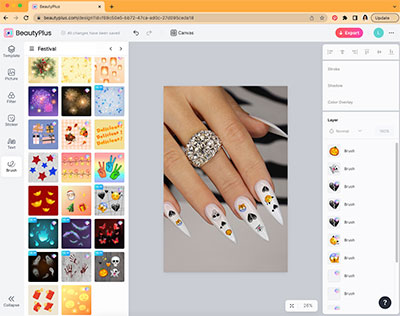
Festival nail designs ideas
One thing that everyone who’s very into nails like me knows is that they should always match the moment. Seasons, holidays, different life events – and even moods – will determine what your nail design will be.
So it goes without saying that Christmas nails should have all the iconic elements of the holidays. Just like Halloween nails must be in sync with the spooky season and so on.
Here’s some inspo to help you out! I used the BeautyPlus web version for the edits below:
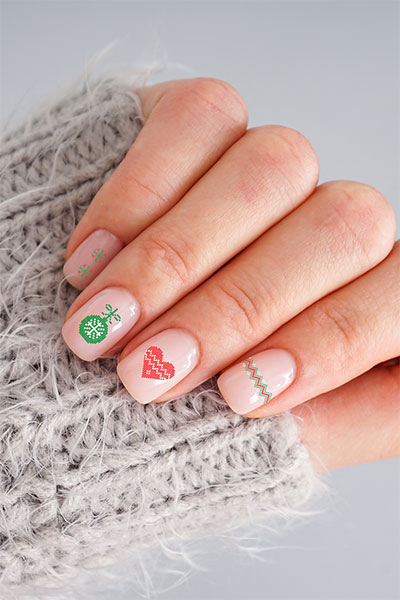
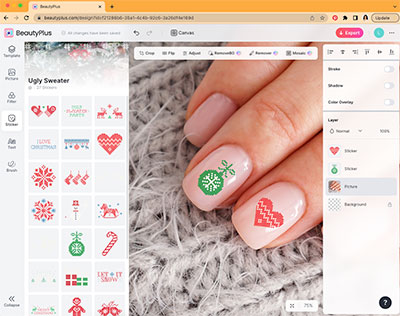
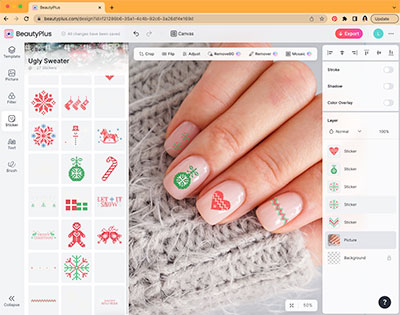
There are PLENTY of Christmas sticker sets on the BeautyPlus app. I love this one!
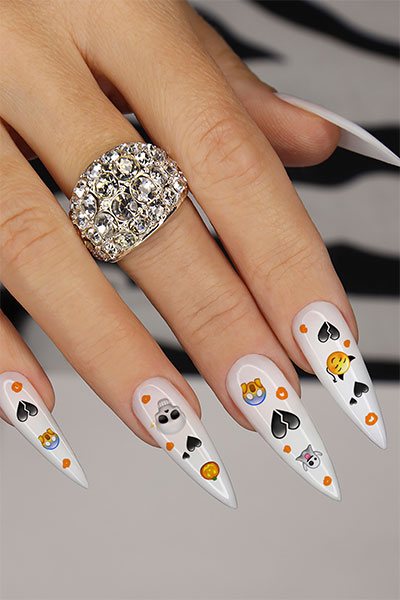
Halloween is my favorite holiday of the year! So Halloween nail design is a must for my Octobers.
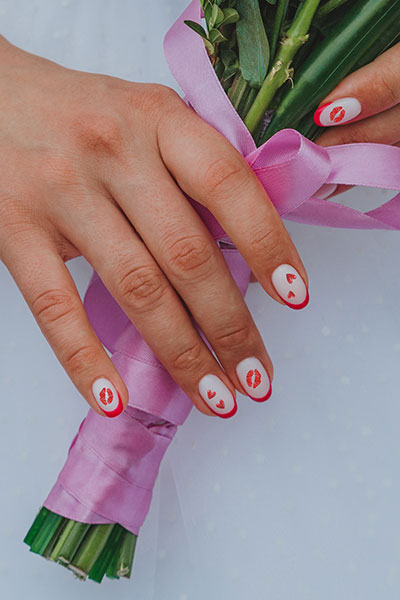
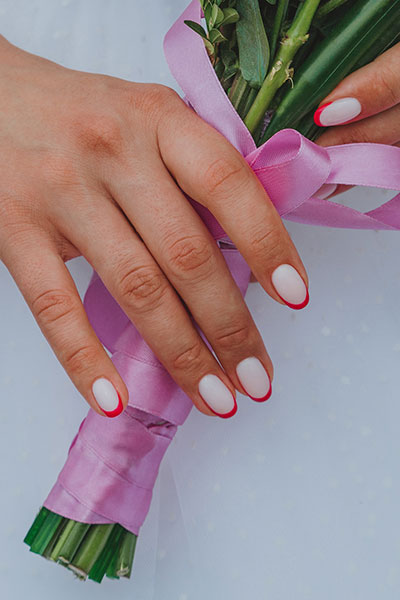
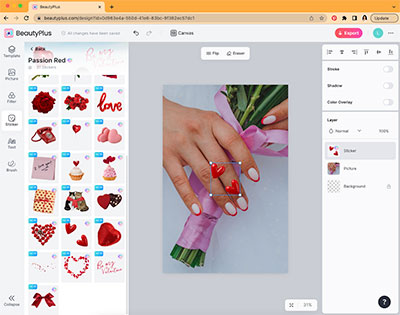
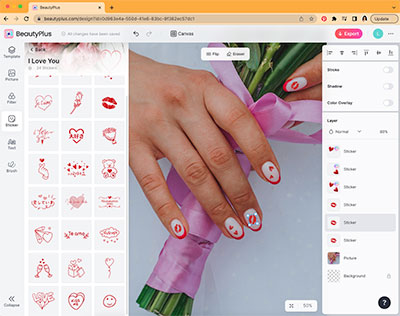
Valentine’s Day is not the same without proper Valentine’s nail design. Agree?
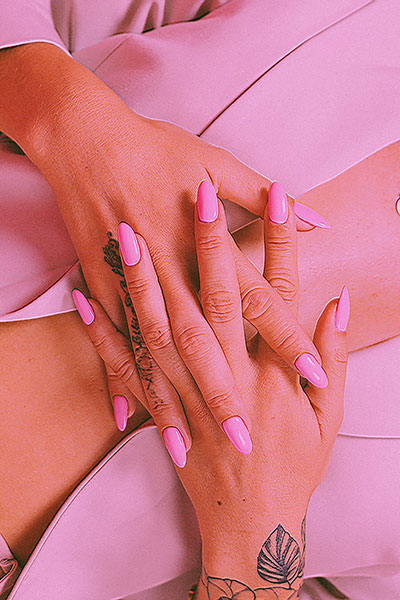
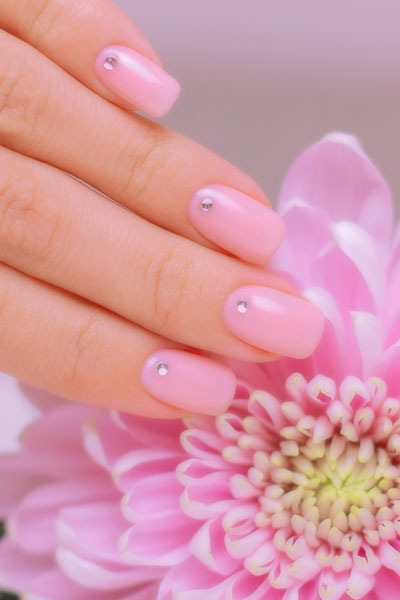
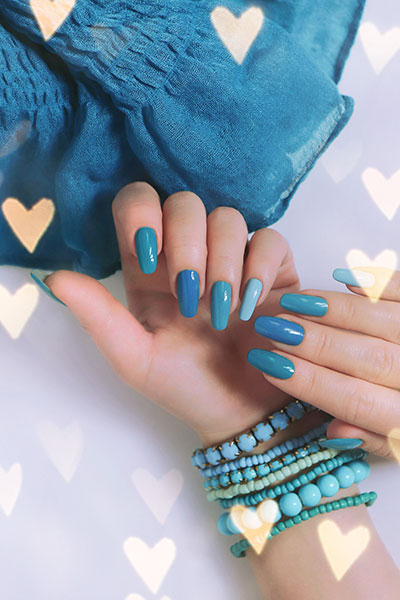
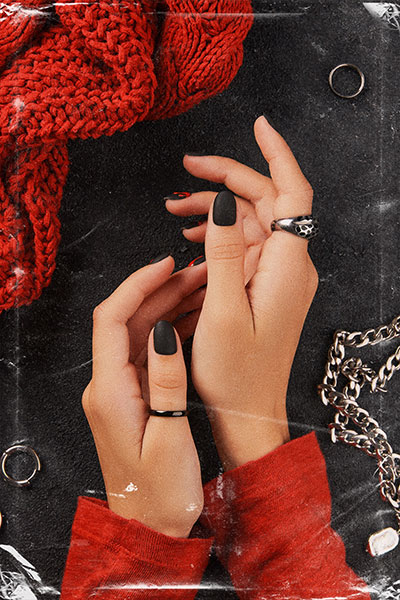
Nail photo ideas
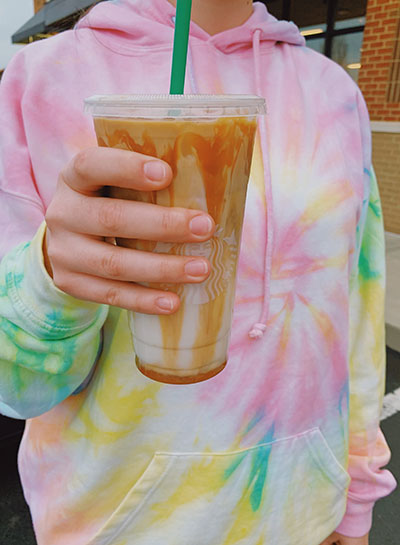
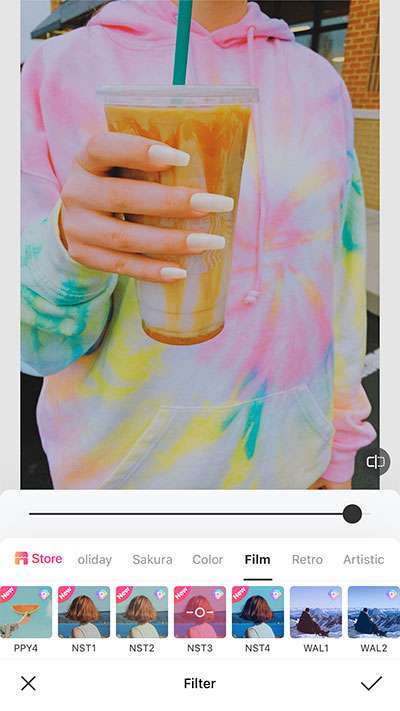
No aesthetic editing will be able to save bad nail photos, however. To avoid that, make sure, when photographing your nails, that you have very good lighting and the setting is nice and clean around your hands.
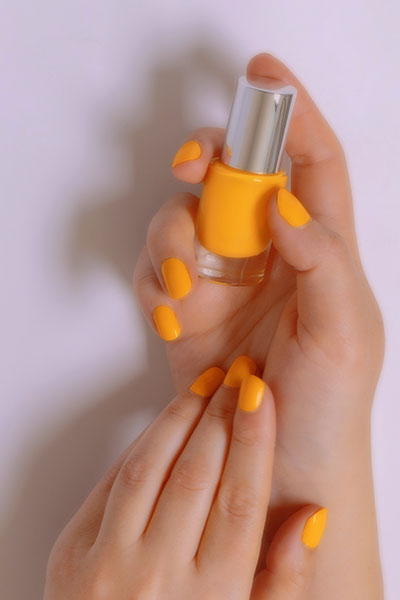
If you can ask someone to take the pic for you, or set a timer, you can include your face in the picture. It’s always a plus, for me. If not, try holding pretty objects that match the nail design vibe. The good old “hand holding the nail polish bottle” is always an option. Which I love, btw!
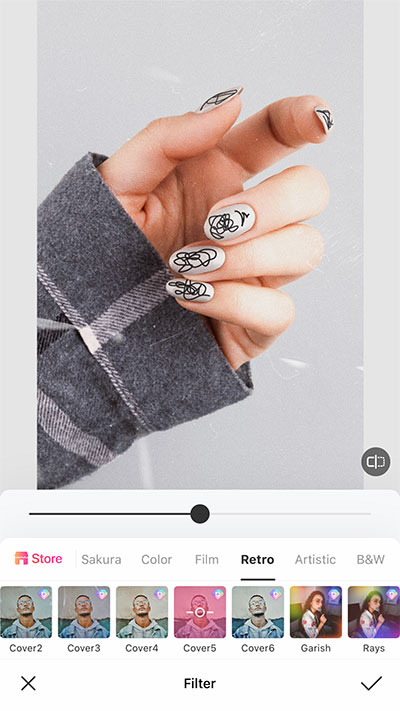
And definitely finish it up with an aesthetic filter. Here are some ideas:
Filters: F47, CTG3, Grainy
Filters: CTG2, LV1, Cover 1
There you go! It’s been fun sharing some of my favorite tips for nail design photography and editing. I hope you get some good inspiration from this blog and get creative on your next manicure session!

![[Latest in 2024] Improve the quality of old photos! Free high-quality apps and ways to improve image quality!](https://www.beautyplus.com/wp-content/uploads/2023/11/BBlog-cover.jpg)