


How To Remove Unwanted People & Objects From Photos Instantly
Do you know what it’s like when you get the perfect photo, but it’s ruined due to that one object, or person in the photo? BeautyPlus’s remover tool and acne tool gives you the option to remove unwanted objects from photos without the hassle. Keep reading while I dive into 8 ways to remove unwanted people and objects from your photos instantly.
Table Of Contents:
- Remove Your Toxic EX or EX Friends
- Remove Unwanted Objects
- Remove Texts or Captions
- Remove An Unwanted Watermark
- Remove Any Background In Your Photos
- Remove Unwanted Texts On Your Fav Items
- Remove Any Hair Flyaways
- Remove Your Pets From Photos
- How To Take the Perfect Photo To Avoid Removing Unwanted things
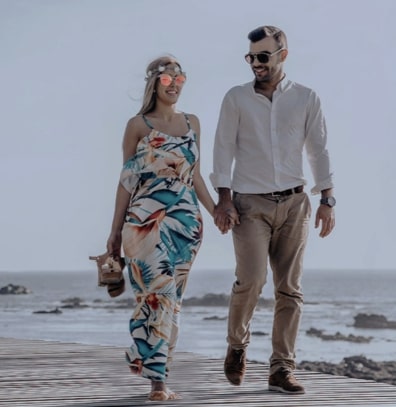
1. Remove Your Toxic EX or EX Friends


Photo By Asad Photo Via Pexels
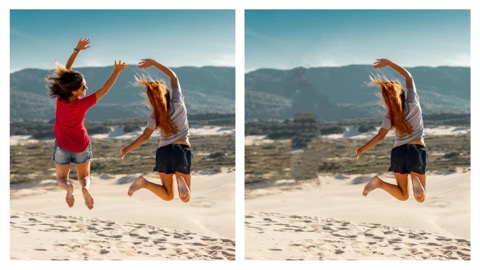
Photo by Yuri Manei Via Pexels
If you’re no longer dating that bummy ex of yours, or maybe you fell out with a friend and you have a picture you really want to post. No worries! Simply go to the Edit option in the BeautyPlus app, then select Remover. Swipe on whoever you want to remove from your picture, and you’ll see them Erase away.
Pro Tip: You can use filters to change the mood. And also, if you are unhappy with the sky, you can replace the sky easily in the app. We have a sky library with many preset skies.

2. Remove Unwanted Objects
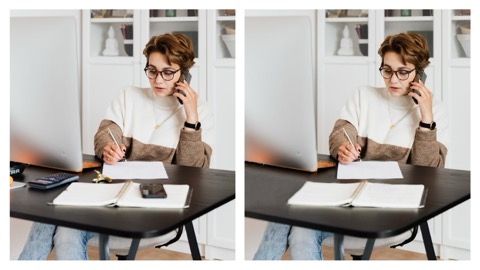
Photo by Karolina Grabowska Via Pexels
Photo by Jill Burrow Via Pexels
Maybe you have the perfect picture for your audience, but your desk looks a bit crowded. Or maybe you have something on the ground you want to remove from your photo.
No worries! Simply go to the Edit option in the BeautyPlus app, then select Remover. Swipe on the object that you want to remove, depending how big the object is, you probably won’t need more than 3 swipes to remove it. I promise you that BeautyPlus is the best free app to remove unwanted objects from photos!
3. Remove Texts or Captions
Photo by John-Mark Smith Via Pexels
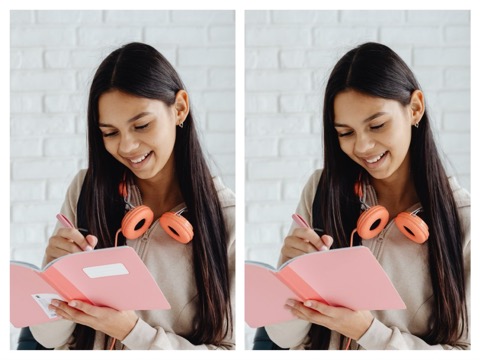
Photo By Karolina Grabowska Via Pexels
If you have a notebook, mug or whatever it is with a design on it but you’re not a fan of, the removal tool is great for this as well. Simply go to the edit option in the BeautyPlus app, then select Remover. 2 or 3 swipes is enough to fully remove the unwanted text or unwanted thing from your favorite item or object.
For best results, I recommend using the smooth tool after the removal tool to smooth out the spot that you just removed.
4. Remove An Unwanted Watermark
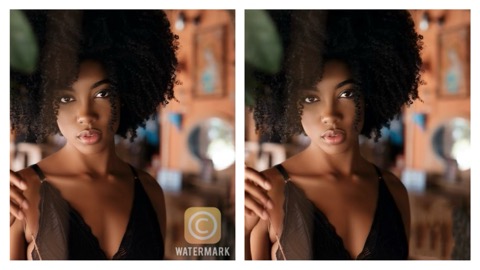
Photo By Lucas Da Miranda Via Pexels
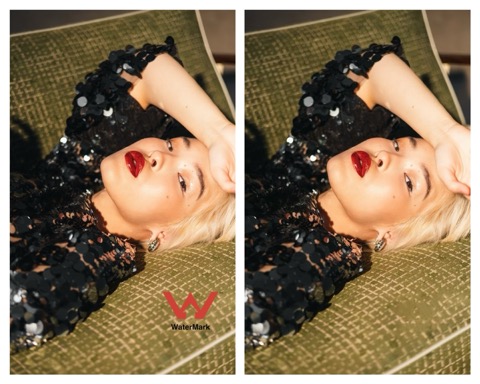
Photo By Tahr Via Pexels
If you want to know how to remove a watermark from a photo, The removal tool will be your best friend! Depending on where the watermark is placed on your photo, I highly suggest zooming in and slowly swiping to remove the watermark.
To ensure the best results, instead of swiping, you can also try tapping on the watermark as it erases away. Using the smooth tool after the removal tool would also be a great option for this as well.
5. Remove Any Background In Your Photos


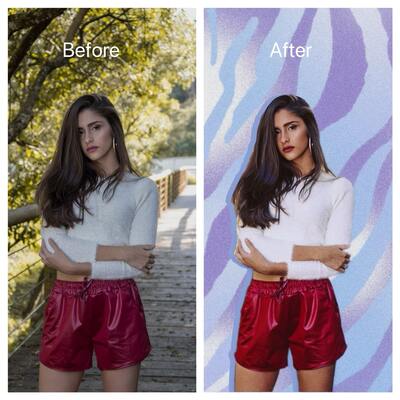
If you’re wondering how to remove a background in photoshop, or how to turn yourself into a custom sticker for creative editing, you can easily do this with BeautyPlus Cut Out Tool.
Simply go to Edit, then Select Cut Out. All you need to do is crop yourself out by swiping yourself, this will eliminate the rest of the photo. Also ensure to use the Auto option for the best results. The key is to crop yourself out to the best of your ability, zoom in and zoom out if you have to get a good crop in. After that, you will get an image with transparent background, and you can choose to change its background color or change to any background you like!
6. Remove Unwanted Texts On Your Fav Items
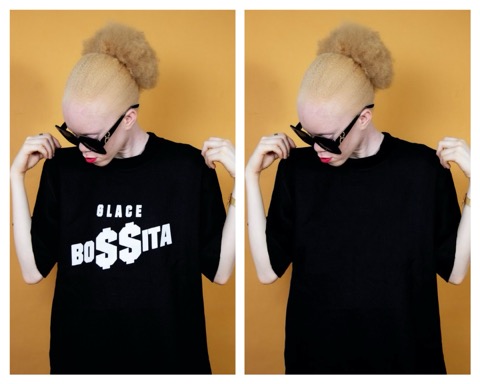
Photo By Wayne Fotografias
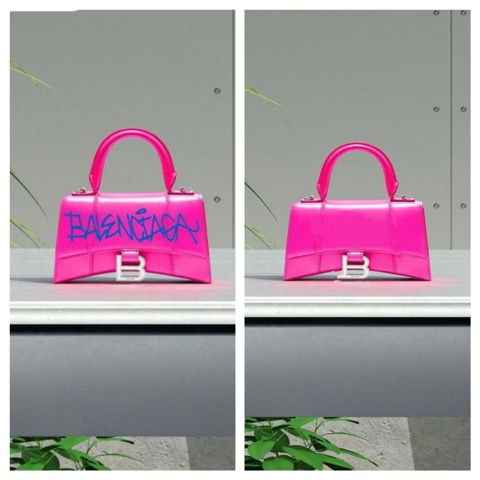
Photo Via Google Images
Are you wearing a cute shirt in your photo that you love but not a fan of the writing on it? Or maybe you have a cute purse with a design, but wording on it that you don’t like. In the last example, I used one of my favorite Balenciaga handbags as an example. This is my favourite style purse, but the wording on it isn’t my favorite.
Simply go to Edit, select the Removal Tool, and swipe away until you notice the design or lettering you don’t like vanishing. For a smooth finish, you can use the smooth tool on the spot you removed as well.
7. Remove Any Hair Flyaways

Sometimes we don’t have control over the weather when we take our pictures. It can be windy sometimes when we least expect it.
No worries! You can also use the removal tool to remove any hair flyaways. When using the removal tool on your flyaways, for the best results, I recommend zooming in and carefully editing.
8. Remove Your Pets From Photos
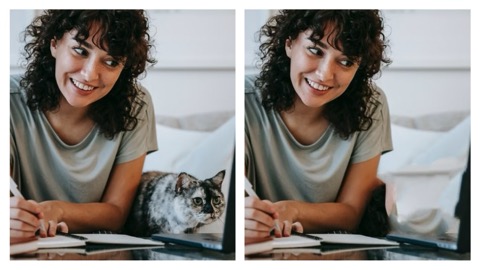
Photo By Sam Lion Via Pexels
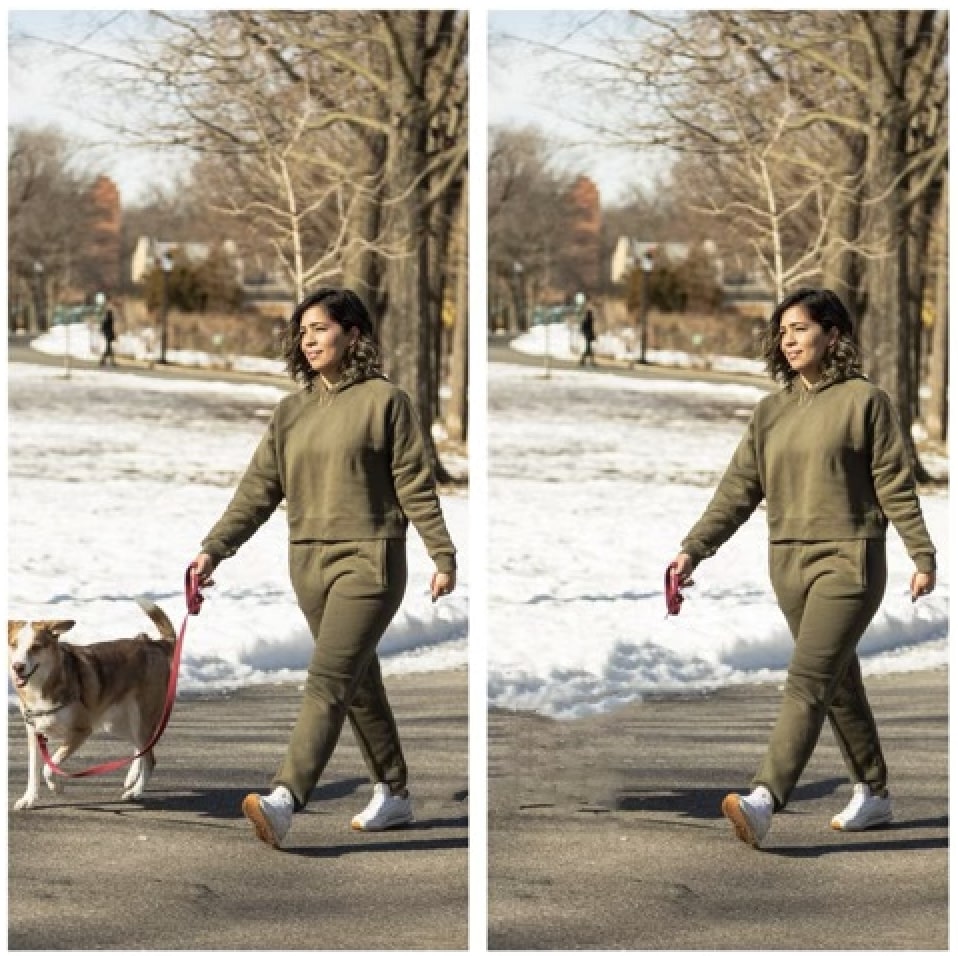
Photo by Los Muertos Crew Via Pexels
We all know how naughty pets can be sometimes! We love them, but sometimes they can ruin pictures. Whether they’re in the snuggle mood or playful mood, pets don’t necessarily understand to get out of the way when you’re trying to get a good picture in.
But no worries! You can easily remove your pets from photos as well. As you can see in the after results, you can’t even tell there was a pet in the photo!
How To Take the Perfect Photo To Avoid Removing Unwanted things
Since I just showed you 8 different awesome ways you can use the removal tool in your photos, I also want to tell you 2 ways you can take the perfect photo and avoid having to remove anything from it at all. 1. prepare your appearance right before taking the picture. And 2. recognize your background before taking your pictures.
When you prepare your appearance before taking your photos, then you’re setting yourself up for a great photo. I recommend taking your pictures right away after fixing your appearance, whether you have some flyaways, or maybe you need to reapply more lip gloss. Get your look together before you take your pictures girl!
When you recognize your background before taking your pictures, then you don’t have to worry about it later. Most importantly, you don’t have to regret anything being in your background. For example, if you’re taking photos at an office desk, and the desk is Clustered, simply organize it to your liking before taking your photos. I promise it will make such a big difference!

![[2024 latest version/free] 10 Recommended Face Editing Apps that are Easy to Use](https://www.beautyplus.com/wp-content/uploads/2024/01/BBlog-cover-800-×-450px-2.jpg)
![[Free and Up-to-date in 2024] 10 Recommended Selfie Apps that can Definitely Enhance Your Selfies: a Thorough Comparison](https://www.beautyplus.com/wp-content/uploads/2023/12/BBlog-cover-800-×-450px.jpg)