
How to Blur Photos to Blurry Aesthetic Pictures
Blurry images are trendier than ever. And they’re everywhere right now! But have you ever wondered why the blurry aesthetic pictures are so cool and how to blur photos to such one? Is there blur photo editor for that?
Maybe it’s because the blur on the background allows the image to have more depth? In other cases, it’s the “retro photo” look of the blurry pic that gives it a more authentic feeling than a perfectly sharp, focused image. Plus, I always feel like the blur can add some sort of a mysterious vibe to the whole composition. You know when you look at a pic and think “wow, I really like this mood”. It happens often with blurry aesthetic images!
So, now that we’ve agreed that blurry photos or images are so freaking cool, let’s learn how to blur photos on iPhone or Android to achieve the blurry aesthetic, shall we? 😝
How to blur photos and make my photos more aesthetic?
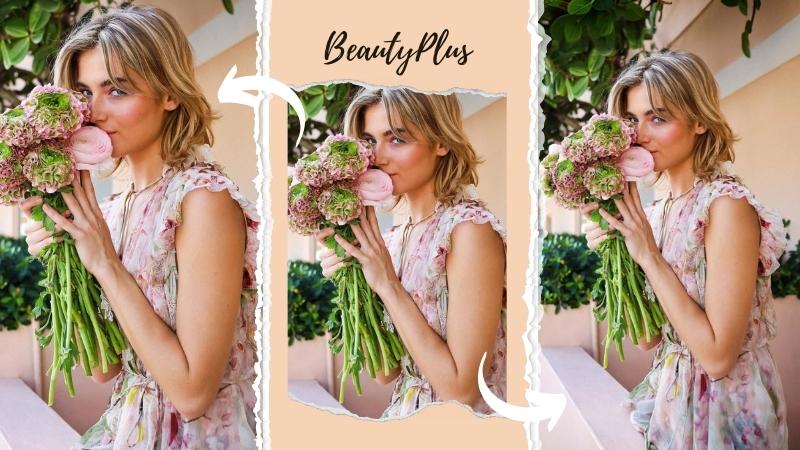
It will depend on what type of blur you want to try, of course. But the good news is that you can add a blur effect easily on your phone with just a few taps using the BeautyPlus app. It is one of the top image and video editors available for not only blurry photo editing, but also image/ video watermark removal, video enhancement, photo upscaling, and more!

You can make one part of your photo pop by blurring the background, for example. Or maybe pick one specific element in the image that you want to “hide” and add some blur to it, so it’s not very visible. Want to add a cool effect by purposefully blurring your face just to make the pic edgy and more interesting? That can be done too!
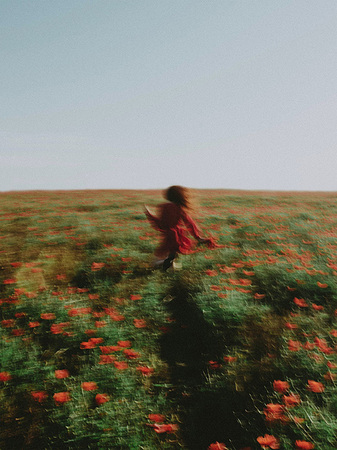
One of my favorite ways to apply blurry aesthetic to photos though is by blurring the whole image. It might sound counter intuitive, since we’re supposed to want very sharp and highly defined images. But making your photo look a bit fuzzy could be the key to make it look more aesthetic! Sometimes the “imperfections” are way cooler than impeccable flawlessness, don’t you think?
My goal today is to teach you how to blur photos with these different blur effects, step by step. Keep reading to learn more!
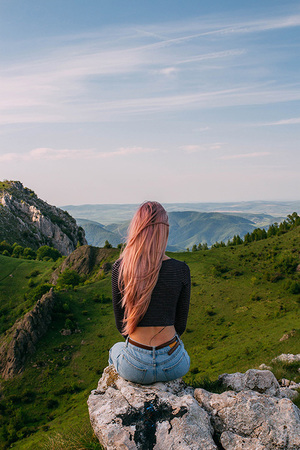
How to blur background in photos
Blurring a background is easier than you’ve ever thought! The purpose of this edit is simple: focus the attention of the viewer on the most important element of your image. Often that’s a face, or a person’s body. All you’ll need is the blur tool on BeautyPlus. It will automatically detect the photo’s background, or you can select it yourself as well.
To make your edit even more aesthetic, you can apply a filter afterwards.
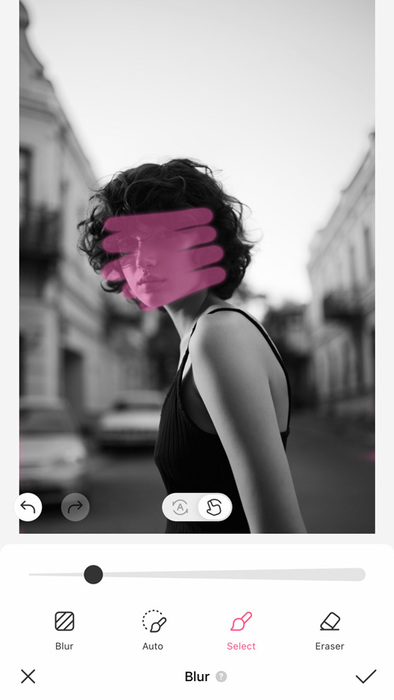
How do you blur faces in a photo?
The blurry face edit is super trendy, and it’s easy to see why. It makes the photo so aesthetic! To add this effect to your pic, just open it with the BeautyPlus photo editor and tap blur. Use the manual mode to select only your face, then tap blur again to pick your favorite blur style.
Blurring the face is also a way not to show somebody’s identity in an image to preserve their privacy, for example.
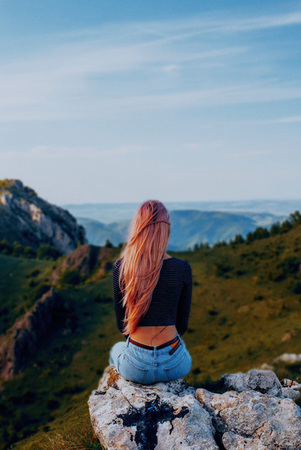
How to blur the whole photo?
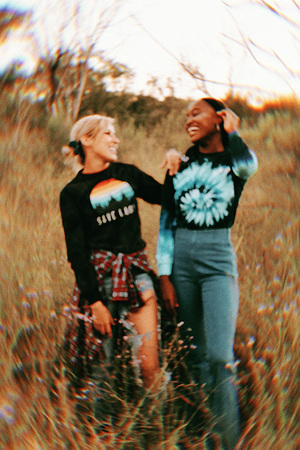
Now, if you’re going for a full blurry aesthetic effect, follow the steps above, but select the entire image instead. This is a great way to add some movement effect to a pic. Or simply to make it more aesthetic! Just remember to make sure you adjust the blur carefully so you can still see the image clearly even with the blur.

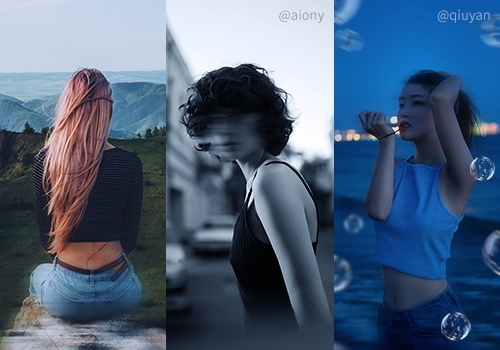
My favorite 4 blurry aesthetic photo edits
Now that we’ve covered the basics about different types of blurry effects, here are some blur edit ideas I totally love. You can try them for yourself just as I’ve described, or you can add your personal touch to make them unique. And you can also always create your own blurry edit styles!
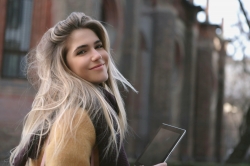
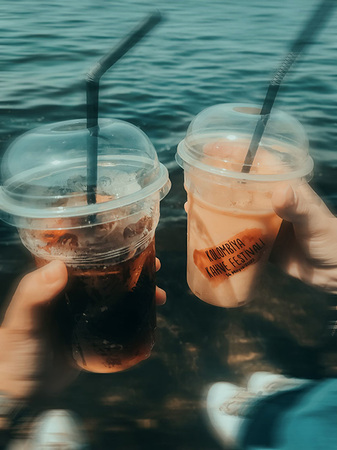
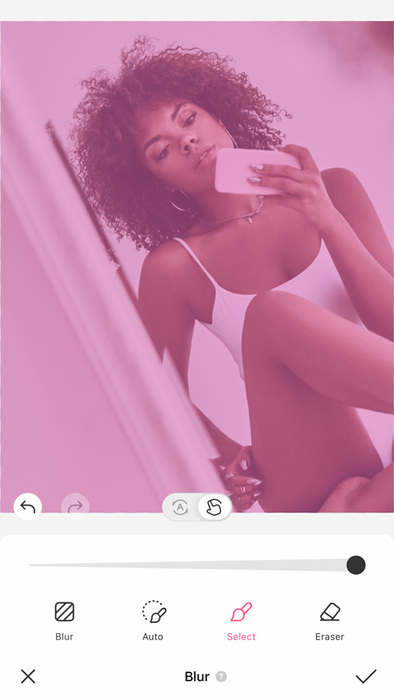
Aesthetic blurry mirror selfie
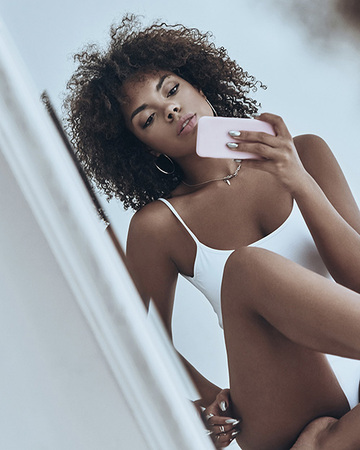
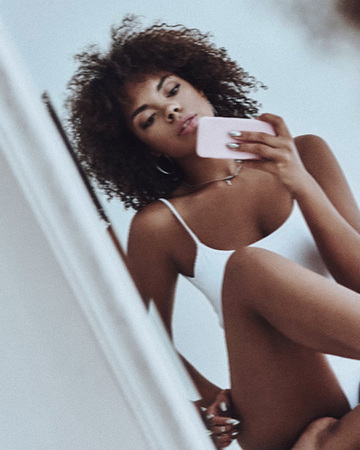
Ever feel like your mirror selfie needs an aesthetic touch? The blur effect is a great way to get there!
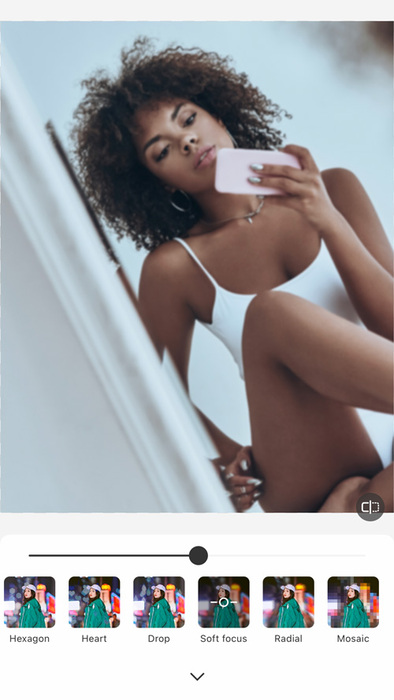
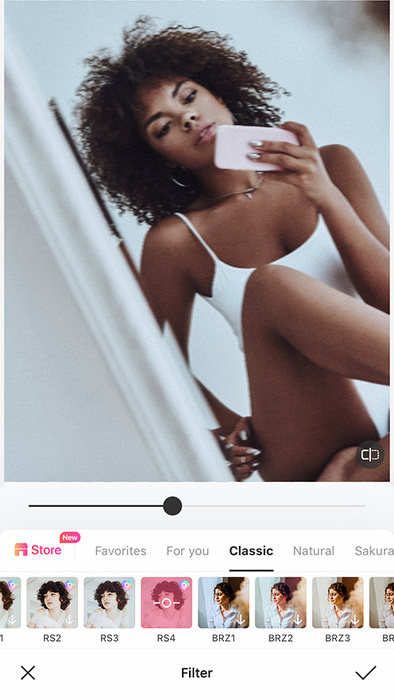
This is how to blur photos and make aesthetic mirror selfies: first, add a soft blur effect using the BeautyPlus app. To give it a bit of texture, apply some grain (Adjust / Vintage) and finish up with a filter of your choice. I like the RS4!

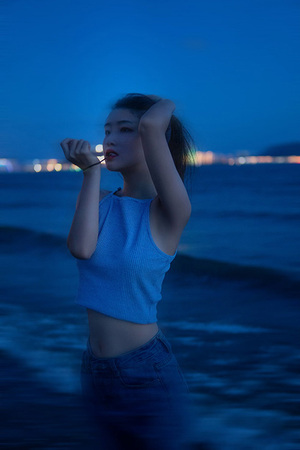
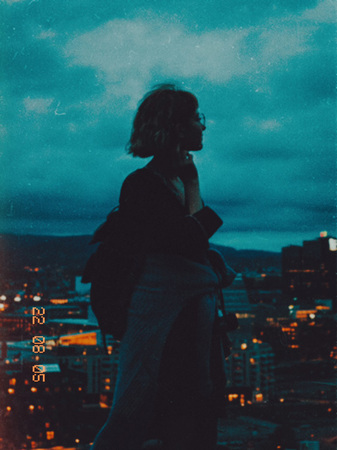
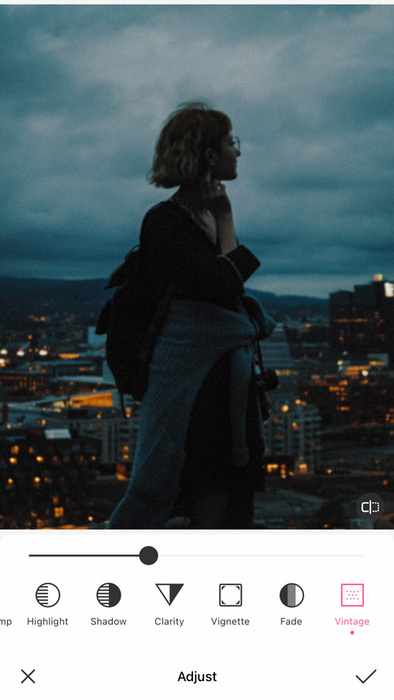
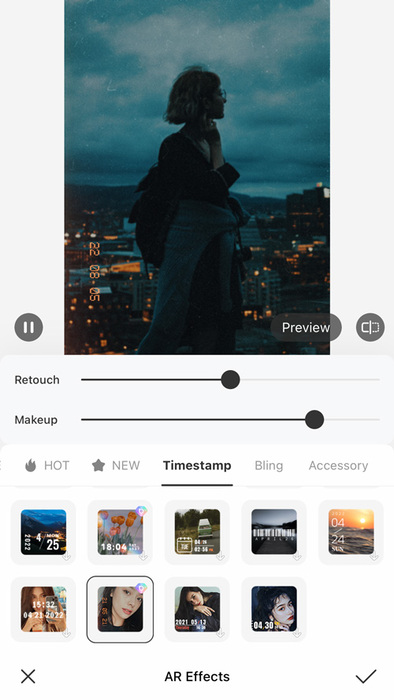
Aesthetic blurry night shot
Night shots are super cool, but often have a lower image quality. That’s not a problem at all if the “low quality” is actually cool and adds character to the pic, right? The blur tool combined with the vintage effect + the AR Timestamp from the BeautyPlus app are the perfect combo in this case, trust me!

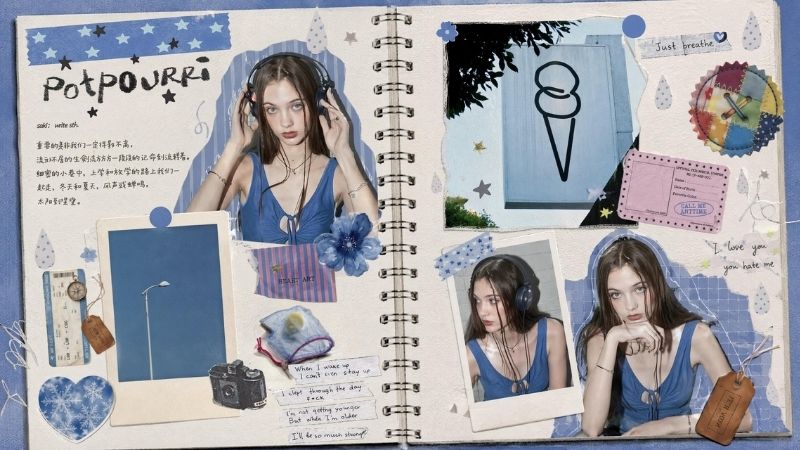
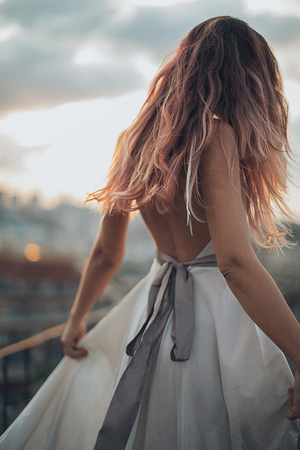
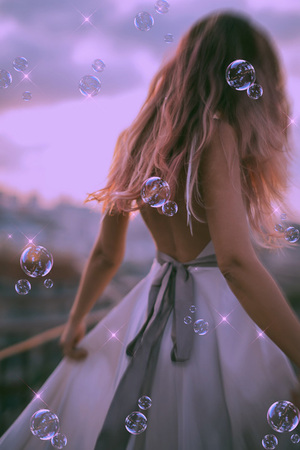
Aesthetic blurry bubble photos
This one is for my soft aesthetic fans out there. Including myself! I looooove adding stars, butterflies and bubbles to my edits. And here’s how to make images blurry: after adding some blur to the photo, I use the BeautyPlus app brush tool to sprinkle some bubbles around. I finish up with an aesthetic filter that blends everything together nicely and adds some sparkles. In this case, the filter I chose was the Shiny2.
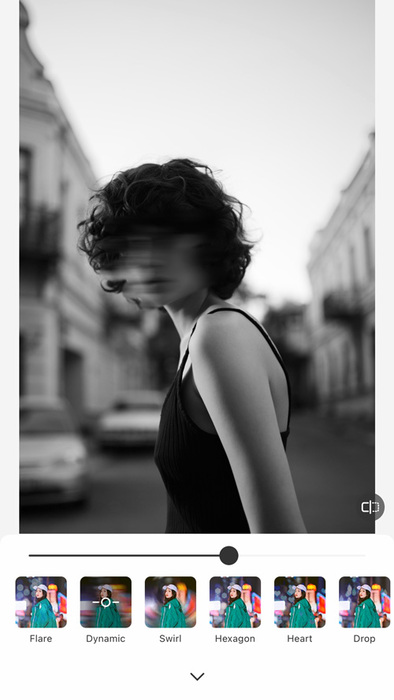
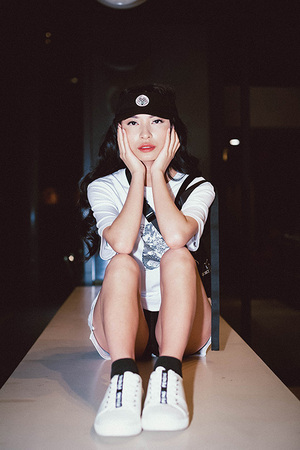
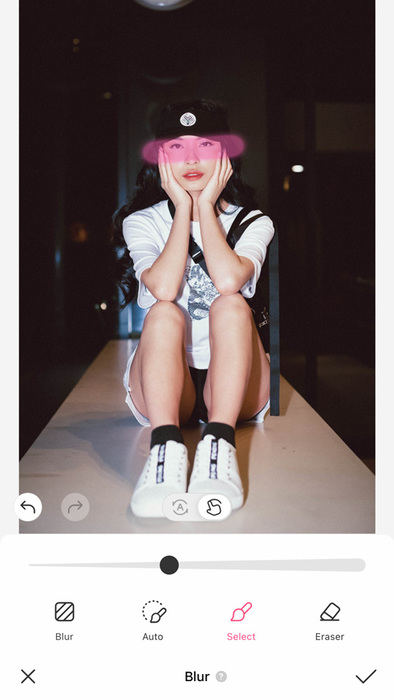
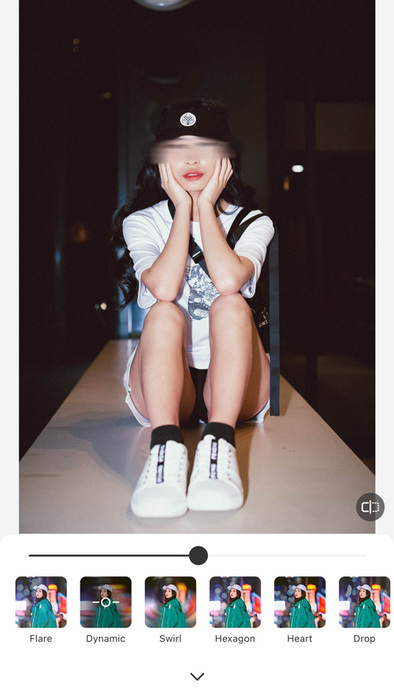
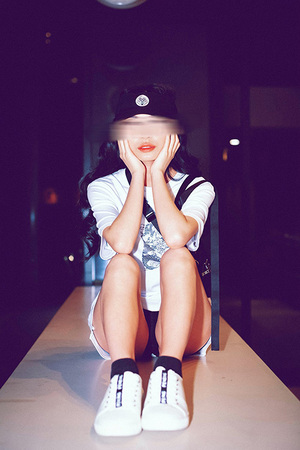
Aesthetic blurry faces
Last but not least, a huge fun and easy edit that instantly makes any photo look unique. Using the manual selector in the blur tool of the BeautyPlus app, I draw a little wave on my face. This selection is supposed to be very free, so don’t worry about details here. Then I chose the dynamic blur style, with about 50% intensity. The result is so cool!
Read More: How To Give Your Photos a Hot Y2K Aesthetic & Vibe
As you can see, there are lots of creative ways of how to blur photos using blurry aesthetic effects to make photos more aesthetic. These are just a few I use a lot, but I think they can be a good way to start. Give them a try!