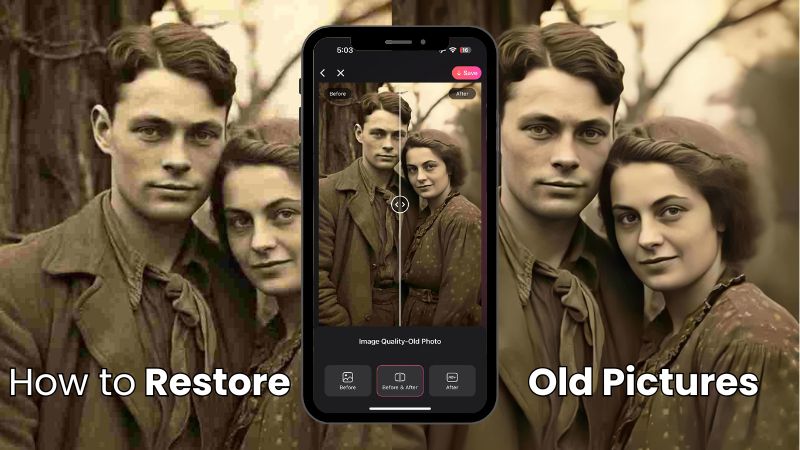

7 Tips to Turn Your Girl Mirror Selfies into Instagram Aesthetic Pictures
Everyone knows the most popular and classic way of taking a portrait of oneself – the selfie. And next to that is the well-known, one and only mirror selfie! It’s a picture taking style that is perfect for showing off both the face and outfit, and even your surroundings! Nearly nothing can go wrong with the mirror selfie and all you need is a mirror and a phone.
However, a downside is that mirror selfies can also easily become mundane and repetitive. That’s why BeautyPlus AI Photo editor is here to help you get creative and transform your photos into aesthetic mirror selfie that are Instagram-worthy! Let’s take a look at how a simple mirror selfie can become visually interesting with easy editing tricks!
(If you are using Android, you can click here to free download BeautyPlus APK for Android directly)
1. Go for a Classic Black & White Look for Aesthetic Mirror Selfie
The sophisticated black & white look is always a great option to switch up your mirror selfies. If your image also has inadequate and poor lighting, going for a black & white filter will help mask it. Additionally, a simple filter gives a vintage and refined feeling to your picture that would otherwise be like any other picture!

In this example, I navigated to the “Black & White” tab under the filters of BeautyPlus AI Photo editor, and then applied the style “Classic,” for the balanced monochrome look! With just this one change, the after image looks cool and clean.
2. Apply Blur to Your Surroundings for Instagram Aesthetic Mirror Selfie
Using the blur tool is an easy way to have your selfies be more interesting to look at, while subtly taking away any focus from a cluttered background to you, the subject. What makes this feature even better is that BeautyPlus automatically selects the area to blur and allows you to erase or fill in any other places accordingly!
I played with two different blur styles – Swirl and Radial. Swirl naturally emphasizes the woman’s outfit and pose, while radial creates a sense of movement and gradually draws the viewer’s eye to the subject!
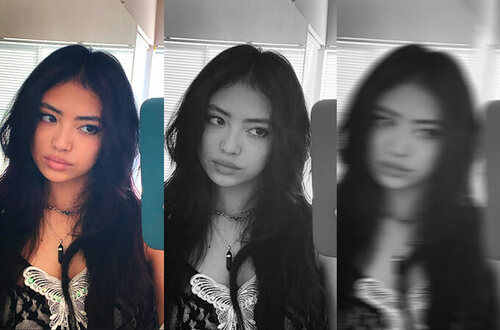
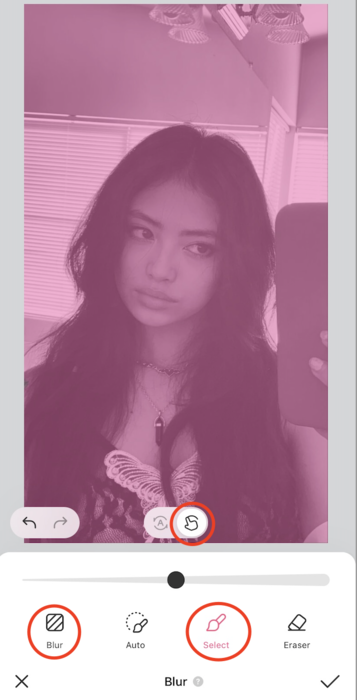
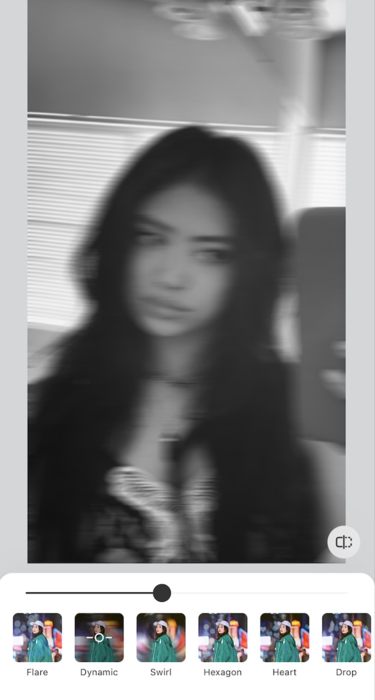
3. Blur Face for Blurry Girl Mirror Selfie Aesthetic
These days, blurry aesthetic mirror selfie is also very trendy to highlight human emotion through the use of blur. Besides shooting out of focus on purpose, you can easily achieve this blurry effect after the image is taken in BeautyPlus.
Go to the manual mode of “blur” tool. In general, the background area will be automatically recognized as the blurred area, but you can tap “select”, and brush the whole mirror selfie as the blurred area in pink, and then go to “blur” and pick “dynamic blur”, and it is done! You can adjust the blur density to test and find the perfect one.
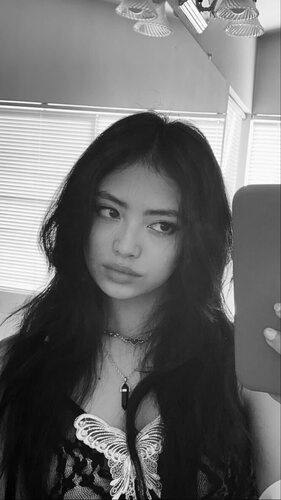
4. Use Remover Tool for a Clean Background of Mirror Selfie
When taking mirror selfies, it’s inevitable that unwanted people or objects appear in your picture. They can be a distraction or simply ruin your photo’s aesthetic, so it’s natural to want to remove obejcts and clean up pictures. This can be achieved with the remover tool that works like a charm. With BeautyPlus, it takes only a swipe to clean up the background!
I adjusted the remover brush to its largest stroke, and got rid of the objects on the right wall. Hardly a difference can be seen between the two photos, and now we have a simple background that matches better with selfie’s overall look!
5. Adjust Colors for Different Vibes for Cool Mirror Selfies
Sometimes adding a filter or changing the saturation and tone of a picture is not enough to produce a drastic difference. There may be times you want to produce a different vibe, which can be successfully pulled off by using stickers! Playing with various sticker colors, shapes, and layer styles can make for a fun and unexpected outcome!
For both examples, I chose stickers under the set “Aura Colors,” because the color transitions and shades fit well for altering the lighting as seen in the original. In the center image, I enlarged the sticker to cover its entirety, and slightly lowered the opacity so the subject can still be seen. I used the layer style “Screen,” which produced an interesting film leak, overlay effect.
The last picture I went for a more bold and contrasting look, by applying the layer style “Difference.” This created an inverted, negative effect that transforms the original photo into an abstract and eye-catching mirror selfie!
6. Add Text for Visual Elements
Nothing is better than using text in your selfies! They’re extremely versatile and customizable – the font style, size, text meaning, etc. can all be used to enhance your image. Aesthetically, it adds another visual element that catches the viewer’s eyes and can fill up any empty, blank space.
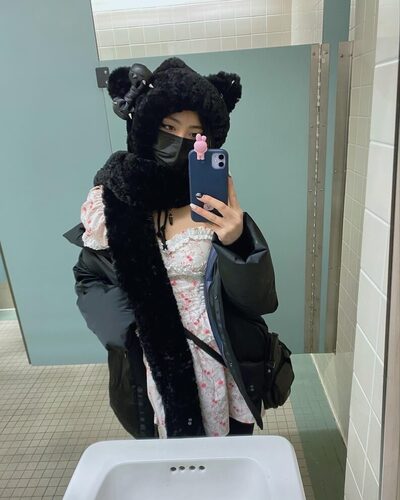
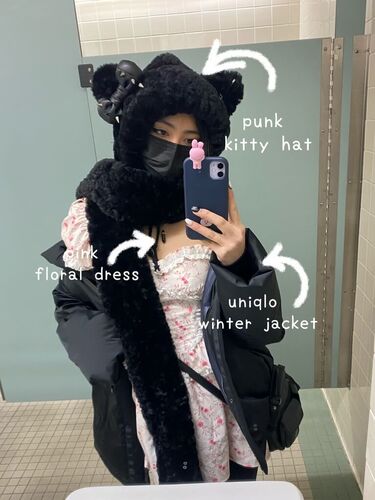
In this example I used text to highlight my outfit details, describing my clothing and accessories similar to that of an OOTD picture. For a unified look, I went in with a white doodle pen to draw an arrow connecting the text to the outfit piece!
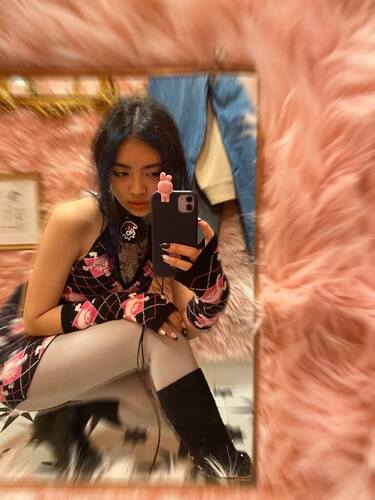
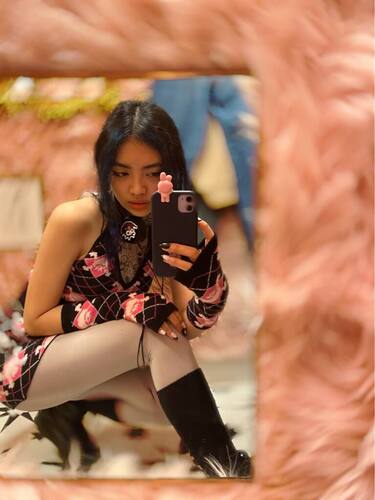
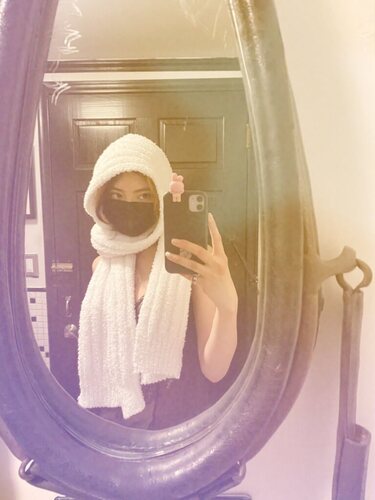
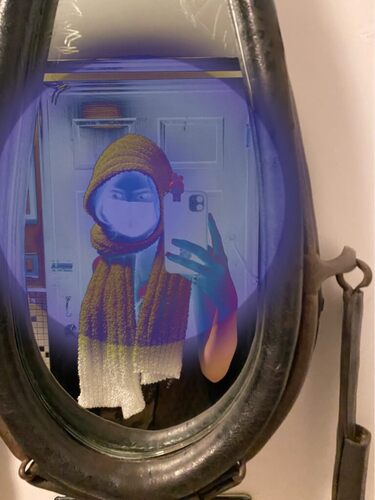
7. Decorate with AR Mirror Frames for Aesthetic Mirror Selfie
Using AR Effects is absolutely ideal to obtain an entire new aesthetic and look for your pictures! A great part of BeautyPlus is that there is an AR section dedicated to “Frames,” which is perfect for changing up your mirror selfies. A diverse range of frames are provided, so you are bound to find one that you enjoy!
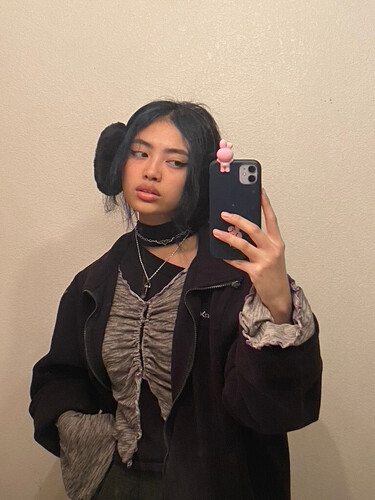
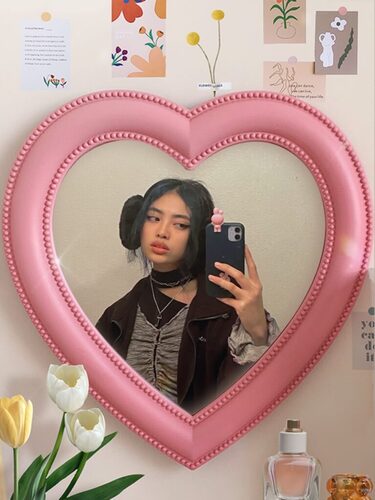
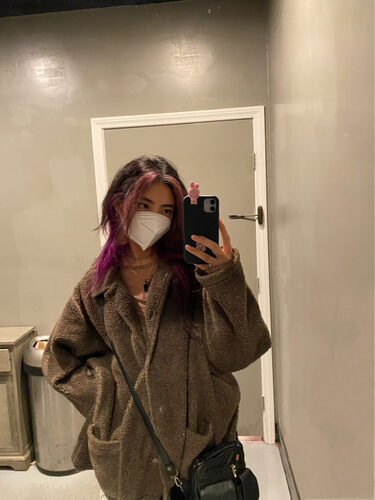
I chose this example image as having a blank background is preferable since it makes the application of AR Effects easier and smoother. For the center picture, I used this cute heart frame and flower aesthetic wall, transforming my selfie to appear as if I took it in an adorable, decorated room!
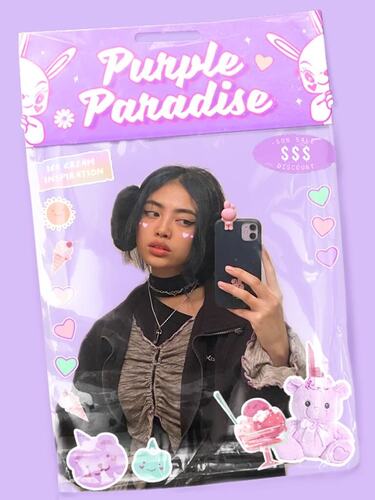
In the last example, I went more funky and playful with this purple “plastic toy” frame! It even adds tiny hearts onto your face, making the mirror selfie all the more sweet and lovely!
You no longer need to worry about having a boring, dull mirror selfie again!
With BeautyPlus, there are countless ways to mess around with your pictures and decorate them to make them stand out. Editing using the app’s feature can help you attain any aesthetic and vibe you want. And what’s even better is how accessible and easy it is to use! Apply these tips and tricks in your next mirror selfie, and happy editing!