
How to Add Angel Wings to a Photo?
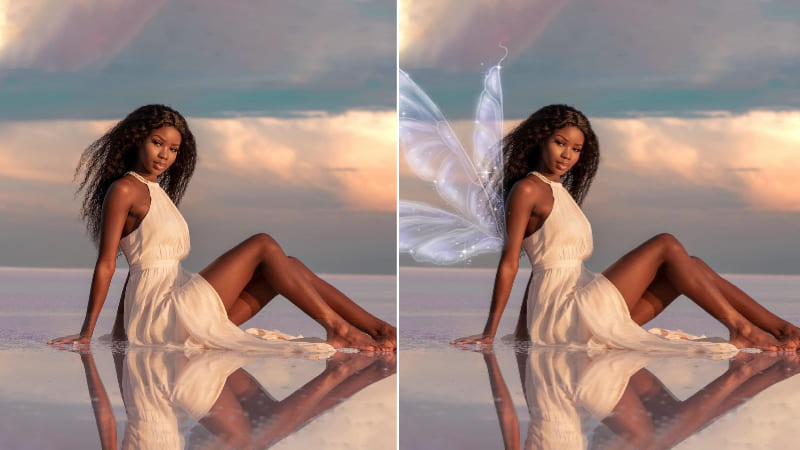
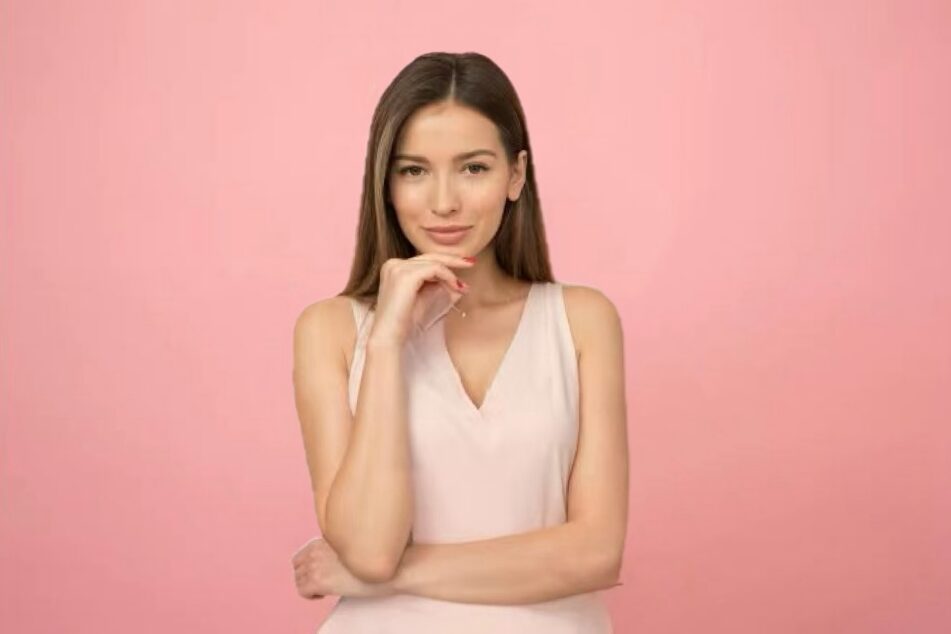
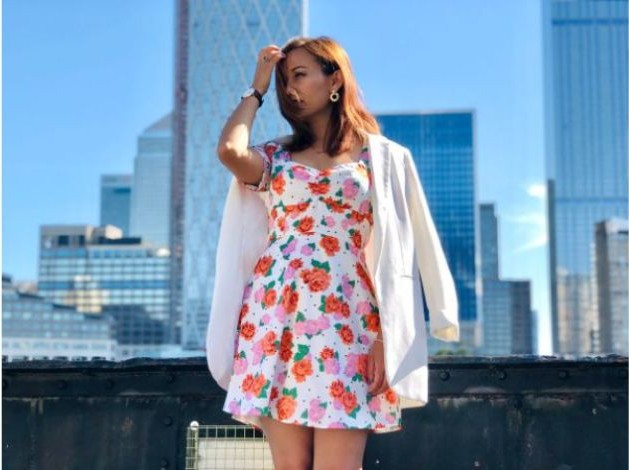
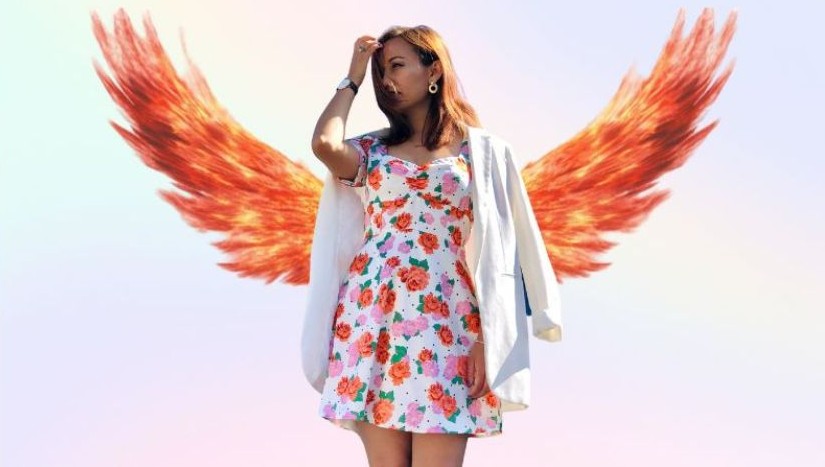
Fairy-core aesthetic, Pinterest-worthy, angelic mood boards have people mesmerized for all the right reasons. There’s just something about those heavenly pictures that is so nostalgic. Scroll through some of your favorite influencers’ posts, and you’ll likely spot a photo of them striking a pose with angel wings. You’d think it’s professionally edited, and that’s fair. They’re famous, right? But what if it’s simpler than that? Wouldn’t you like to know how they do it? Or better yet, how can you do the same? This is a complete guide on how to add angel wings to a photo, whether it’s for Instagram, your family, or even your employee of the month photo.
App to Add Angel Wings to a Photo
Unsurprisingly, we have an app for everything, even if that particular thing is adding angel wings to a picture of your dog. The “magical” app in question is BeautyPlus. An all-in-one editing app that gives you free rein to do basically anything to your pictures. Beyond beauty edits, BeautyPlus includes creative elements such as stickers, allowing users to add fun, artistic touches to their photos, including, ANGEL WINGS! Most of the features are completely free to use, so you can add angel wings to a photo free of cost. Let’s go over some of the ways you can add them to your photos.
Using the BeautyPlus wings sticker
The easiest way to add angel wings to photo using the BeautyPlus app is to use the BeautyPlus stickers. If you’re not feeling like being an angel in your photos, you can easily swap those out for something else as well. Stickers are a fun way to add a cutesy or sometimes mystical charm to your photos. Follow these steps to achieve that.
1. Download the BeautyPlus app on your phone. iPhone or Android, doesn’t matter. BeautyPlus is compatible with both.
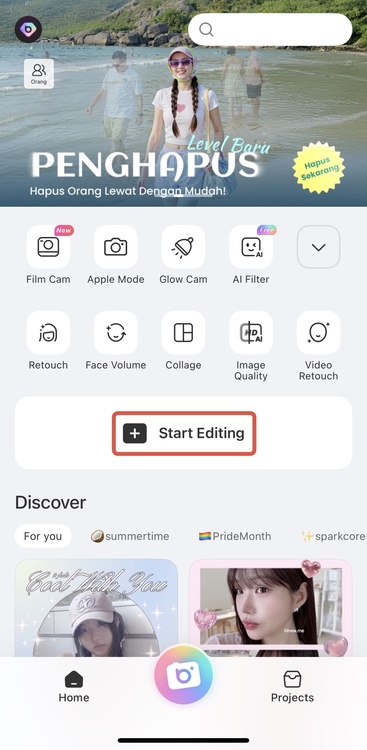
2. Go ahead and open the app. You’ll be greeted by a very fun, very engaging dashboard. Below the options, you’ll find a button that says “Start Editing”. Go ahead and tap it.
3. You’ll be taken to an editor with a scrollable band for all the editing options at the bottom.
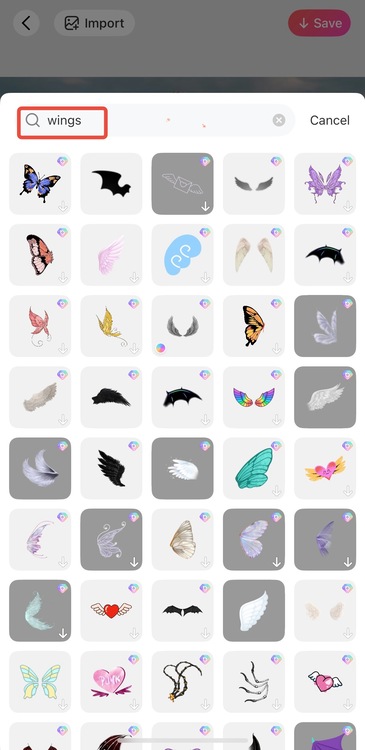
4. Head over to the Stickers section.
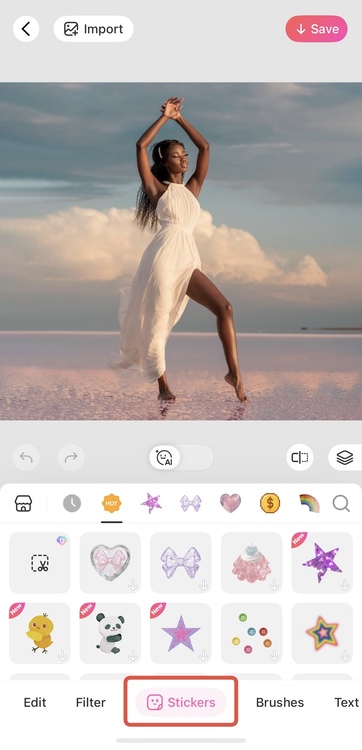
5. In the search bar, type “wings”. You’ll see lots of options pop up, from soft white feathers to golden fantasy wings.
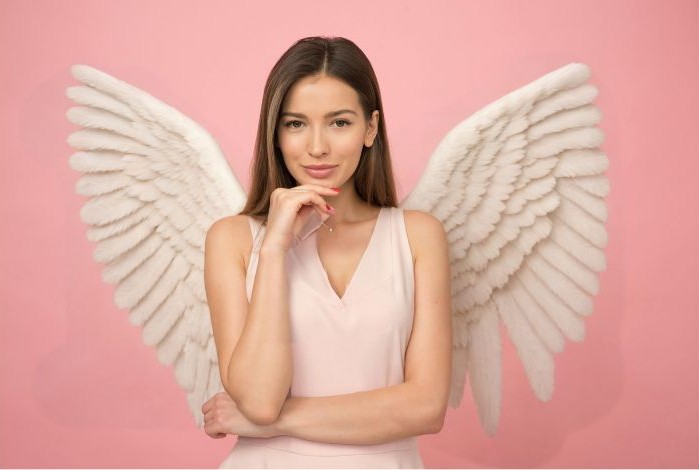
6. Pick the wings you like best. Then, resize and drag them to fit your body.
7. Try a couple of different styles and see what looks best!
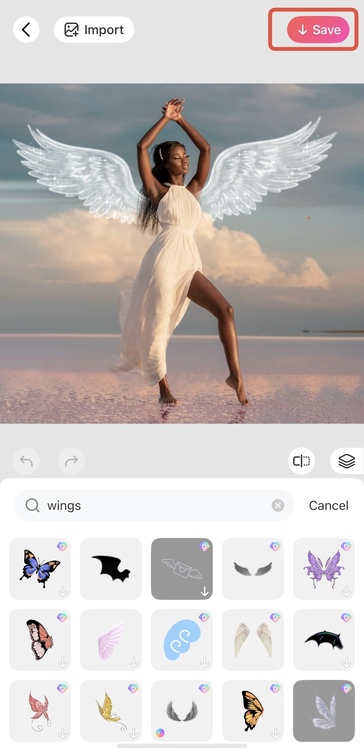
8. Now, all you have to do is download the picture to your device, and it’s ready to use.
Using the BeautyPlus AI Portrait
Another way you could achieve that is by using some AI tool, and fortunately, BeautyPlus has that covered as well.
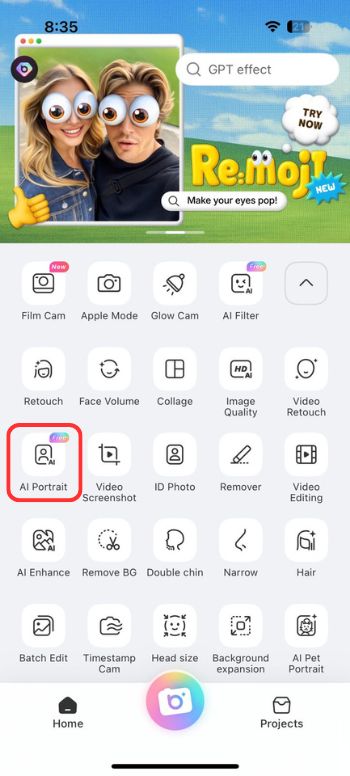
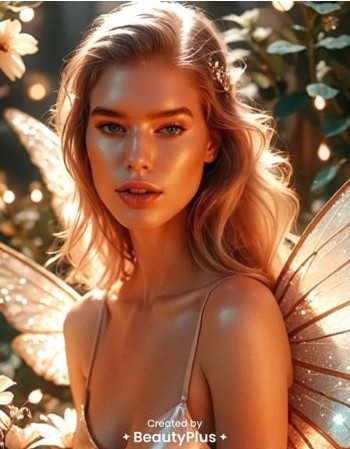
1. Open the BeautyPlus app and go to the AI Portrait section.
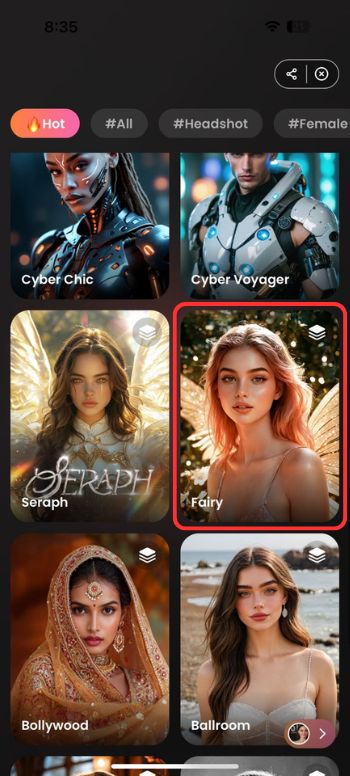
2. Choose the Fairy theme (you’ll love the ethereal glow).
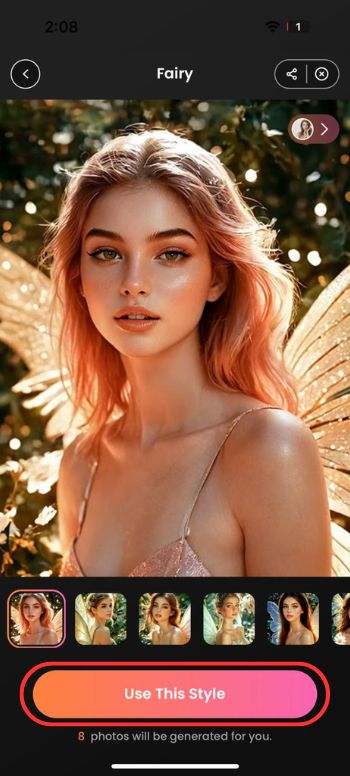
3. Upload your photo and let the AI do its thing. Click “Use This Style” and wait for your work of art to develop.
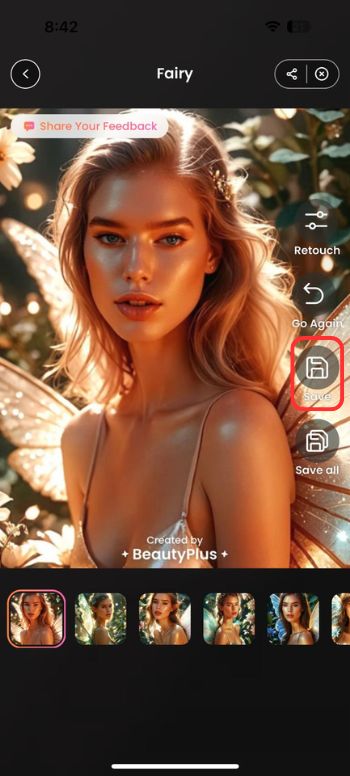
4. Once it’s done, save your new enchanted image.
How to Add Angel Wings to a Photo Online Free
BeautyPlus is an incredible editing option, but it’s not the only one. If BeautyPlus is not your preference for whatever reason, here’s what you can do instead.
ChatGPT
Yes, you can actually ask ChatGPT to help add wings to your photo. It’s fun and surprisingly effective! Here’s how it works:
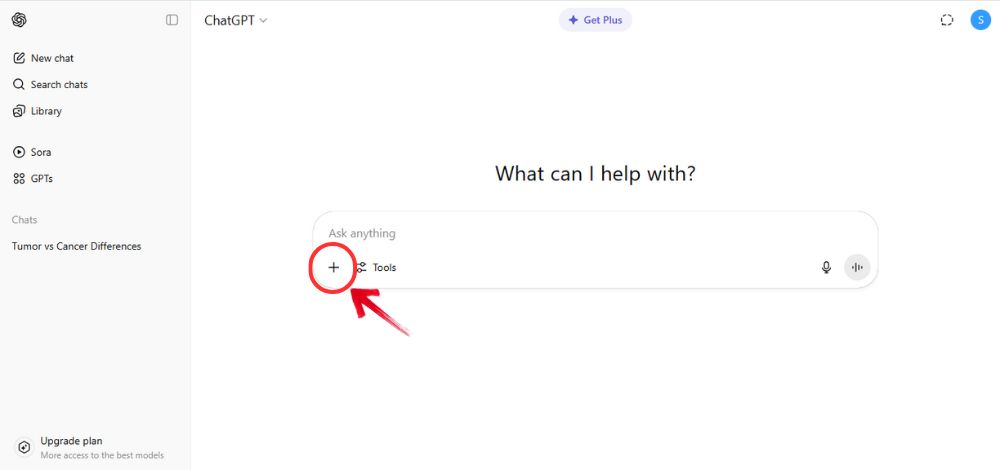
1. Head into ChatGPT (you’ll need the Pro version with image tools).
2. At the bottom, you’ll see a ‘+’ sign. It’s meant to be used to upload media. Click it or tap on it (depending on your device)
3. Now, upload your photo from your gallery to the chat.
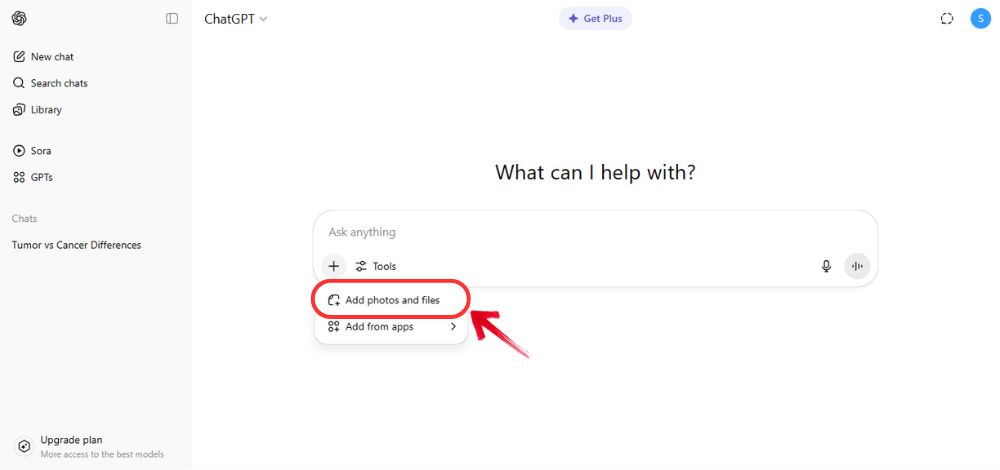
3. Type something like, “Can you add angel wings to this photo?”

4. Wait a few seconds and voilà! Your winged version appears!
It does have a few limitations that you have to keep in mind. The style and positioning may not always be perfect, you can’t pick exact wing designs (yet!), and it’s great for quick, fun edits but not so much for fine-tuning.
A More Complex Way to Add Angel Wings to A Photo Online
If none of those options work for you, there is another way, but it’s a more convoluted way to go about it. This method is the one you can use when none of the wing options are exactly what you’re looking for. Let’s say you have your eyes on a specific set of wings that you saw on the internet. You can add them to your photo. This gives you more control and more options to work with. You don’t have to settle for the stickers available or accept whatever the AI generates for you. Here is how it works.
1. For this method, you will still need the BeautyPlus app. So, if you have it downloaded, open the BeautyPlus app and use the Background Remover tool on your photo (alternatively, you could also use the paid tool “BG Remover” of Canva).
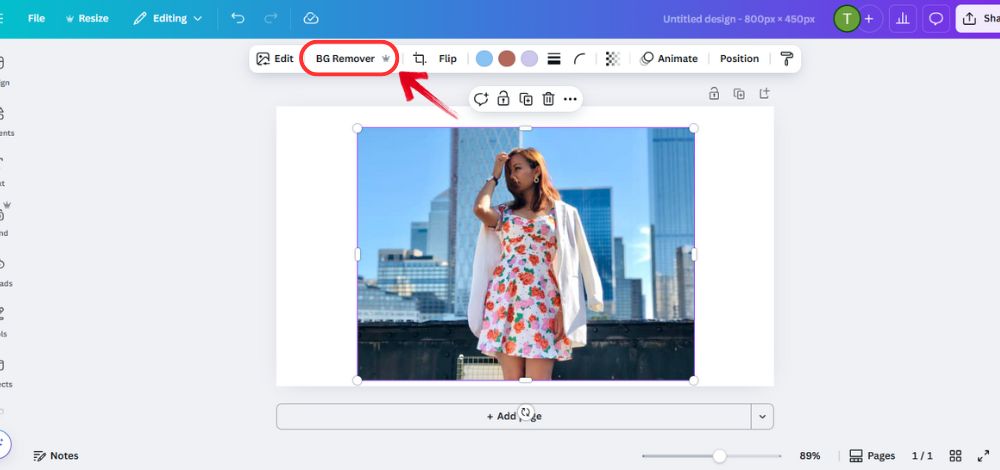
2. Now, save the transparent version of your photo (meaning: one without a background).
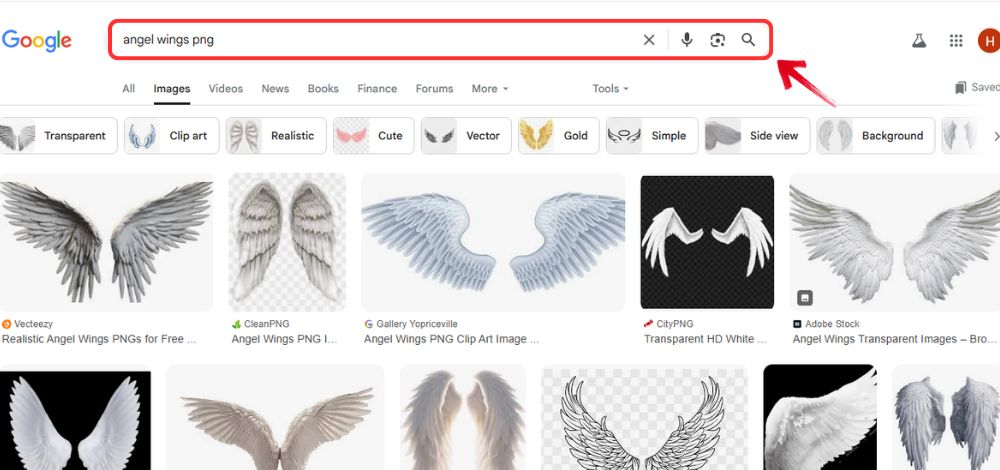
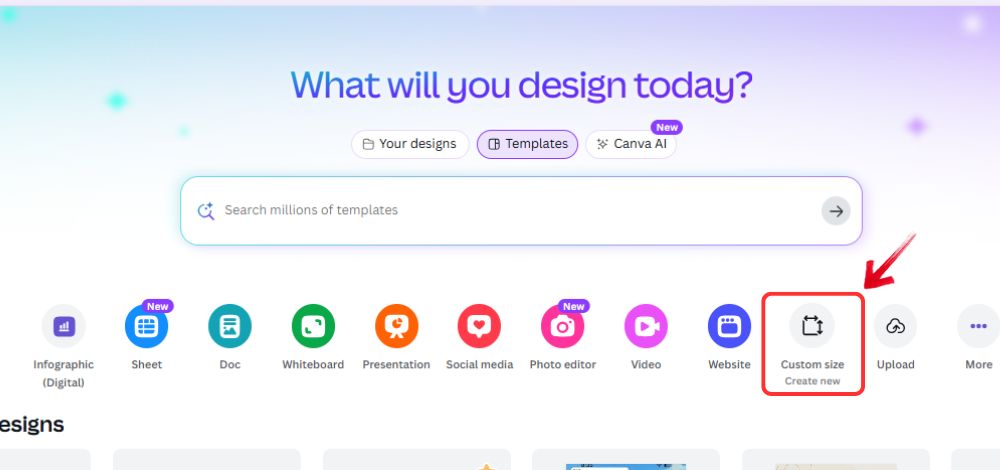
3. Now go to your web browser, whatever that may be, and look up websites like Pexels, Pixabay, Canva, or Unsplash.
4. Search for terms like “angel wings PNG” or “fantasy wings” and download the one that fits your vibe!
5. On to app number 2. Open Canva and start a new project.
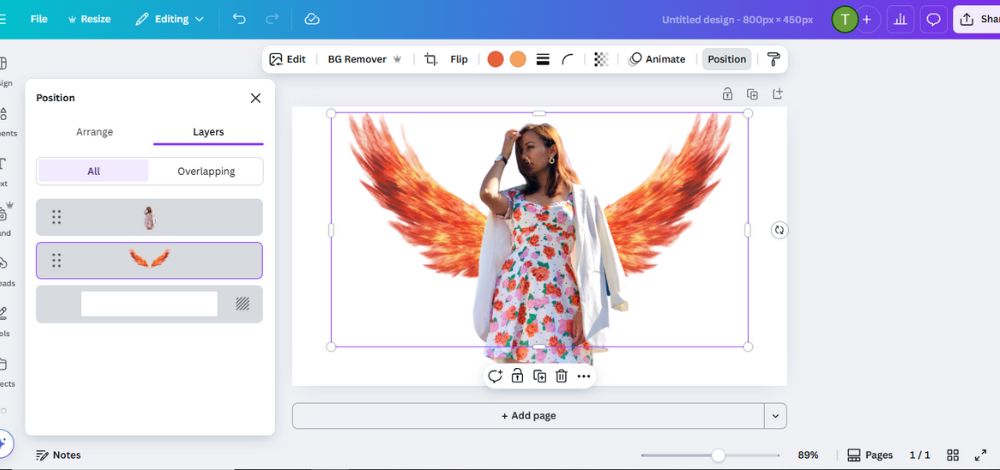
6. Upload both your transparent photo and the wings image. You can probably see where this is going.
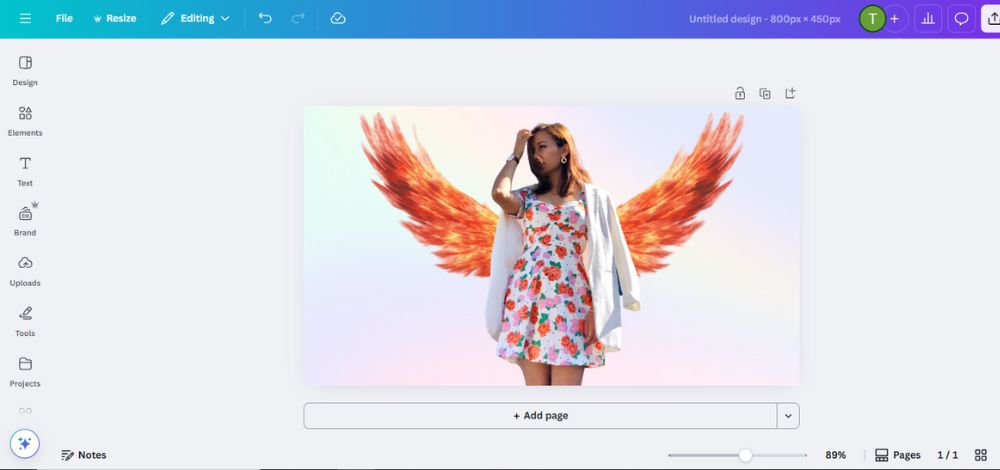
7. Layer them together, resize and adjust until it looks just right.
8. Now you can add a soft background or leave it clean, it is completely your choice!
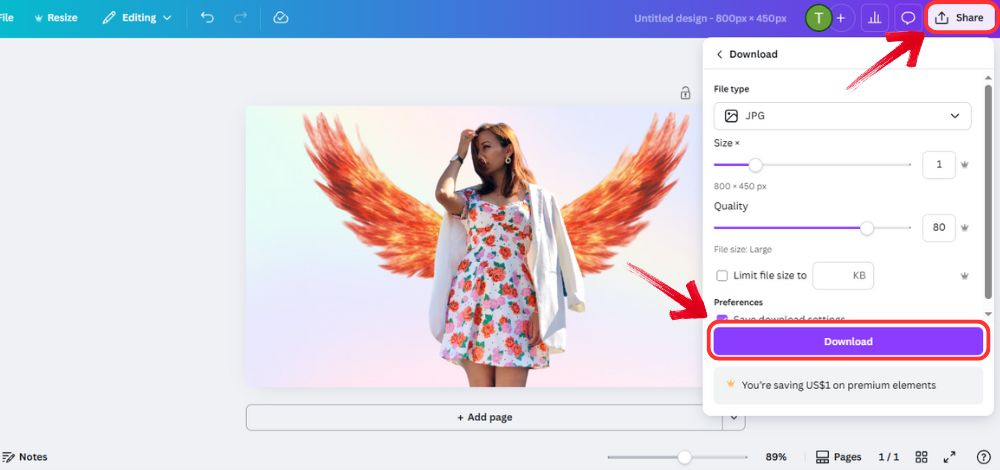
9. Download and share your final masterpiece.
Bottom line
Building your aesthetic on your social media accounts is a great way to express yourself. Your profile reflects you and tells your story throughout changing times. That is precisely why editing hacks, tips, and tools should never be gatekept. Whether you want fast results with BeautyPlus, a fun AI twist with ChatGPT, or full creative control using Canva, you should be able to create stunning fantasy photos, and you can do exactly that with just a few clicks. Try out the BeautyPlus sticker and AI features to generate the angelic photos of your dreams.