


3 Steps to Make Your Holiday Selfie Pop with BeautyPlus
This the Christmas Season! It is that festive time of year again, where everyone is overtaken with that addictive holiday cheer of good food and good vibes! From pretty light decorations, to the fun red and green color theme, to even the cool weather – or the soft, twinkling snow (depending where you live)…all of it are a trademark to the Christmas holiday. And what better way to make this Christmas even more fun and jolly than to have the best holiday selfie with the help of BeautyPlus!
There’s no better present than the array of editing and decorative tools that BeautyPlus has to offer! Selfies can easily be bland and uninteresting, and it may be easy to feel discouraged about taking new ones that are just as creative as your last. But now, you no longer need to fear because with this app, I will show you how to create a magical holiday photo with BeautyPlus!
Table of Contents
- Use a Remover to Clean up Your Holiday Photo
- Retouch Your Selfie with Makeup
- Make the Lights Brighter or Snow Whiter
1. Use a Remover to Clean up Your Holiday Photo
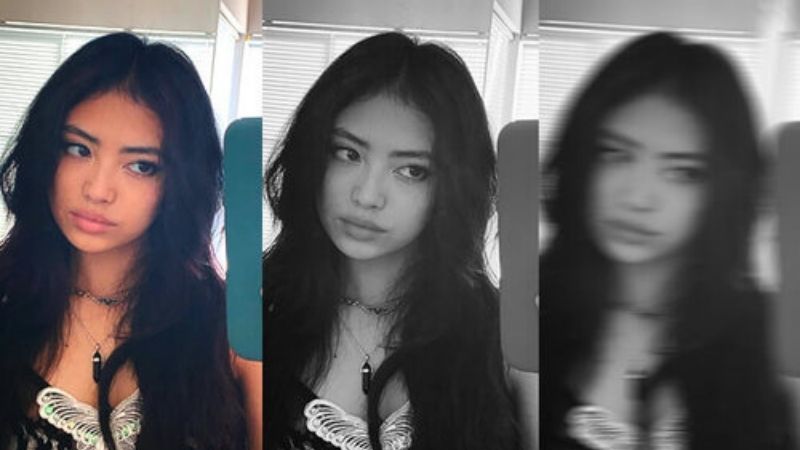
When taking photos, especially ones that are in public places, it is inevitable that there will be people accidentally photobombing, or objects in the background that do not match the picture’s aesthetic. Luckily, BeautyPlus has a remover tool that lets you seamlessly erase any unwanted distractions in just a few swipes.
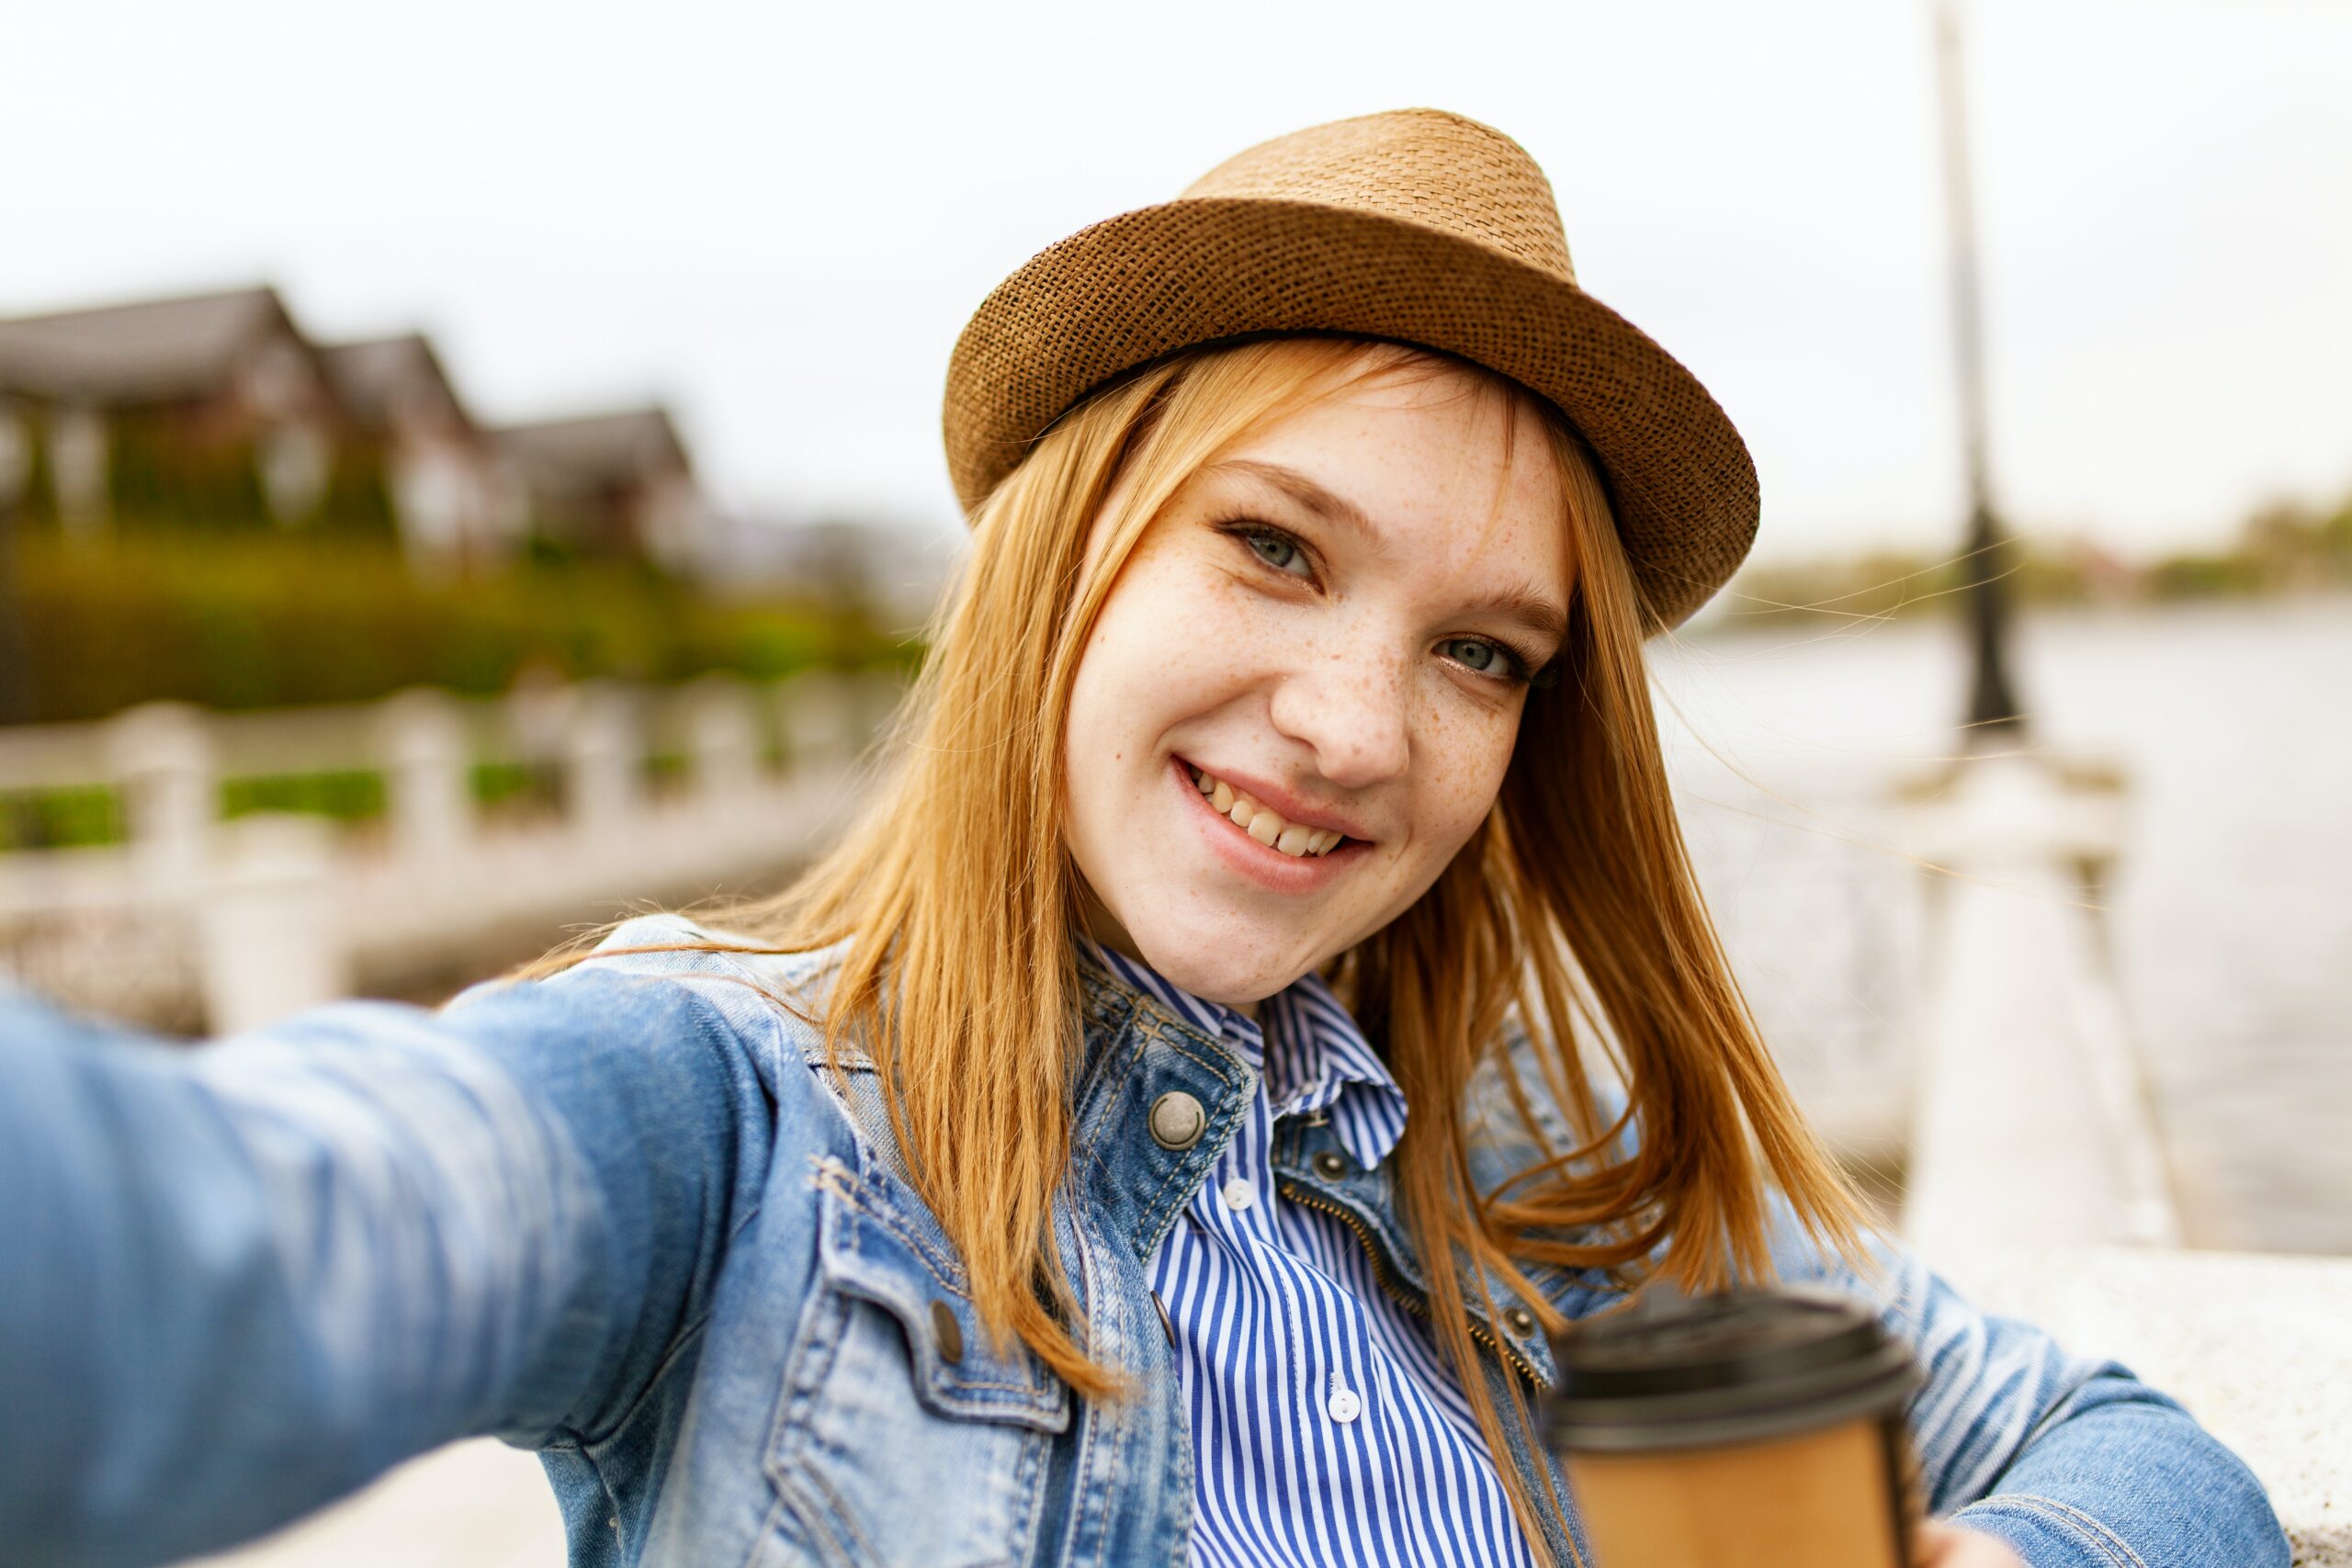
When taking pictures with the beautiful light decorations (which is a must in honor of Christmas), you can clean up the photo by using a remover to erase the passerby, like in this example:
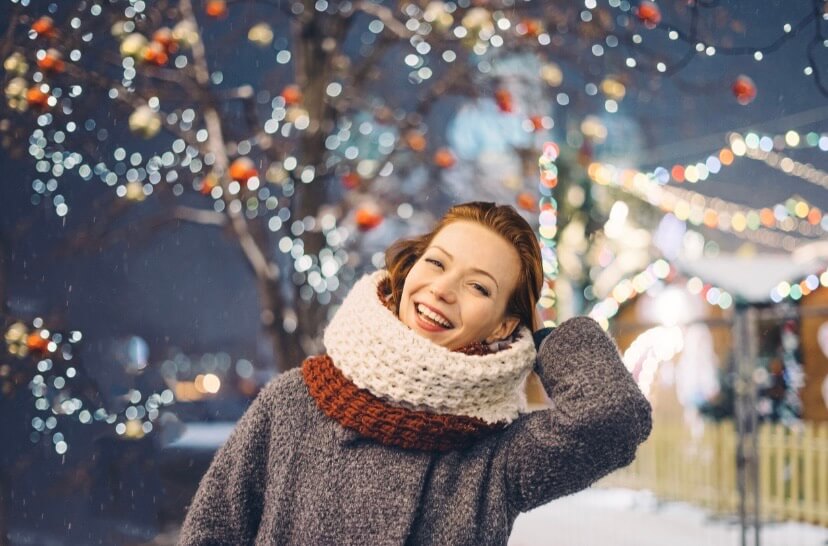
All you need to do is go to the “Edit” bar and then click “Remover.” Then simply adjust your brush size settings and use your finger to swipe over what you want to erase! And with that, you’re done. Look at how much more the subject pops out!
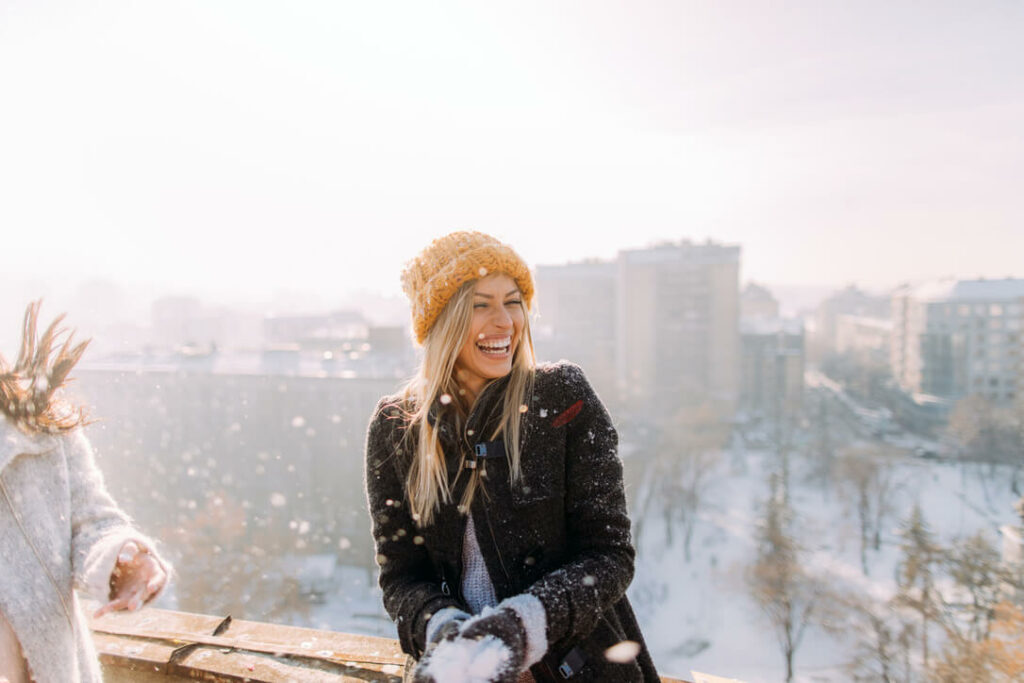
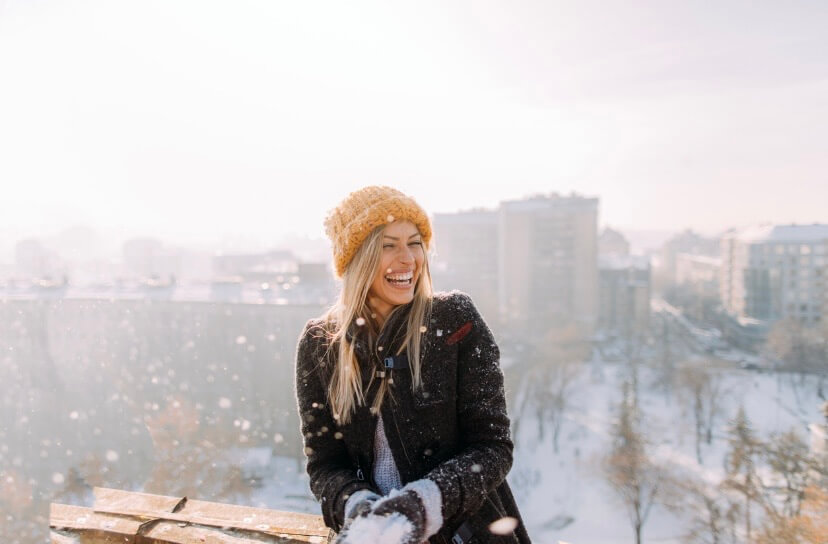
In this photo, the body of the person on the left makes it unbalanced and attracts attention away from the centered woman. By removing the passenger, the selfie already looks much better! Now, you no longer need to worry about the location of your photos, especially during the busyness of this holiday season!
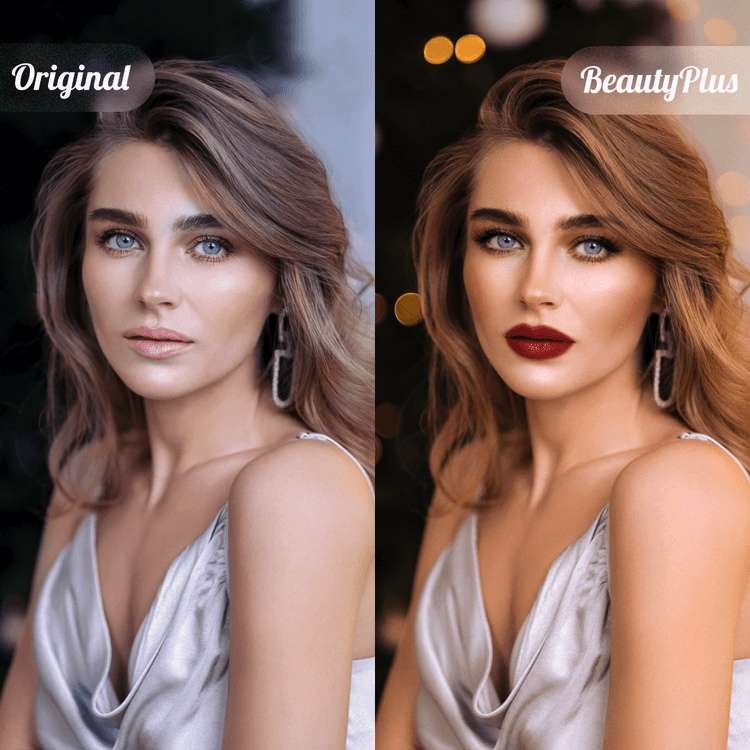
2. Retouch Selfie with Makeup
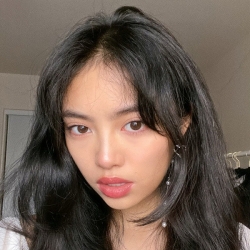
Too lazy to put on makeup for a Christmas selfie? Or maybe you want to digitally touch up makeup so it is as vivid as it appears in real life? Well BeautyPlus has the exact tool you need relating to all things makeup! Blush, eyeshadow, lipstick…it has it all. Let’s take a look at a selfie step-by-step to achieve a winter makeup look.
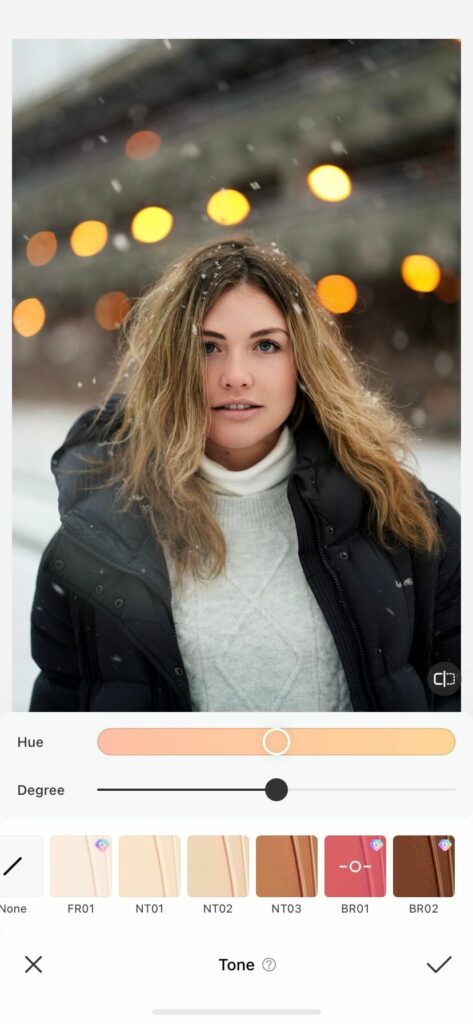
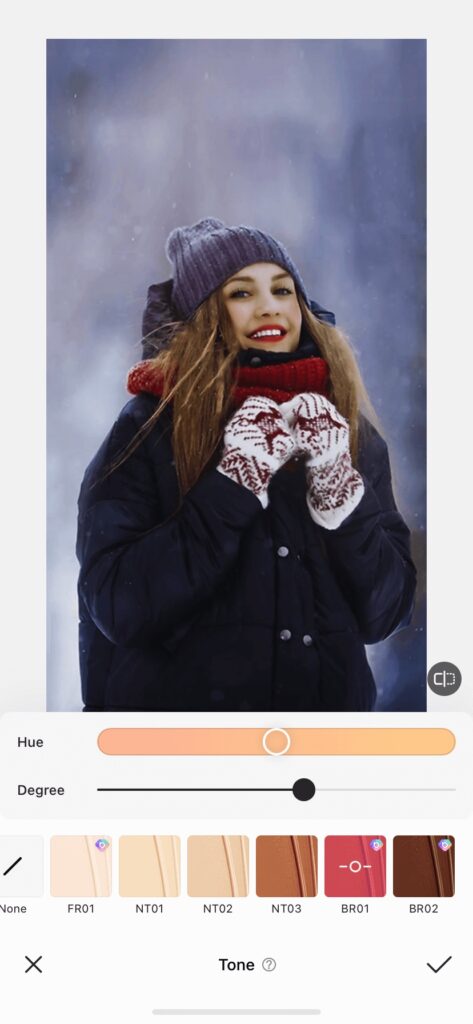
- First, adjust the tone of the skin color so that it’s more vibrant and accurate to reality. This is important because taking photos in gloomier weather tends to drown out the color of the subject and make them look paler than usual. In this example, the shade “BR01” is used.
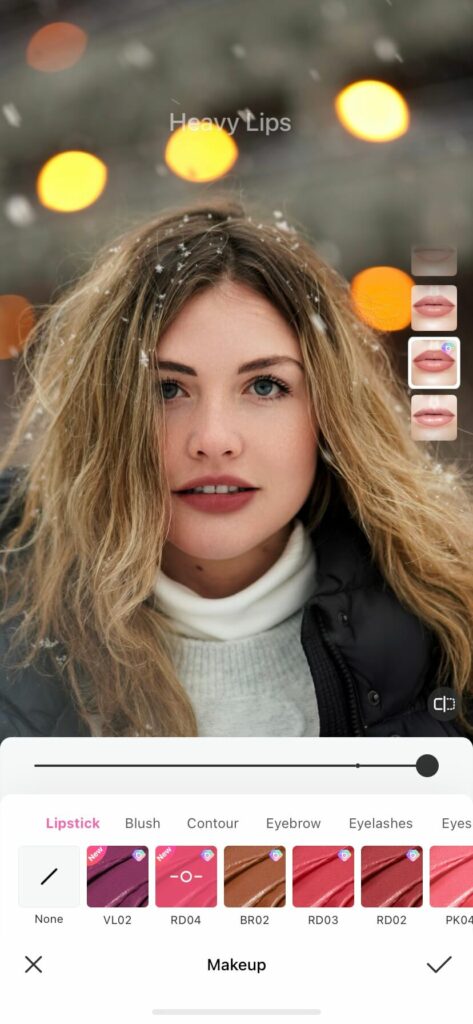
- The lips are an important focal point of the face, so by using a vibrant lipstick color, your selfie will definitely pop! A reddish-pink shade named “RD04” is applied.
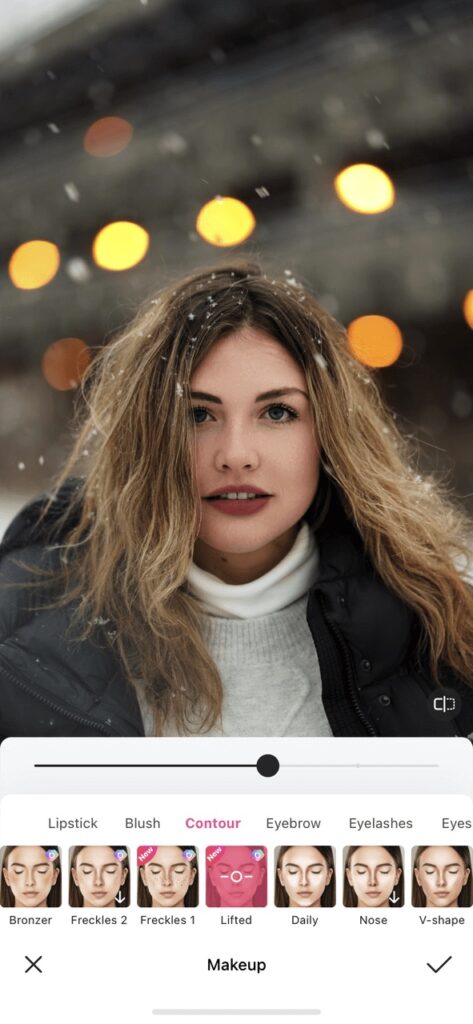
- To subtly sculpt the face and give some sense of depth, use the contour option. By using the “Lifted” option, the selfie looks defined and put together.
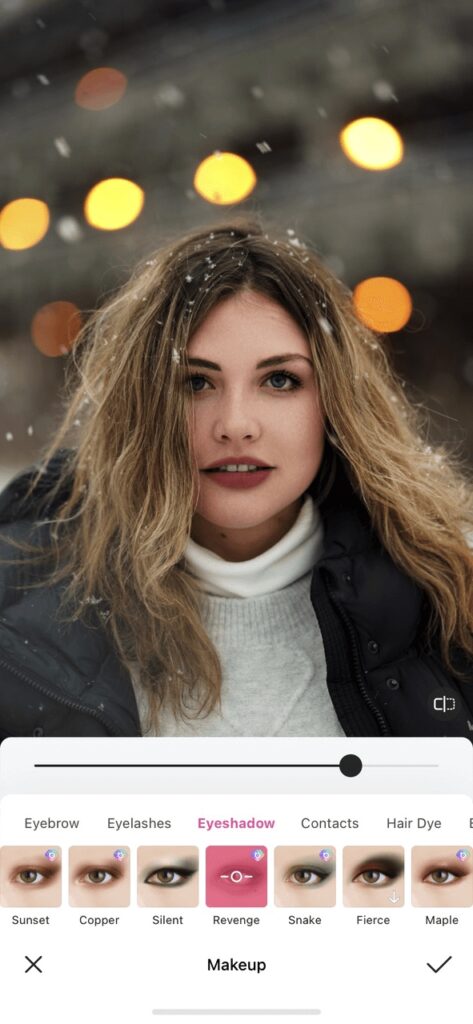
- To match the deep lipstick color and contour, I applied a darker toned eyeshadow named “Revenge.” This makes the face appear more complete and full, perfect for a gorgeous selfie!
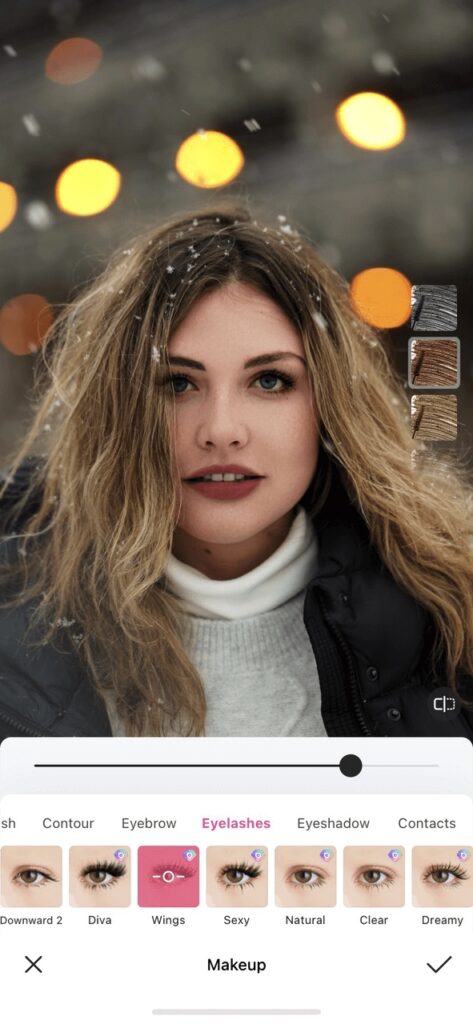
- Lastly, to top off the makeup application, use the eyelashes “Wings” to complement the eye look.
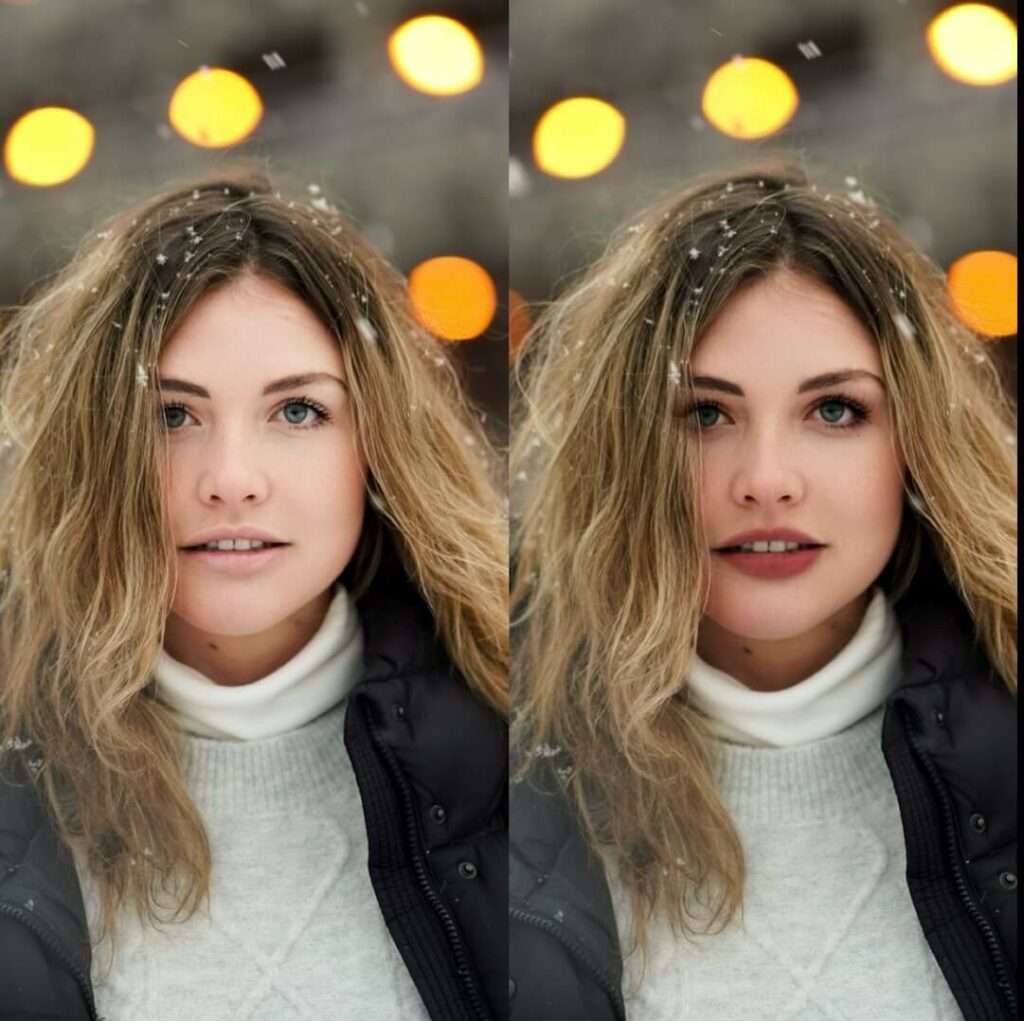
That’s the finished product! Thanks to BeautyPlus, you can see how the “after” image of the selfie now looks Instagram-worthy!
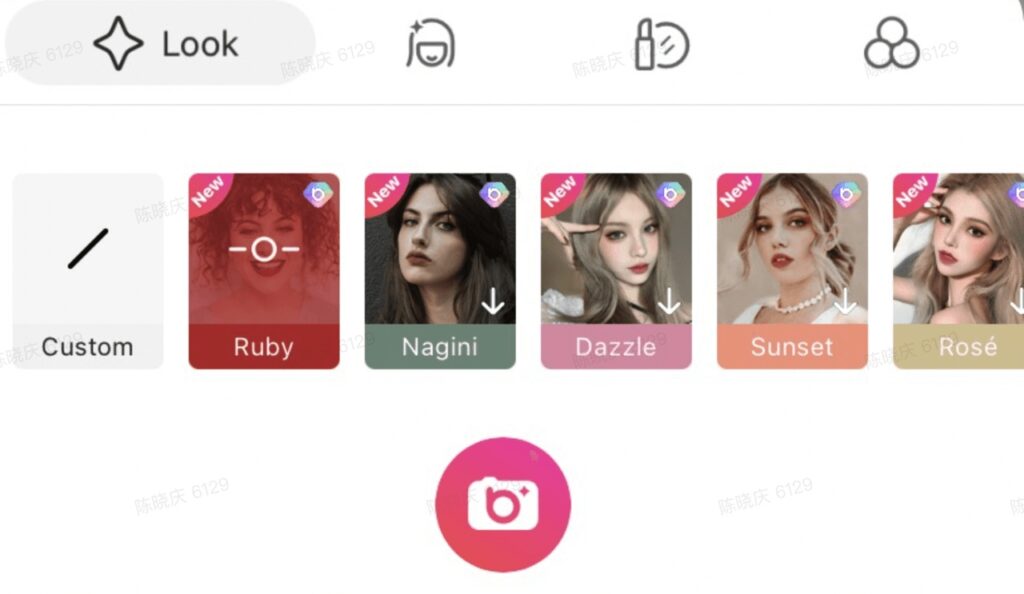
● Don’t Miss the Xmas Makeup Look
The app provides a pre-set Christmas makeup look purposefully designed for this holiday.
Thick 3D eyelashes, bright red lipstick, and bronzer with a lift effect suits the festive end-of-year atmosphere, as seen in the holiday photo above!
This look is called “Ruby” under the shoot selfie mode that is built in the app itself. It can also be accessed in “Edit – AR effects.”

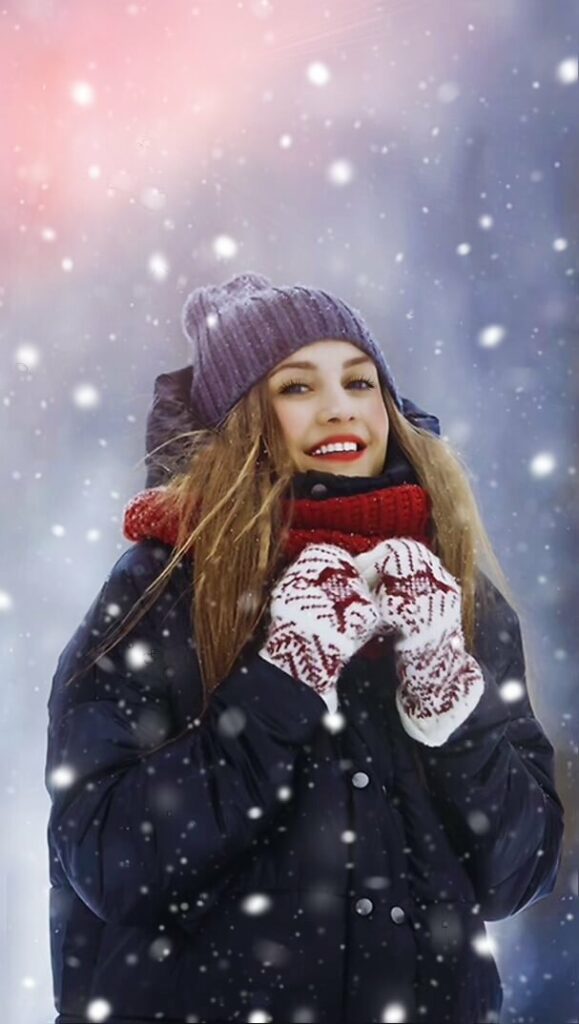
3. Make the Lights Brighter or Snow Whiter
Another great Christmas edit you can do to spice up your selfie is by using BeautyPlus’ stickers! Since they vary from festive lights to decorative text and snow globes, you are bound to find stickers that match any photo you take.
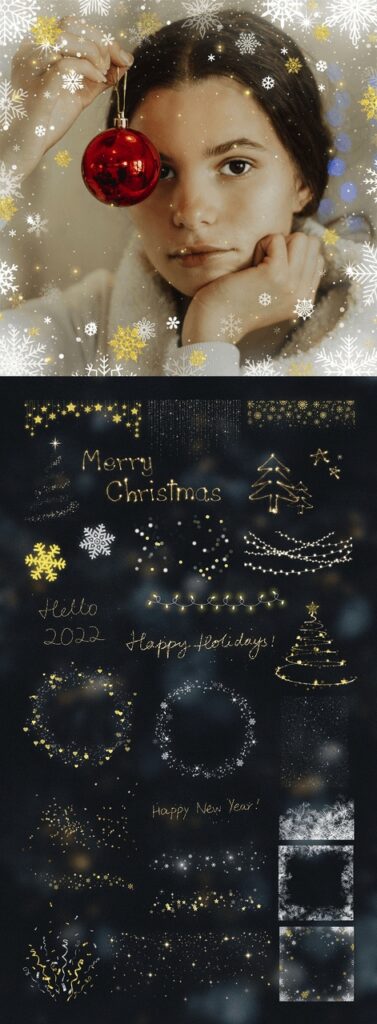

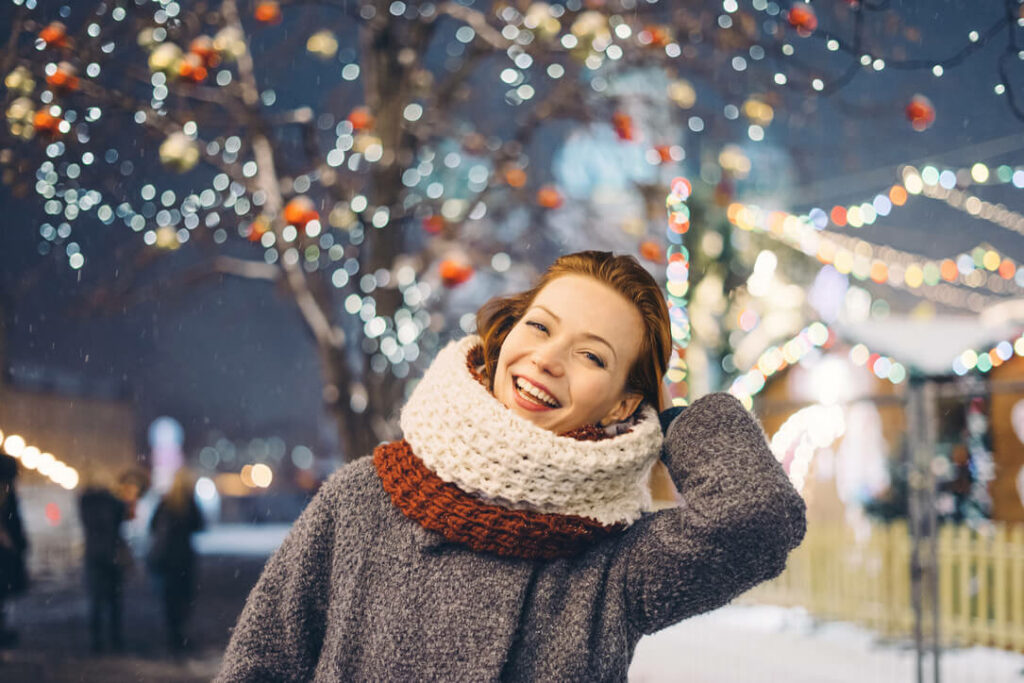
As seen by the photo below, with just the use of two simple stickers, the picture is more engaging and fits the Christmas theme well!
(Photo by Ilyuza Mingazova on Unsplash)
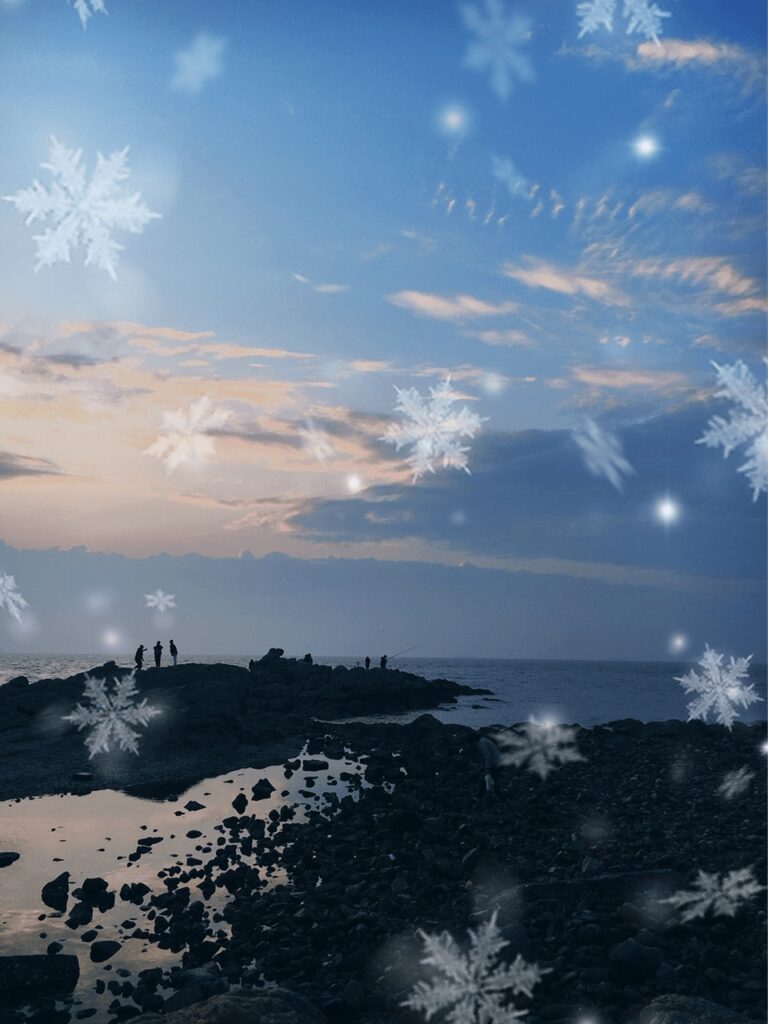
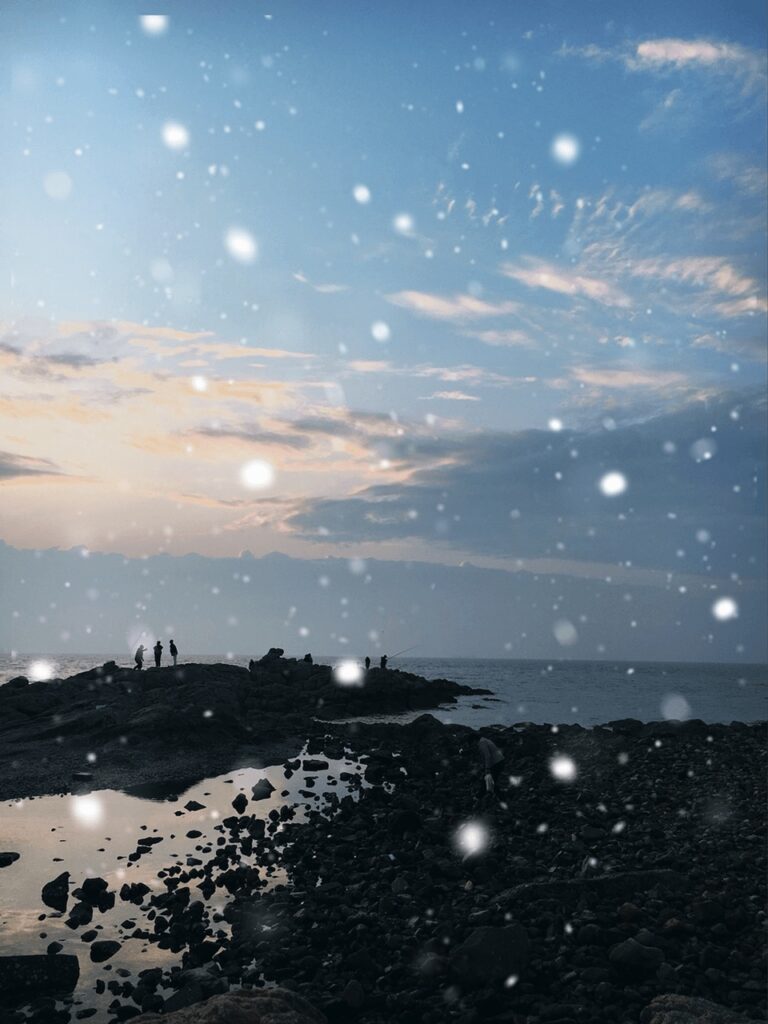
To further enhance the winter atmosphere, BeautyPlus’ snow brushes are perfect for creating your own winter wonderland. The one on the left creates a snowball effect, while the image on the right displays delicate snowflakes falling.
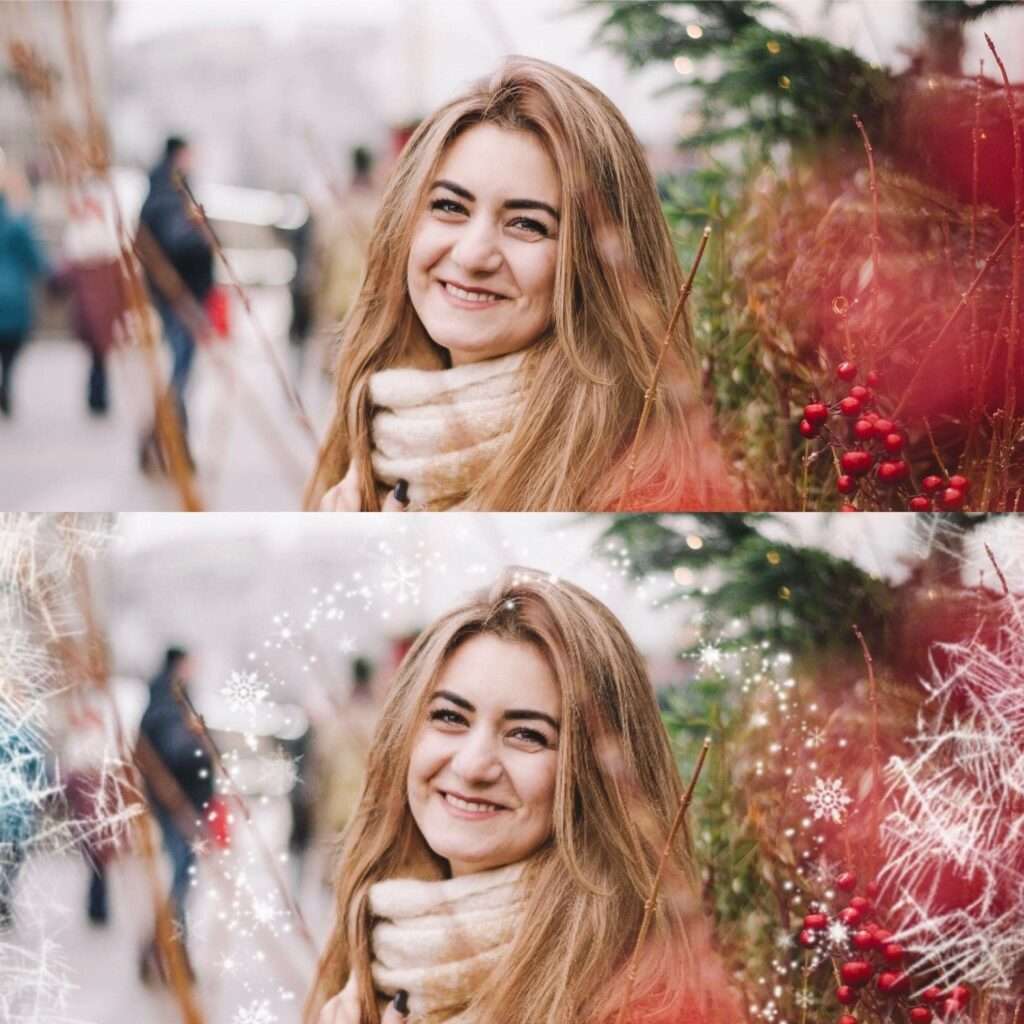
Now that we know all about the festive edits we can make on our photos to spread the Christmas spirit, let’s do a step-by-step using these tools to brighten up our Xmas pictures!
- Before adding any fancy decorations, make any basic adjustments to the image so that it is to your liking. For this, I adjusted the brightness, contrast, saturation, and color temperature, making the photo livelier.
- Then I did some make-up touches on the eyes, lips, and cheeks so that the subject’s face stands out.
- Since the face is noticeably brighter than its environment, adjust the skin tone to make it realistically blend with the lighting of the selfie.
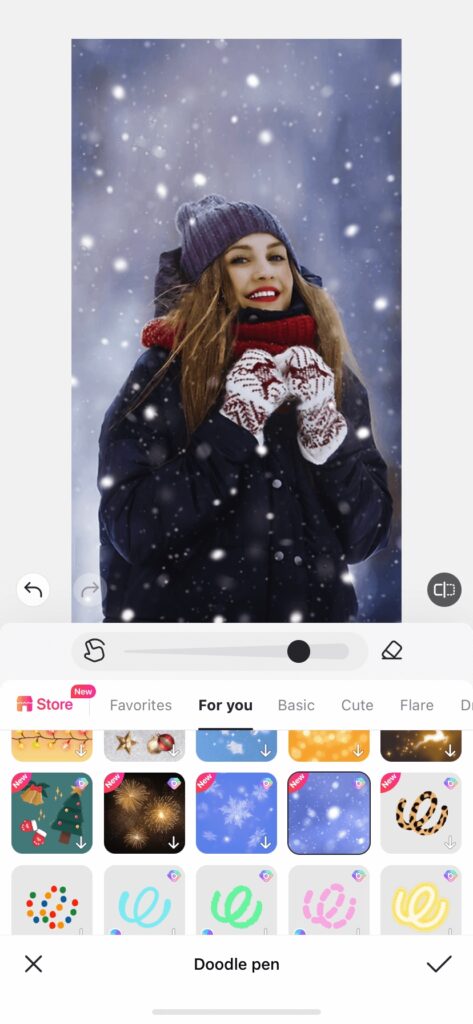
- Next, I used the snowball doodle pen to add a wintery vibe to the rather plain background.
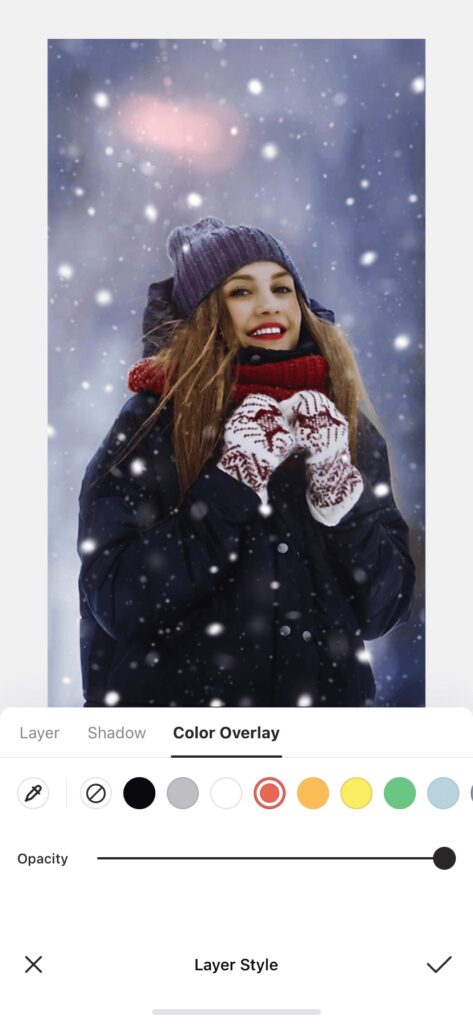
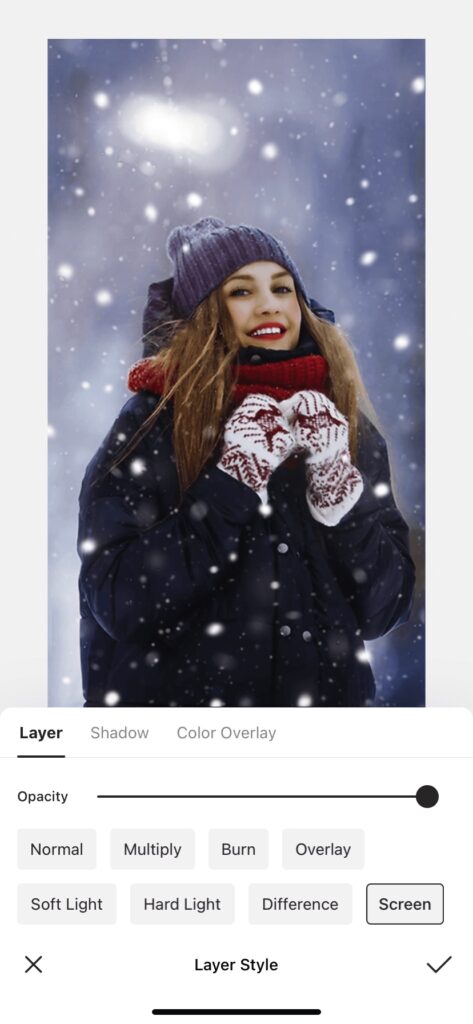
- Lastly, apply a flare sticker, change the layering style to “Screen,” and add a reddish color overlay to achieve that festive look!
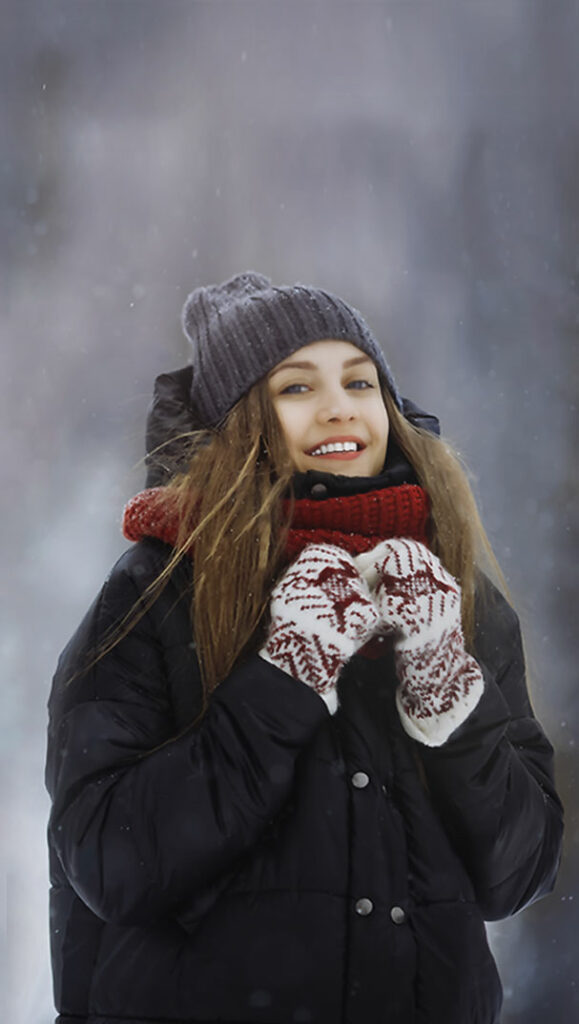
This is the finished product! With these easy techniques, such a merry holiday selfie can be created from an originally cloudy and dull image!
With the help of BeautyPlus, this Christmas season will be even more special! Spread the Christmas cheer and spirit with your festive photos and have a happy holiday!
![[2024 latest version/free] 10 Recommended Face Editing Apps that are Easy to Use](https://www.beautyplus.com/wp-content/uploads/2024/01/BBlog-cover-800-×-450px-2.jpg)
![[Free and Up-to-date in 2024] 10 Recommended Selfie Apps that can Definitely Enhance Your Selfies: a Thorough Comparison](https://www.beautyplus.com/wp-content/uploads/2023/12/BBlog-cover-800-×-450px.jpg)