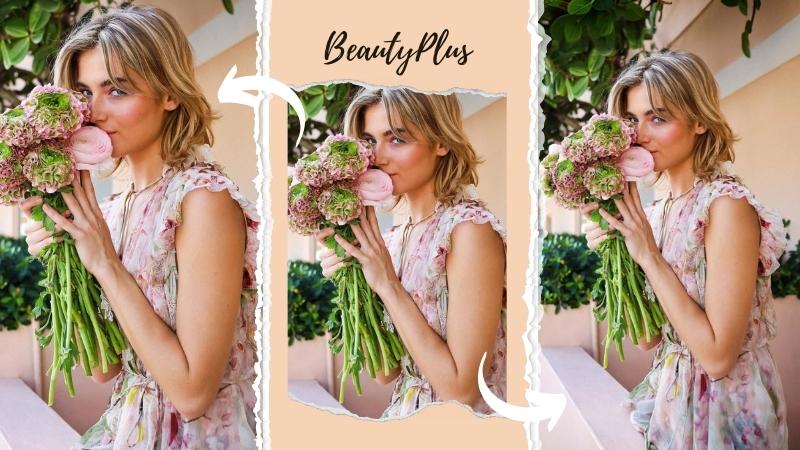
BeautyPlus
Get More Filters & Tools in App
Home
Image Editor
AI Image Generator
Video Editor
Blog
Home
Image Editor
AI Image Generator
Video Editor
Blog
API
Upgrade
Blog
Unleash Your Creativity with BeautyPlus!
Learn how to use BeautyPlus in our tutorial.
Home
/
Academy
Photo Retouch
View All
Recommend Posts
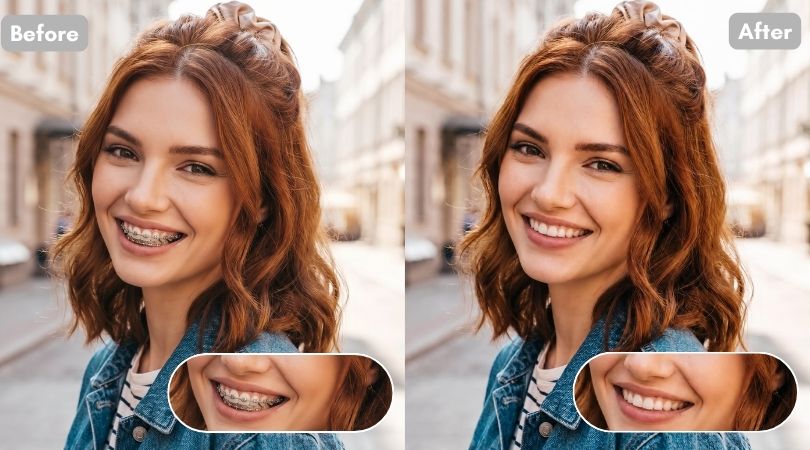
No Braces Filter: What Will I Look Like without Braces?
Retouch & Makeup
Recommend Posts
Top 6 Red Eye Removers for Flawless Photos
Retouch & Makeup
6 Extraordinary Apps Like FaceApp, but Better
Retouch & Makeup
Recommend Posts
Which Eyebrow Shape Suits You? 5 Best Apps to Try Out Eyebrow Filter!
Retouch & Makeup
4 Best Apps to Remove Double Chin and Perfect Your Selfies
Retouch & Makeup
How to Fix Closed Eyes in a Photo: Free Guide
Recommend Posts
10 Free Face Editing Apps That You Need to Try in 2026
What Would I Look Like With Veneers?
Hairstyle & Make Up
View All
Retouch & Makeup
10 Best Hairstyle Apps to Try Haircut in 2026 (Free & AI-Powered)
Face Editing
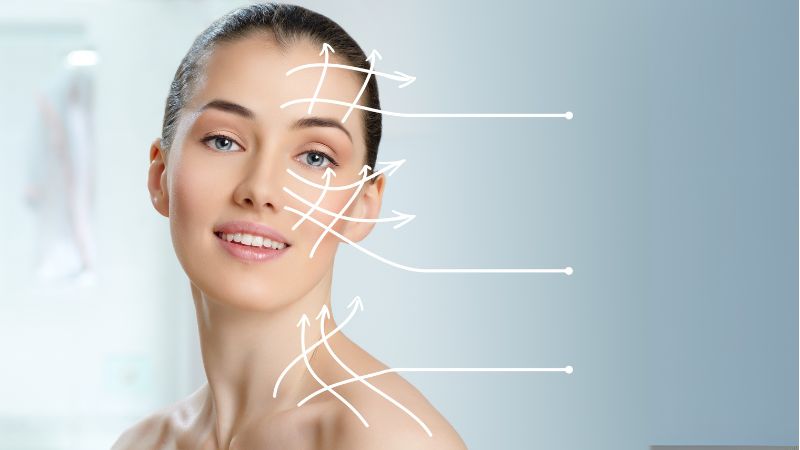
How to Know Your Face Shape: A Simple Guide
Retouch & Makeup
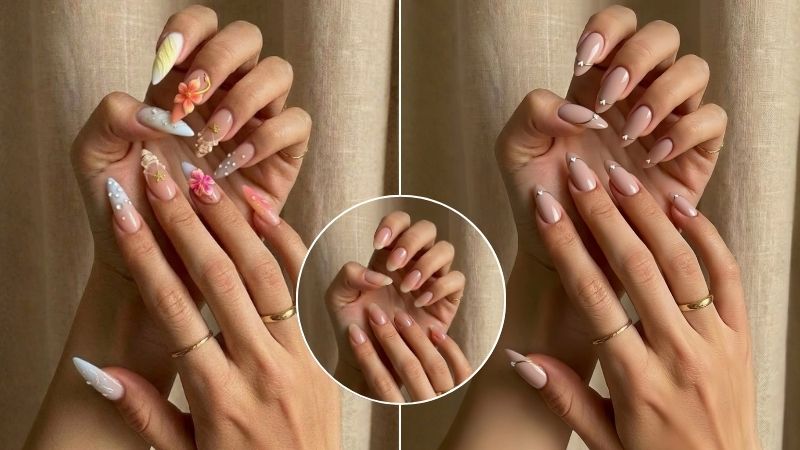
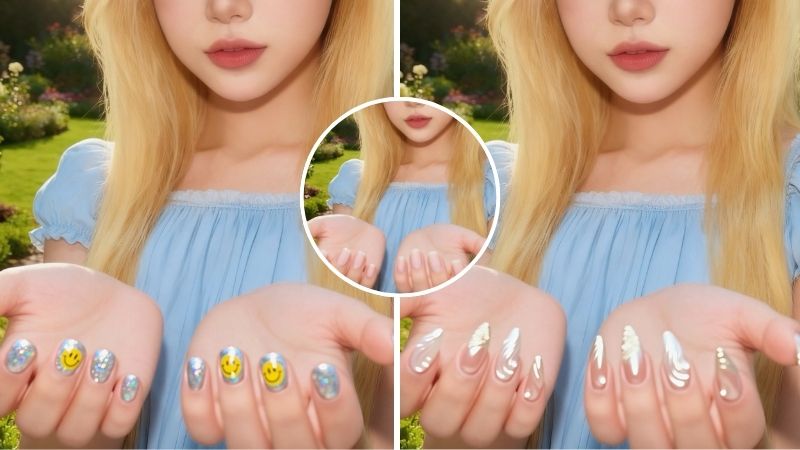
Top 8 Nail Design Apps for Virtual Try-On 2026
Retouch & Makeup
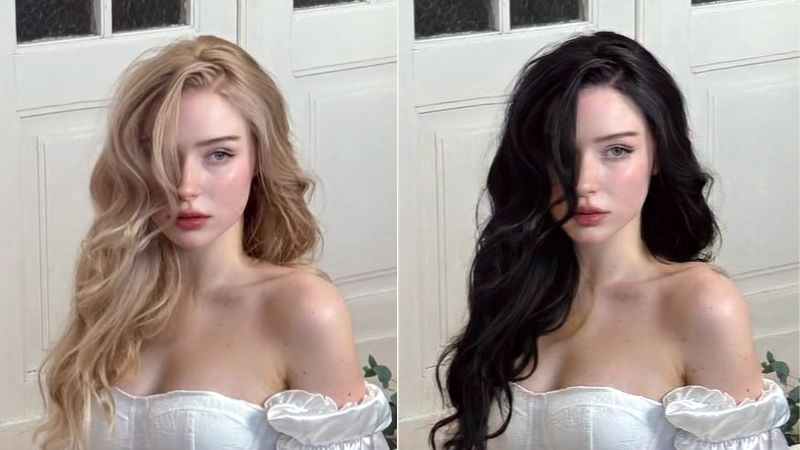
What Would I Look Like with Black Hair
Retouch & Makeup
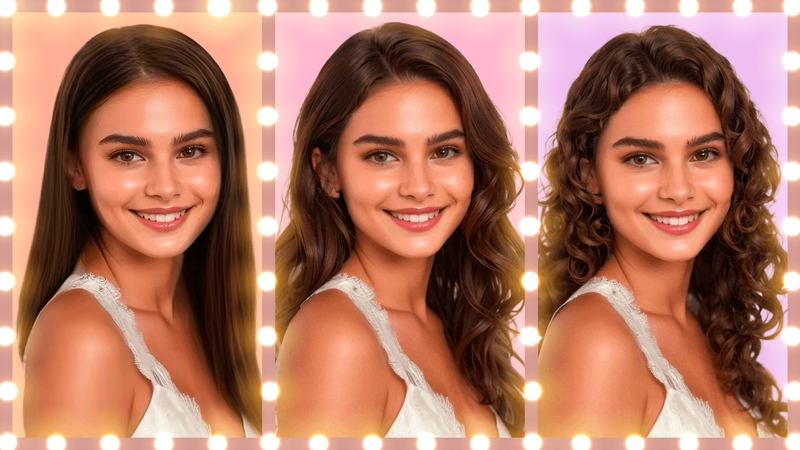
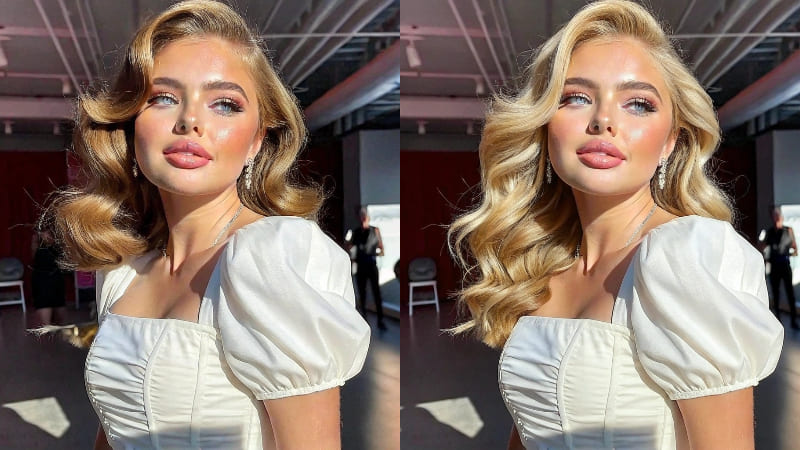
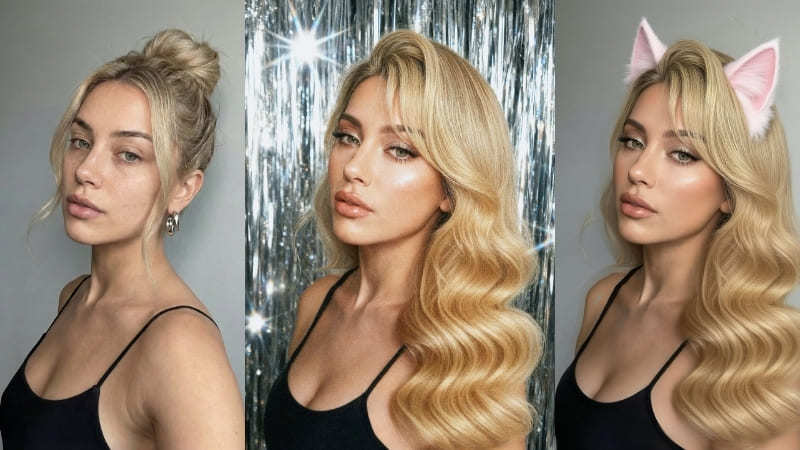
What Would I Look Like with Long Hair?
Hairstyle
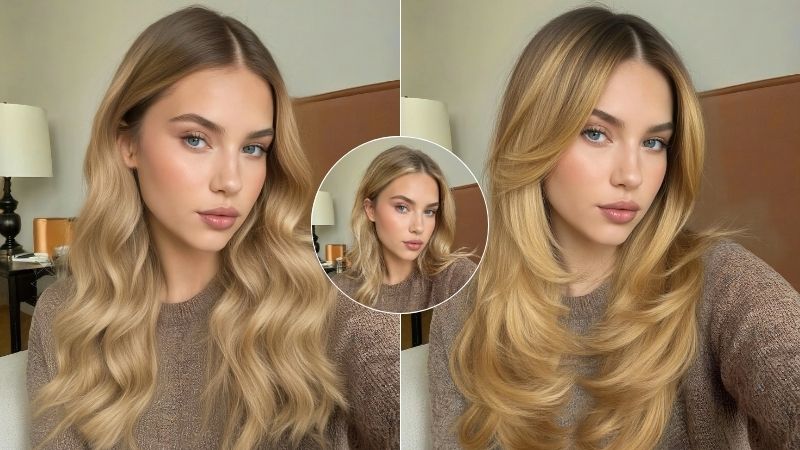
10 Trendy Hairstyles for Diamond Shaped Face 2026
Body Editor
Hairstyle
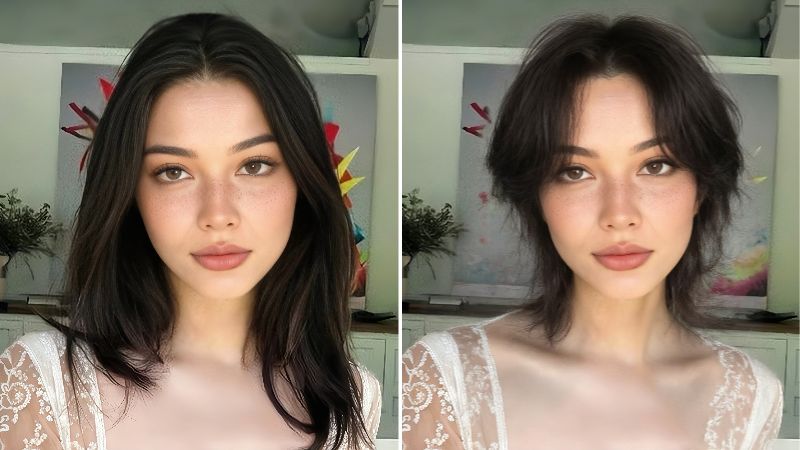
Short Hair Filter: How Would I Look with Short Hair?
Recommend Posts
Virtual Nail Try On: How to Try 100+ AI Nails for Free?
Selfie & Shots
View All
Recommend Posts
16 PhotoBooth Poses for Memorable Pics 2026
Instagram Trends
Selfie Tips
10 Photo Booth Apps for Phones & PC 2026
Recommend Posts
10 Free Face Editing Apps That You Need to Try in 2026
Recommend Posts
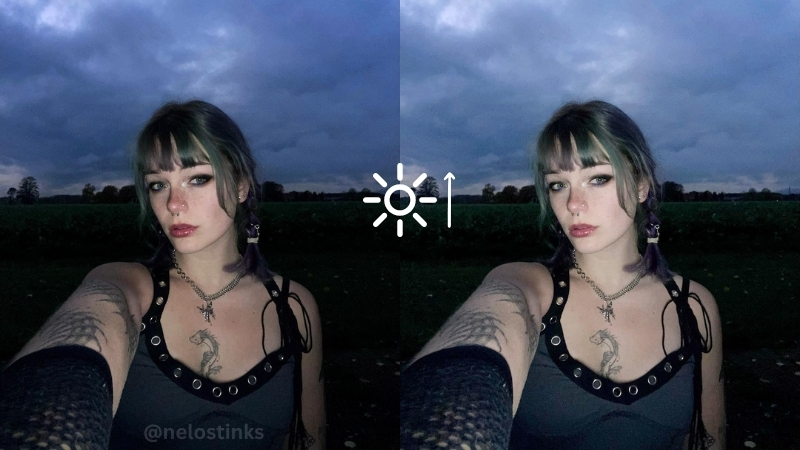
4 Glow Camera Apps to Take Selfies in the Dark 2026
Recommend Posts
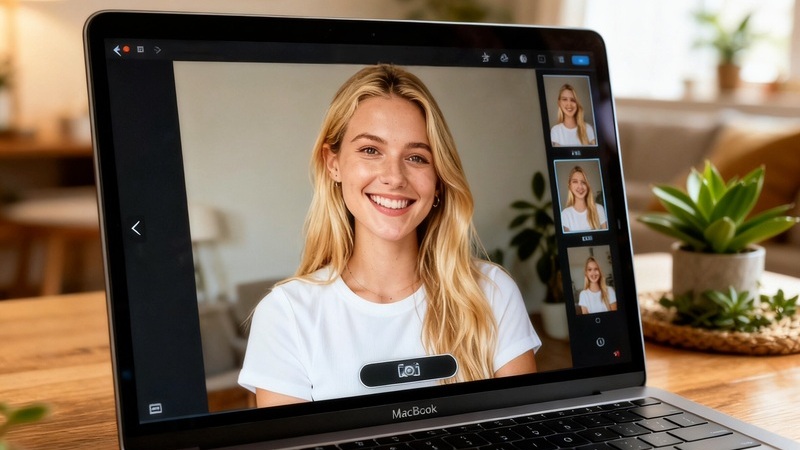
How to Take a Photo on MacBook: 3 Easy Ways
12 Beach Photography Ideas for Your Next Seaside Trip
Recommend Posts
11 DIY Photography Lighting Ideas At Home
AI Avatar
Recommend Posts
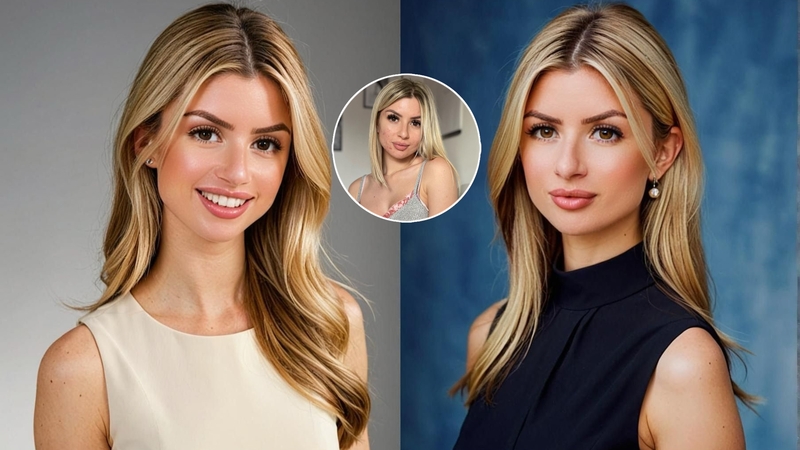
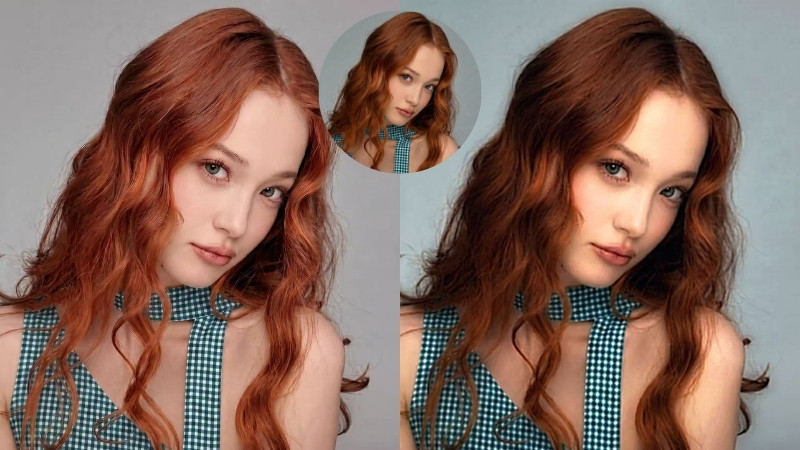
8 Best Free AI Headshot Generator to Get in 2025
Filters & Effects
View All
Instagram Trends
Why are My Instagram Filters Not Working
Recommend Posts
Top 10 Best Female Anime Characters 2026
6 Face Filter Apps You Need to Try in 2026
Trendy Valentine’s Day Photoshoot Ideas 2026
AI Avatar
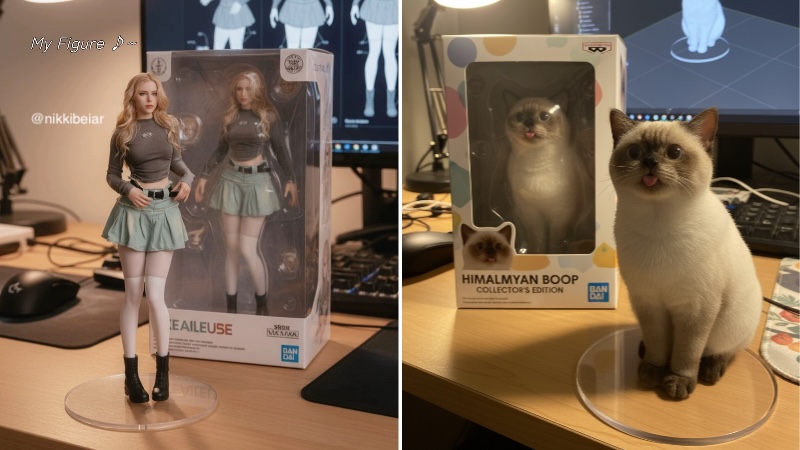
AI Action Figure Generator: Turn Your Photo to AI Toy
iPhone Photo Editing
How to Create Avatar From Photo?
Instagram Trends
iPhone Photo Editing
Inverted Filter: Is the Inverted Filter Accurate?
iPhone Photo Editing
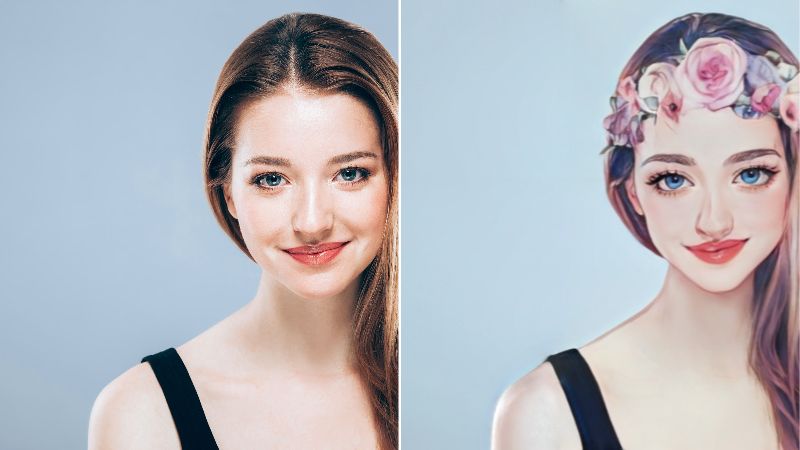
Top 10 Cartoon Face Apps That You Must Try
Trending Now
View All
Instagram Trends
Recommend Posts
Grinch Filter: How to Create Your Grinchmas Photo for Free?
Recommend Posts
BeautyPlus Redefined: A New Chapter in Photo Editing
Selfie Tips
Instagram Trends
AI Puppy Trend: How to Create the Cutest Dogs Everywhere Photo?
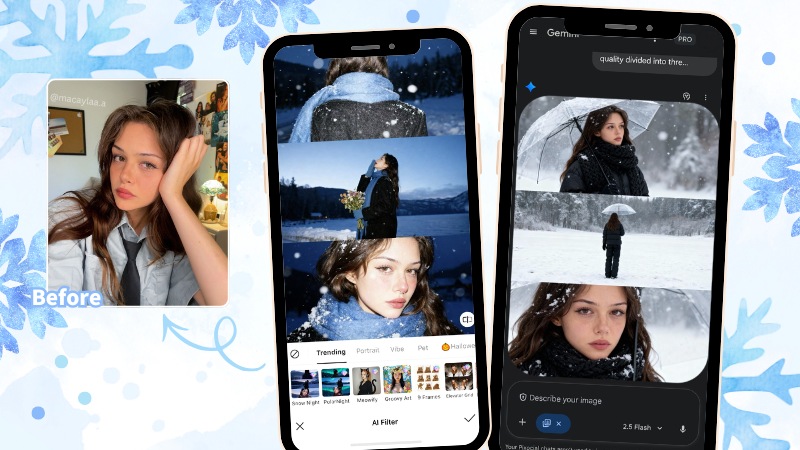
AI Snow Trend: How to Create AI Snow Photos?
Selfie Tips
Face Editing
11 Easy Halloween Makeup Ideas You Can Do Last Minute
AI Avatar
Recommend Posts
Tim Burton Filter: Transform Yourself into a Tim Burton Character
Recommend Posts
AI Halloween Trend: Best Halloween Prompts and Free Filters
Retouch & Makeup
Instagram Trends
Recommend Posts
Top 10 Halloween PFP Ideas Flex Your Unique Vibe 2025
Photo Editing
View All
Instagram Trends
How To Add Temperature to Instagram Story (2026 Guide)
Influencer Hacks
How To Remove Text from Video in Three Simple Ways
Recommend Posts
Instagram Trends
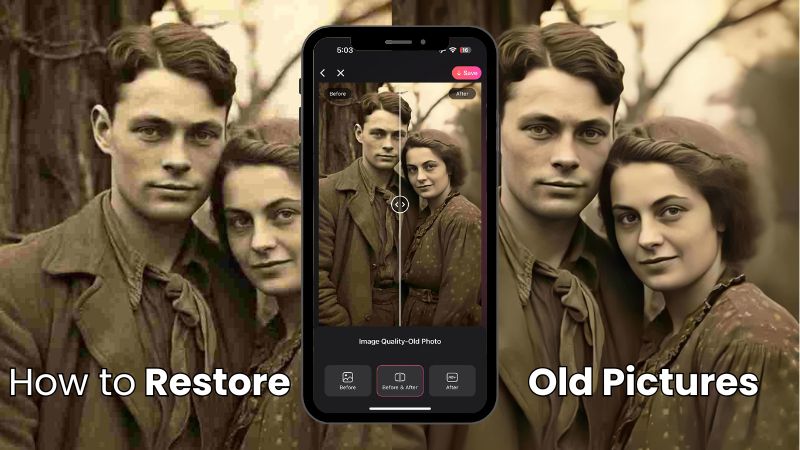
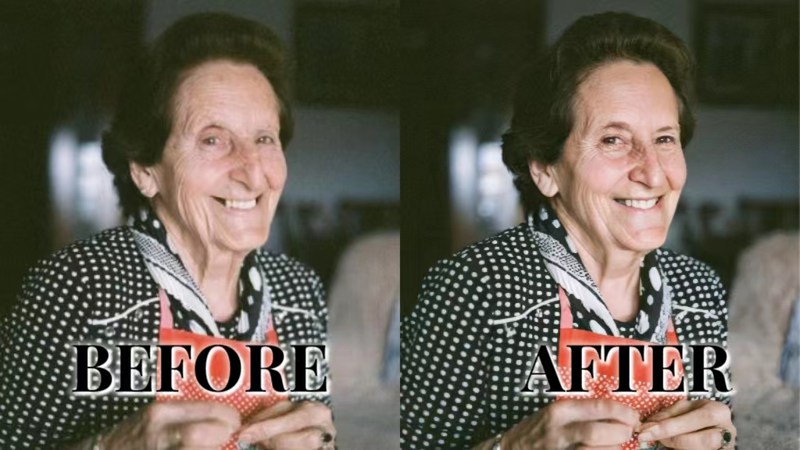
How To Restore Old Photos And Revive Their Original Charm
iPhone Photo Editing
How to Remove Background from Picture on iPhone ?3 Ways!
iPhone Photo Editing
How to Remove a Person from a Photo on iPhone?
Instagram Trends
Recommend Posts
7 AI Image Extender Tools to Expand Images Online for Free 2026
Holiday Vibes
Snow Overlay: How Can I Add Snow to a Photo?
Recommend Posts
How to Add Santa Hat to Photo Easily
Video Editing
View All
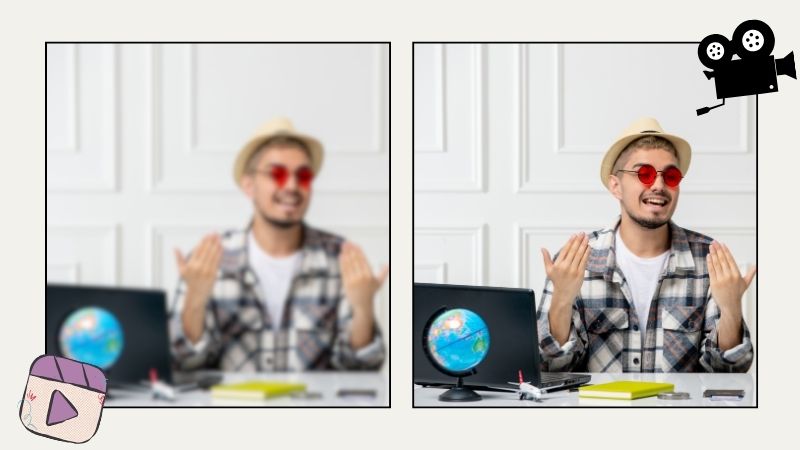
How to Fix Pixelated Video: Problems and Solutions
Recommend Posts
How to Combine Videos on iPhone Easily and Swiftly
Recommend Posts
How to Unblur A Video Online to Enhance the Quality
Instagram Trends
Recommend Posts
Does AI Improve Video Quality Better Than Manual Editors?
Recommend Posts
Instagram Trends
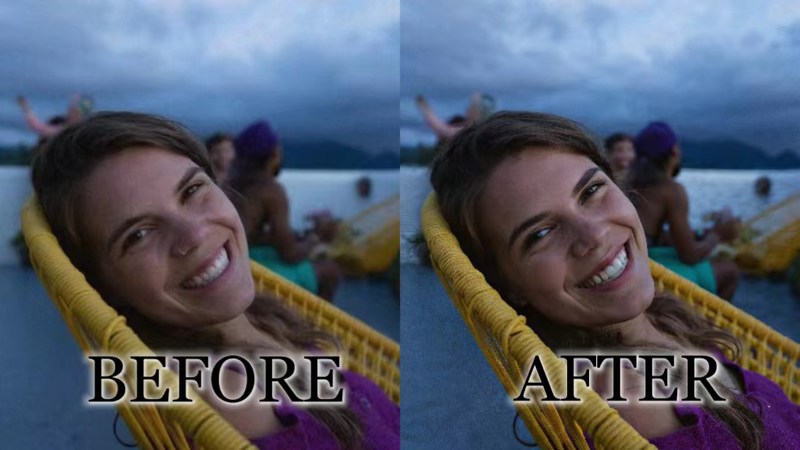
Upscale Video to 4K Quality for Better Visual Experience
Influencer Hacks
Video Quality Enhancer: From Standard Definition to HD
Recommend Posts
The Best Way to Enhance Video Resolution Online
Recommend Posts
8 Best Free AI Video Enhancer Tools to Improve Video Quality