

How to Take a Photo on MacBook: 3 Easy Ways
If you want an example of masterful marketing, then look no further than Apple. According to MacRumors, the brand has a massive global market with over 2.35 billion active devices as of 2025, and with that big of a global user base, it is but natural that anything Apple puts out every year is going to be bought out quickly but navigating them takes time. If you’re someone who needs help figuring out how to take a photo on MacBook, try these 3 simple methods.
How to Take a Photo on MacBook
There is a built-in camera on MacBook, and there are several ways you can use it to take photos without having to upload images using an external device. Having to snap a photo on your phone or digital camera, connecting your device to your Mac, and then waiting for them to upload are 3 steps too many, and unnecessary once you know how to take a photo on Macbook. The following are 3 methods you can use when figuring out how to take a picture on a Mac.
Method 1: Take a Photo With Apple Photo Booth App
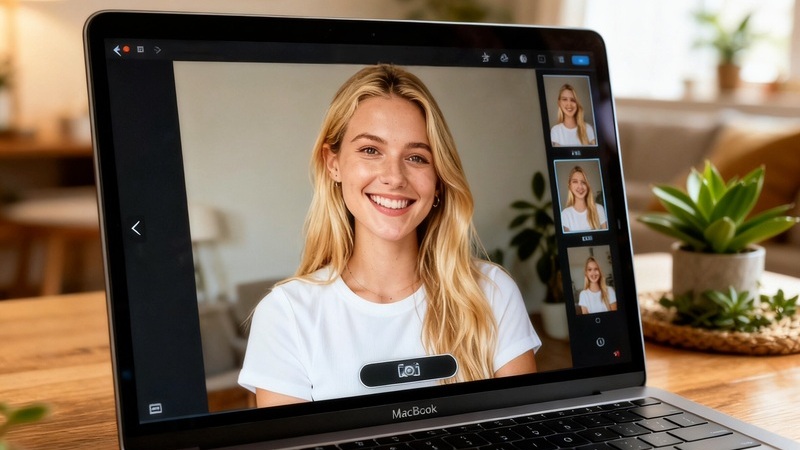
The first option is the standard option, using the method already in place. Photo Booth is the built-in camera app on every MacBook, which you can access in a few simple steps. It even allows users to add fun effects to their photos for an added whimsical touch. Here is how to take a photo on MacBook using the standard Photo Booth app.
Step-by-Step Guide
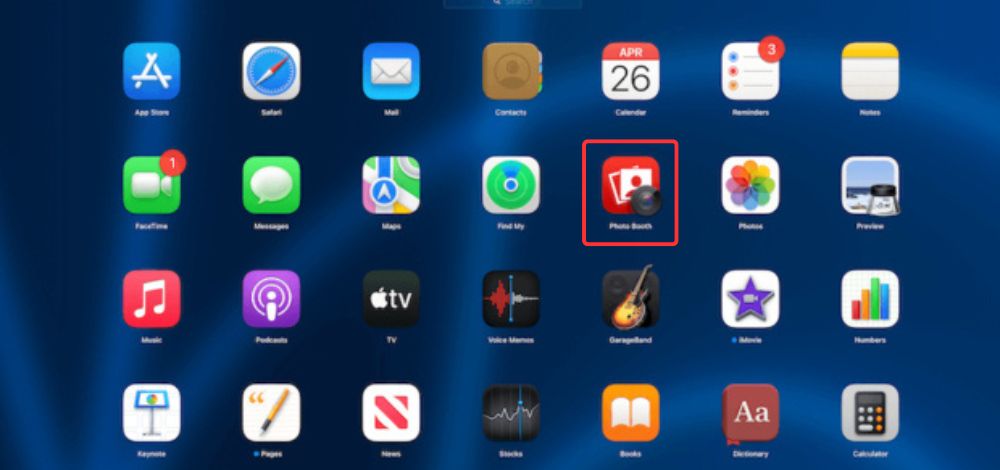
1. Open your MacBook and then open “Photo Booth” from Applications. You could even search via Spotlight using the shortcut Cmd + Space.
2. Once you’ve opened Photo Booth, make sure your MacBook’s camera light turns on, which indicates the photo booth camera is active.
3. Select the “Photo Mode”. You can try taking a single photo or do a 4-photo burst shot.

4. Next, click the red camera button on your screen to capture your photo/photos.
5. Once you’re done, your photo or photos will appear in the Photo Booth gallery.
Uses for Photo Booth:
- Quick selfies
- Fun, creative snapshots with filters and effects
Method 2: Beautyplus – Photo Booth Web
If you’re not open to using the built-in app, or want more freedom to edit your photos with stickers, frames, and filters, you could opt for a web tool such as BeautyPlus. Instead of trying to figure out how to take a photo on MacBook, you can skip the navigation altogether and try an online shortcut tool.
Step-by-Step Guide
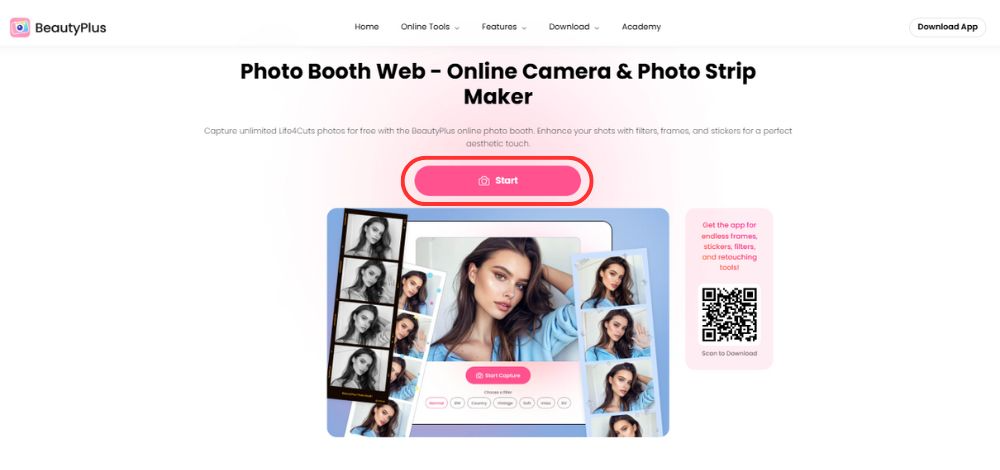
1. Visit the BeautyPlus Photo Booth.
2. Click “Start” and allow camera access when the web tool prompts you to.
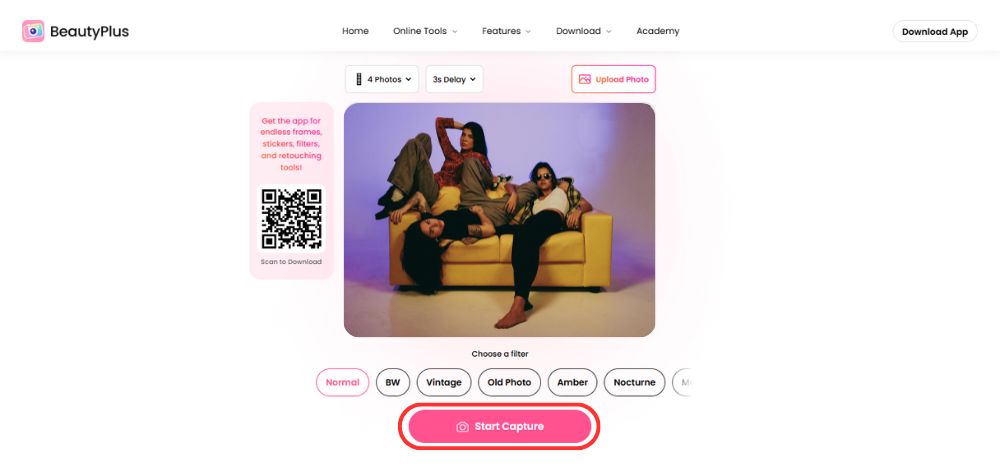
3. You can then select a picture mode, either choose a single photo or take multiple using the 4-picture mode for a series of shots. You can even alter the seconds of pause between each capture.
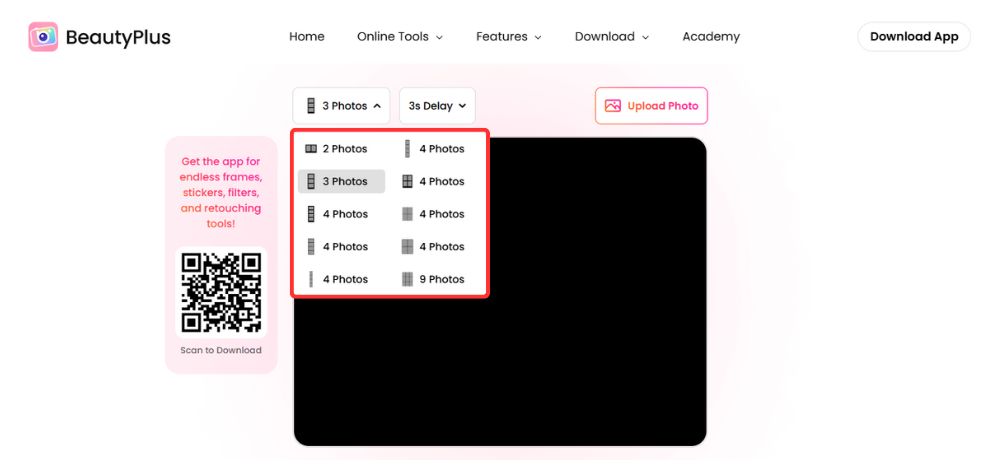
4. Click “Start Capture”, Pose, and wait for the camera shutter to close. You can try multiple poses for burst photos.
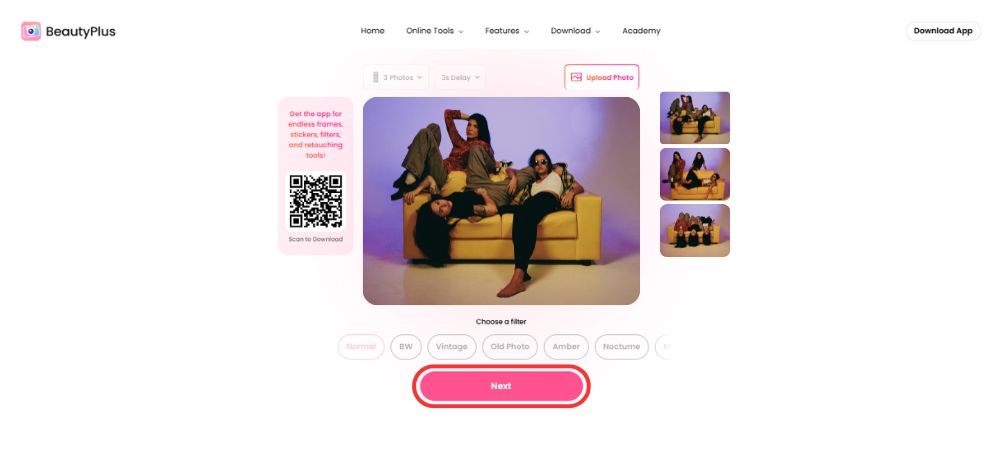
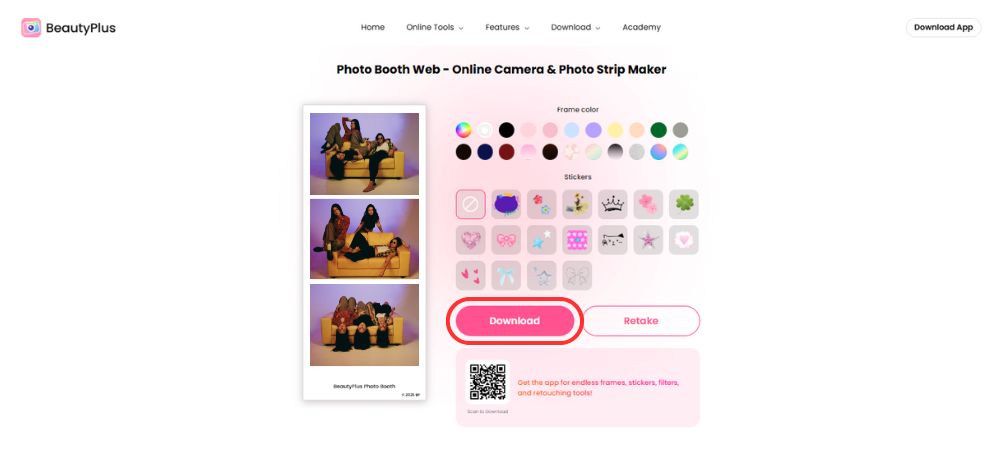
5. Click “Next” and apply stickers, frames, or filters to your photo.
6. Save your work to your MacBook by clicking “Download”.
Method 3: Take a Screenshot on MacBook
The final method is unconventional, but it still works if you want to try something different. Maybe you’re struggling to figure out how to use camera on MacBook, maybe your Photobooth camera shutter isn’t working or perhaps you don’t have the internet connection for a web tool.
Doesn’t matter, you can simply access the camera on your MacBook using the Photo Booth app. While it’s running you can take a screenshot of effectively capturing whatever you see on the screen which in this case is a preview of what the MacBook camera sees. Here is how to take a photo on MacBook using the screenshot feature.
Step-by-Step Guide
1. To capture the entire screen, simply press Shift + Command + 3, and it’ll capture the entirety of your screen.

2. To capture a portion of your screen, press Shift + Command + 4, and drag the cursor to select the area you want captured in your screenshot.

3. Either method will result in your screenshot being saved to your desktop.
Bottom line
The MacBook is a versatile tool. It comes packed with an intuitive and secure OS, efficient Apple chips, and a high-end aesthetic that gives its competitors a run for their money, but what makes it a great user experience is the flexibility it offers its users on the most basic of functions. With the built-in camera, users are no longer reliant on multiple devices for their photo-taking needs because not only do they have a great camera, they have multiple ways to use it whether that’s through the Photo Booth app, screenshots, or effective third-party tools like BeautyPlus.
FAQ
Simply follow this sequence of steps. Open System Settings > Privacy & Security > Camera. You can then select which apps can use your camera.
Yes, the MacBook does have a camera app known as PhotoBooth, and it is available in Applications.
You can find it in the Applications folder or search with spotlight using the shortcut cmd + space.