
How to Add Speech Bubble to Photo?

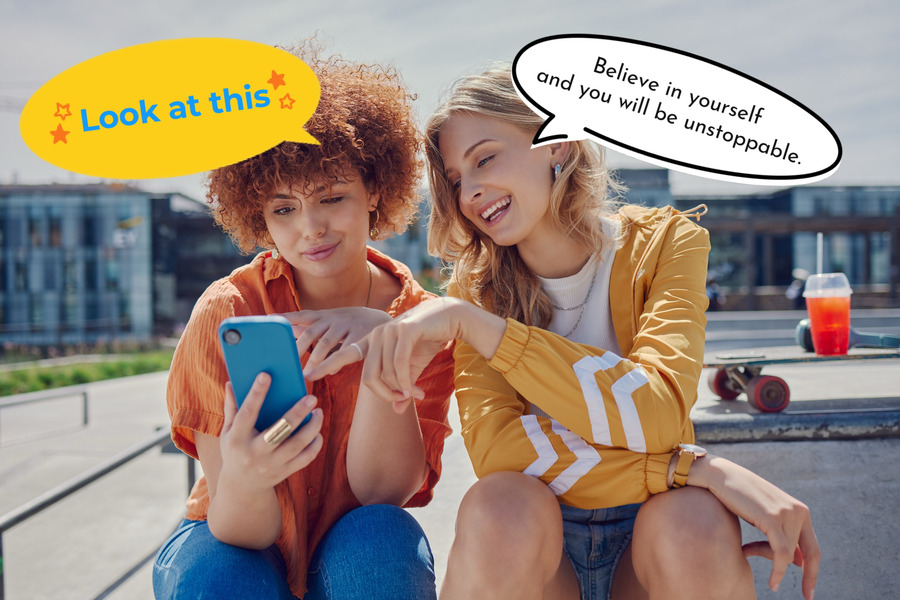
Meme pages on Instagram have all the momentum these days. They’re popular, they’re fun, and they make our day a little better. What’s not to love? A trend you might see quite a bit is them using speech bubbles on their photos. It could be a political commentary, it could be light humour, it could be a comic, anything, but the speech bubbles just add a creative flair to the point (or the punchline) you’re trying to make. If you’re someone who’s looking to start a meme page using a speech bubble meme generator, add thought bubble to photo to make fun greeting cards, or start a comic of your own, you’re on the right track. Speech bubbles are a great way to keep your audience engaged. Don’t know how to do it? Don’t worry! This is your go-to guide on how to add speech bubble to photo online.
How to Add Speech Bubble to Photo?
Like many of the tools these days, you can easily find great tools online to add text bubble to photo. Some of these tools work better than others. A spectacular beginner-friendly option is the BeautyPlus App. It is an all-in-one editing app that does a whole lot more than just filters. You can find a plethora of editing options on the BeautyPlus dashboard. One of these features is the “Add Text” feature, which you can use to add any text to any photo in the format of your choosing, and, yes, that includes adding text as thought bubbles. Here is how you go about it.

Step-by-Step Guide to Add Speech Bubble to Photo
1. Start by downloading the BeautyPlus App, available for both Android and iOS.
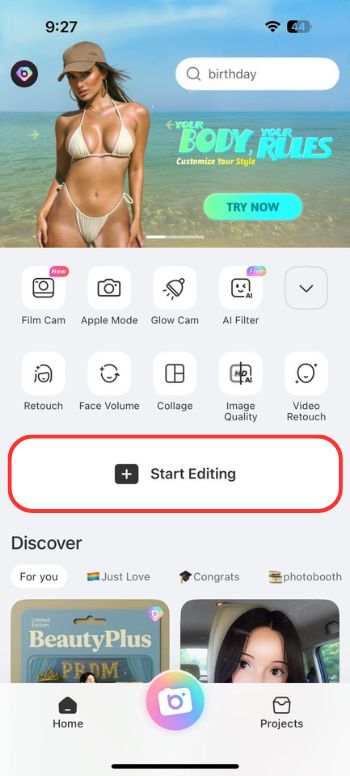
2. Go ahead and open the app. You’ll be greeted by a very fun, very engaging dashboard. Below the options, you’ll find a button that says “Start Editing” go ahead and tap it.
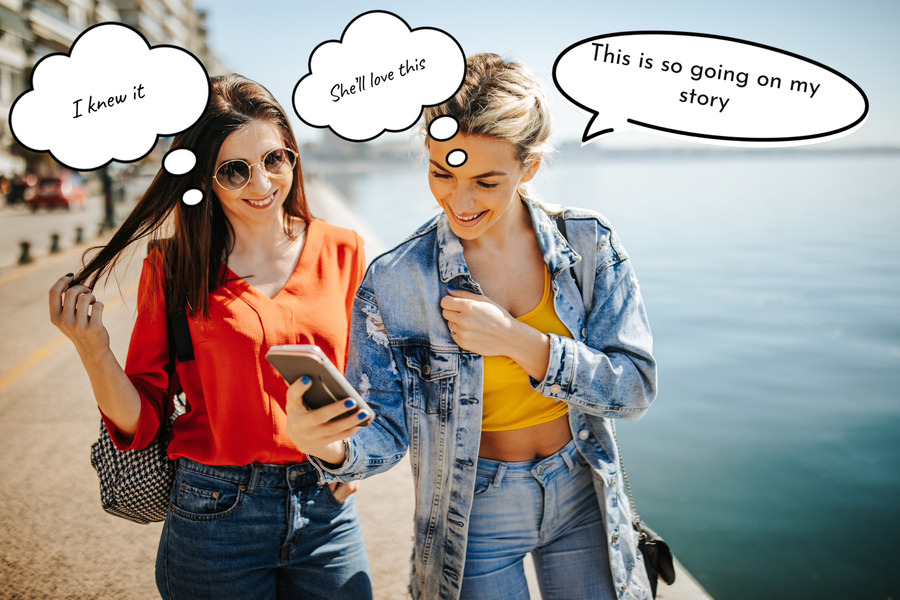
3. You’ll be asked to select a photo from your gallery. Pick the one you want to add the speech bubble to.
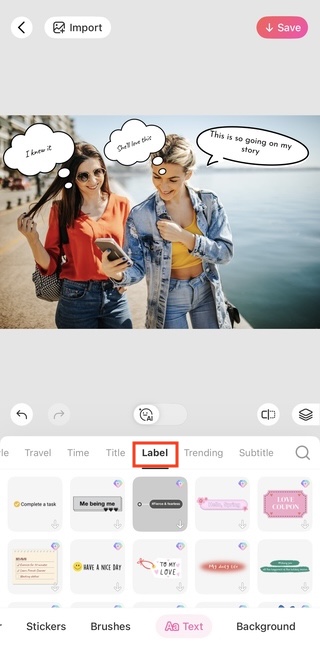
4. Now, scroll through the list of options you have at the bottom of your screen. You’ll find an option that says ‘Text’.
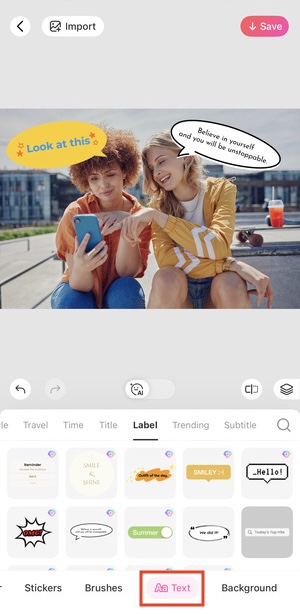
5. Tap the option that says “label.” You’ll find a bunch of options for speech bubbles. Pick the one you like.
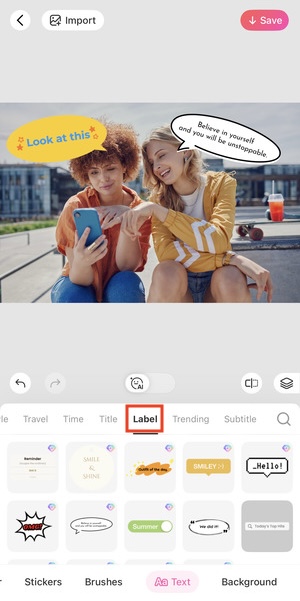
6. Edit the text in the bubble, adjust the size and position on the screen.
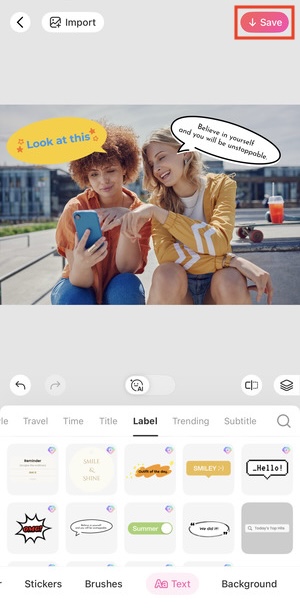
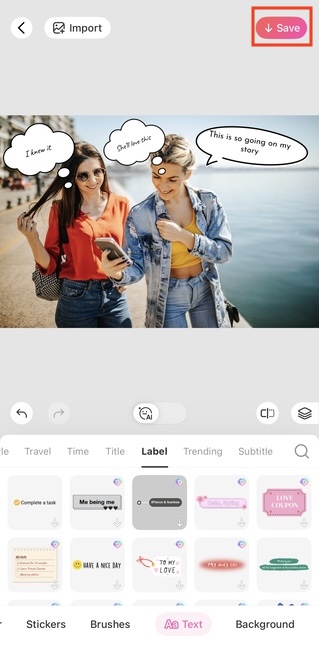
7. Once you’re happy with the result, just download the picture to save it to the gallery.
Step-by-Step Guide to Add Thought Bubble to Photo

1. Go ahead and open the app. You’ll be greeted by a very fun, very engaging dashboard.
2. Below the options you’ll find a button that says “Start Editing” go ahead and tap it.

3. You’ll be asked to select a photo from your gallery. Pick the one you want to add the speech bubble to.
4. Now, scroll through the list of options you have at the bottom of your screen. You’ll find an option that says ‘Text’.
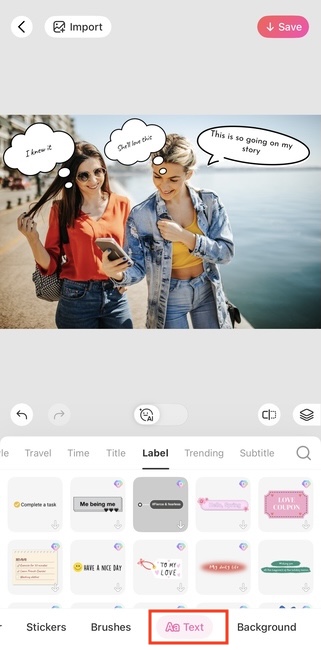
5. Tap the option that says “label”. You’ll find a bunch of options for thought bubbles. Pick the one you like.
6. Edit the text in the bubble, adjust the size and position on the screen.
7. Once you’re happy with the result, just download the picture to save it to the gallery.
How to Add A Speech Bubble to A Photo on iPhone?
If you have an iPhone, you’re in luck, because the iPhone comes with built-in features to add thought or speech bubbles to your photos. Just use the iPhone Markup to add fun edits or, in this case, speech or thought bubbles to your photos.
1. Open the Photos app and scroll through your gallery until you find the picture you want to edit.
2. Tap Edit at the bottom of the screen.
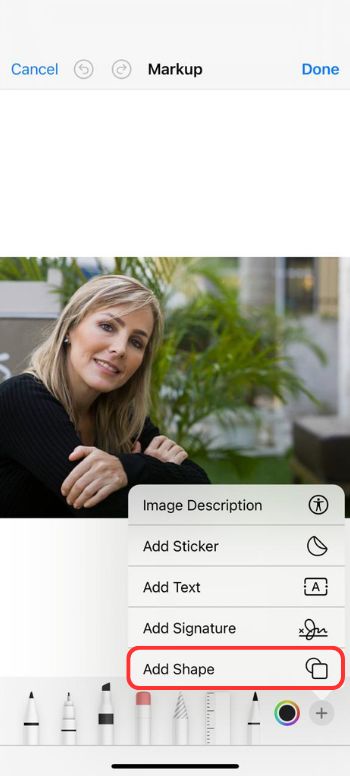
3. Then tap the ‘Markup’ icon, it’s shaped like a pen tip inside a circle.
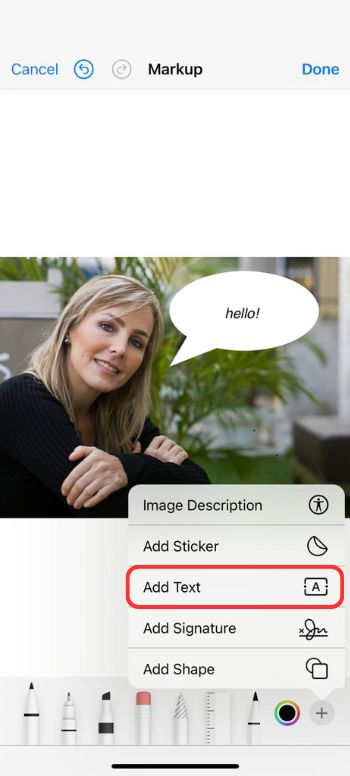
4. Tap the + icon and select Shape.
5. Out of all the shapes, scroll until you find the speech bubble.
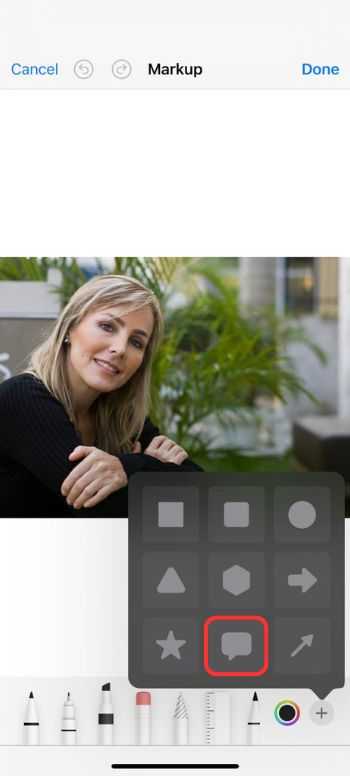
6. You can resize and position the bubble however you want on the photo.
7. Next tap Text in the button to add words in the bubble.
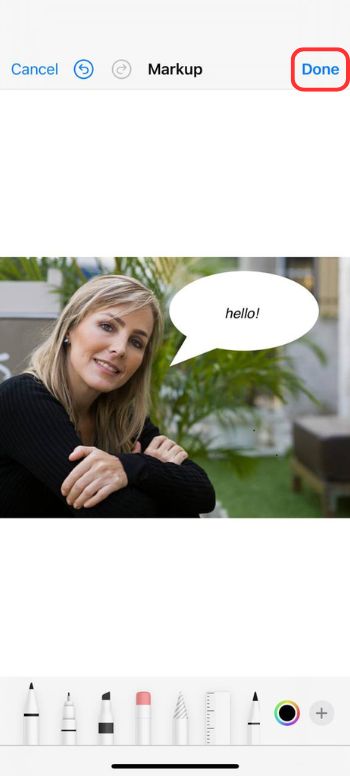
8. Tap ‘Done’ to save your photo
How to Add a Speech Bubble to a Photo Online?
If you don’t have the access to use your phone, or don’t feel like using a thought bubble generator app. you can use online platforms like PhraseIt. Here are step-by-step instructions on how to use it.
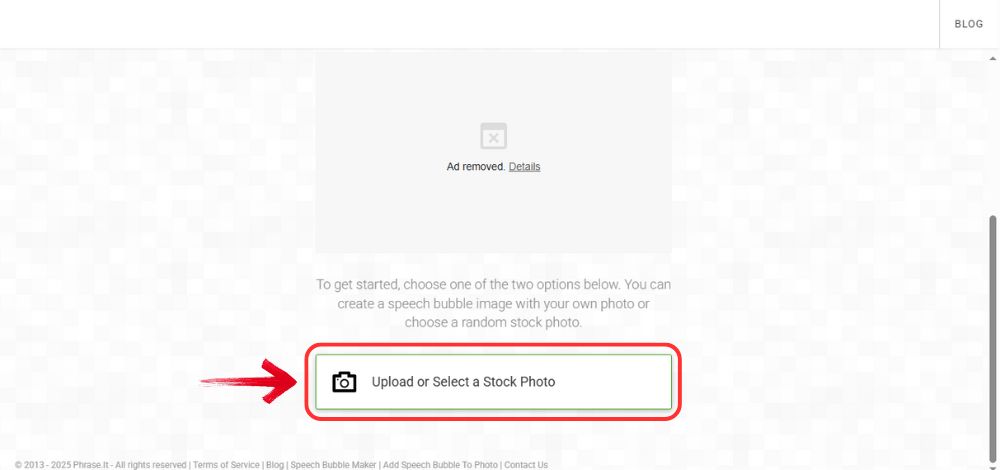
1. On your search engine of choice, look up phraseit.net.
2. Click the Upload button, to upload an image and select your photo from your computer gallery.
3. Now click “Bubble”, which you should find on top left. Then choose any type of speech bubble.
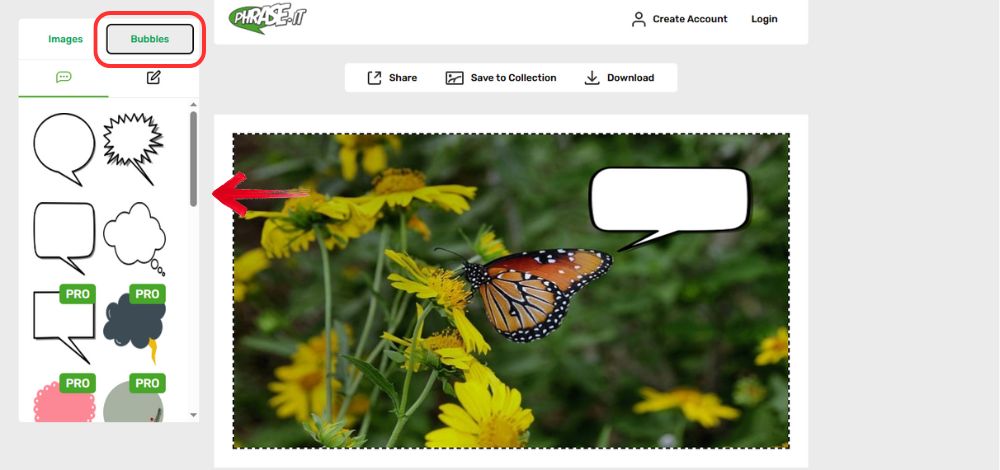
4. You can adjust the size and drag the bubble onto your image.
5. Next, type in your text into the bubble.
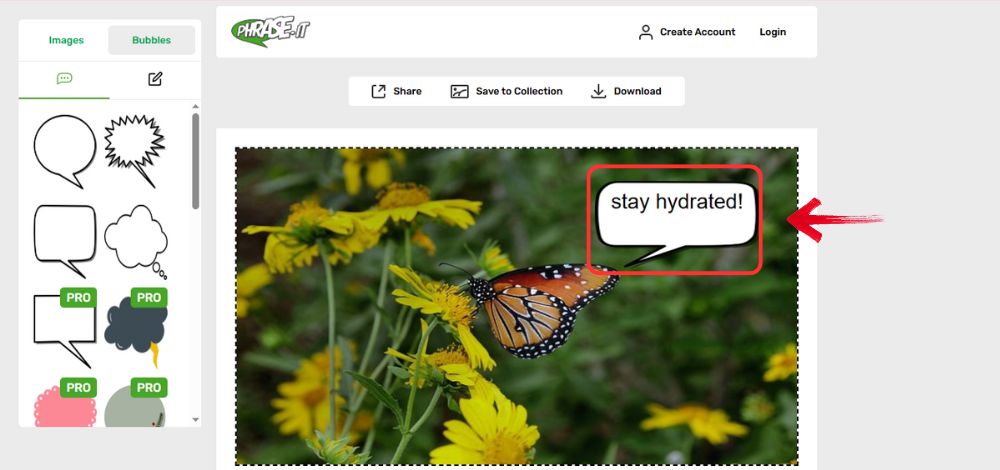
6. Use the tools to resize, rotate, or move the bubble if you so wish.
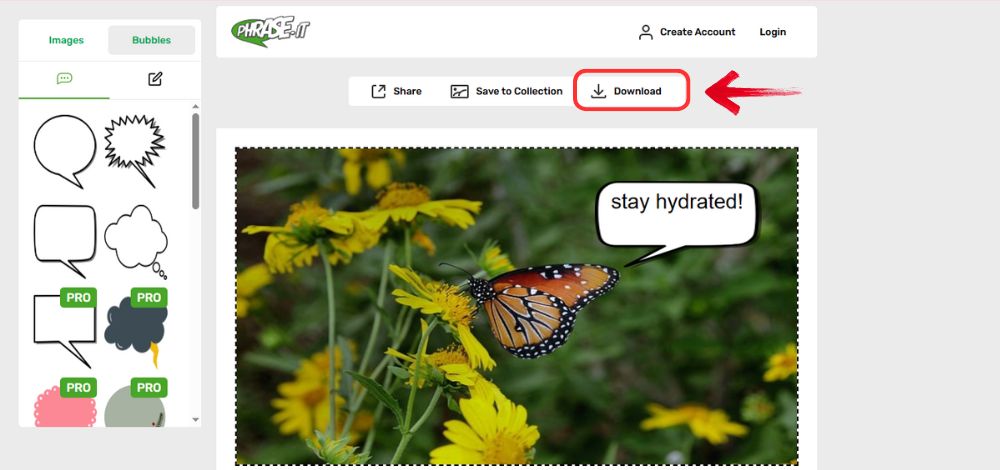
7. Once you’re happy with the result, click Download Image to save the image onto your computer.
Bottom line
Whether you’re using apps like BeautyPlus or online tools like PhraseIt to make your text bubble memes, one thing is certain. They spark joy and awe in anyone who views them. Be it for your comic, your meme page, or maybe even an editorial column, story-telling through speech bubbles is an art form. It’s witty, it’s fun, and now, thanks to BeautyPlus it is all the more accessible. With its intuitive interface, simplicity, and expansive editing options, BeautyPlus is sure to help you achieve hassle-free edits with just a few taps.