


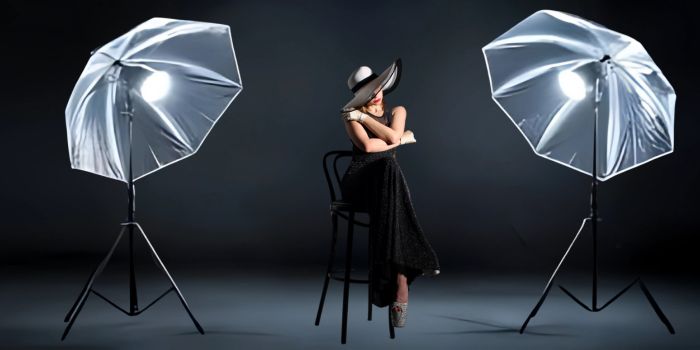
11 DIY Photography Lighting Ideas At Home

Photography is no child’s play; there’s so much to it and a lot goes into clicking a good picture. One of the major factors to consider is lighting when you are about to do photography. And when you are at home, you are limited in many ways to click the perfect picture, whether it is product photography or you’re just taking a photo of yourself to upload on social media. Yes, it is hard getting the lighting right, but with a few DIY photography lighting ideas, you must be able to create the perfect lighting for your photography at home.
11 Ideas for DIY Photography Lighting At Home
Sunlight
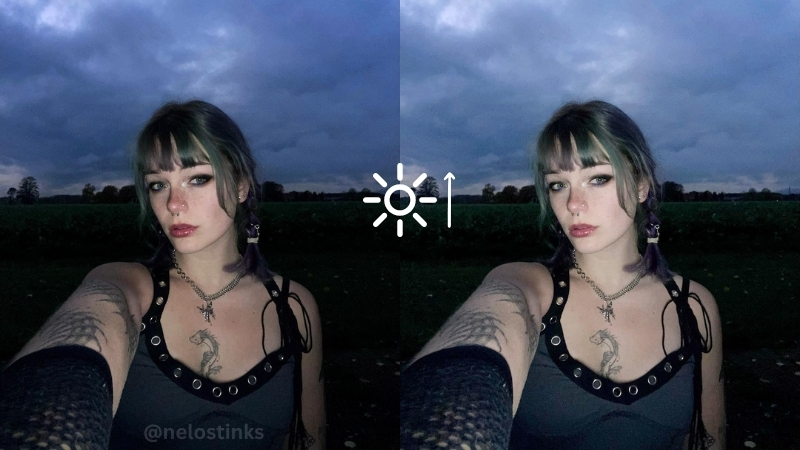
The sun is your best friend when it comes to taking pictures. Too much sun can make your pictures too bright, ultimately ruining the picture and the same goes for a cloudy day when the sunshine isn’t very bright. You need to work around the sun’s natural light. Find a place in your house where the sun perfectly shines through. If you want to do product photography, you can have your setup laid there or you could pose near the window opposite to where the sun shines so the light directly falls on you for the best facial lighting.

Clothes
Clothes and background are often underestimated when we are talking about taking good photos. Do you know how white ghosts (often in cartoons) emit light, while dark entities absorb light? You can play around with your clothes similarly. Of course, you will not create the paranormal effect, but it can help you direct the light exactly where you want it to be or how bright you want your pictures to be.
A Foam Core Board
Often in product photographs, you may have noticed a sheet reflecting the light towards the object. Usually the color white helps with reflecting the light, so if you are doing product photography or even taking a picture of yourself, having a simple foam core board placed at a certain angle to reflect the light in your direction can help you achieve the perfect DIY lighting for your photography.
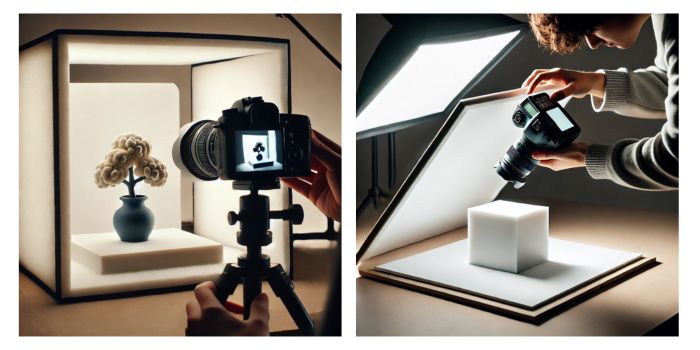
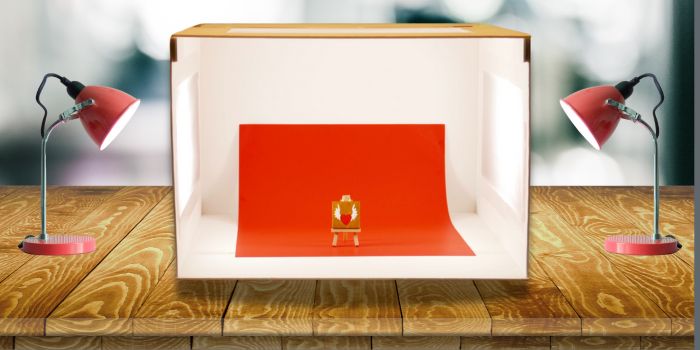
DIY A Light Box
This hack is particularly very useful when it comes to product photography where you need a clean, neat, and solid background. Essentially, what you do is you take a cardboard box and you paste white paper all around it. The box has a single opening, where the camera faces and you put your object facing the camera. This way the object has a uniform, 3D white background, perfect for product display.
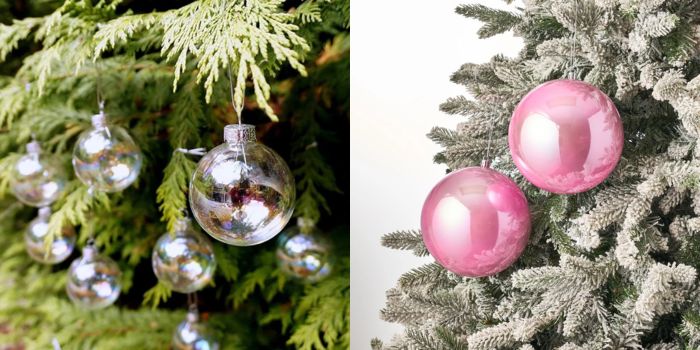
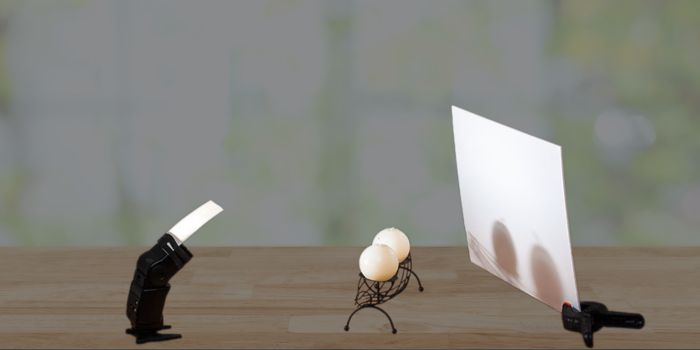
Christmas Ornament Balls
Oftentimes the natural light that you get from the sun is so much better than the expensive lighting equipment that is designed for photographs. But at times when you aren’t able to form a placement in your home where direct natural light falls to your frame, you may want to utilize the light in a different way. Christmas ornament balls are often great for capturing the natural light and then directing it to your object.
A White Paper
You can’t go wrong with a white paper. It will act as a solid white wall to your product in your photography, you can also use it as flooring. White paper is incredibly versatile to help you control the lighting of your photos.
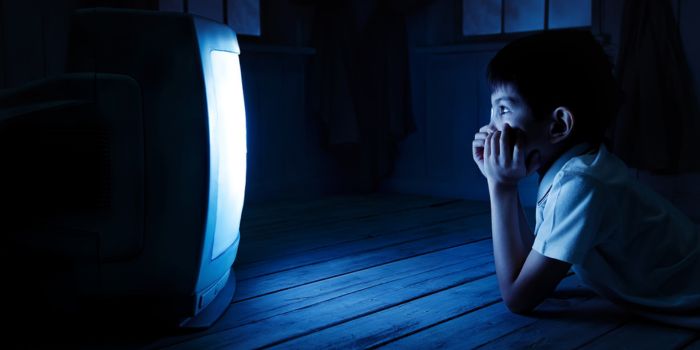
A Television
When there still isn’t enough light, you can always turn your television on, and it will emit the blue light that you can use in your photos. TV light is often the best to create that dim mood in the photos.
Aluminum foil
Silver reflectors can be pretty expensive to get but an aluminum foil doesn’t cost all that much. You smooth out the wrinkles of the aluminum sheet and use that as a silver reflector to reflect light so it directs to the frame of whatever you are capturing the picture of.
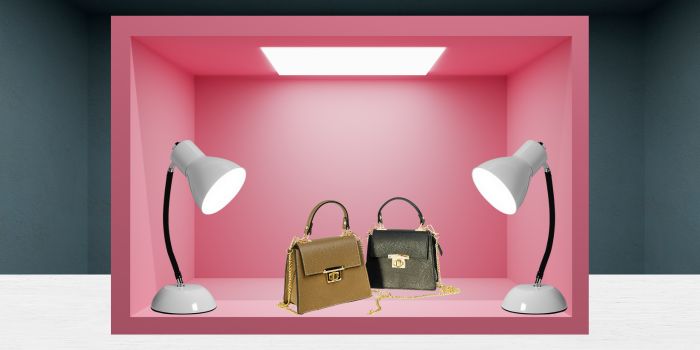
Lamps
With the help of lamps you have at your house you can create a 3-point lighting. In three-point lighting, light is directed to the object from three different angles, so no sharp shadows are formed and you can have consistent lighting for your object. Place one lamp behind the object and two in front but on opposite sides of the camera.
A Flashlight
The flashlight of your phone is very underestimated when it comes to product photography at home. You can use a separate phone, from the one you are taking pictures with and direct the flashlight directly on the object of your photography or place light from below your face to get the perfect picture.
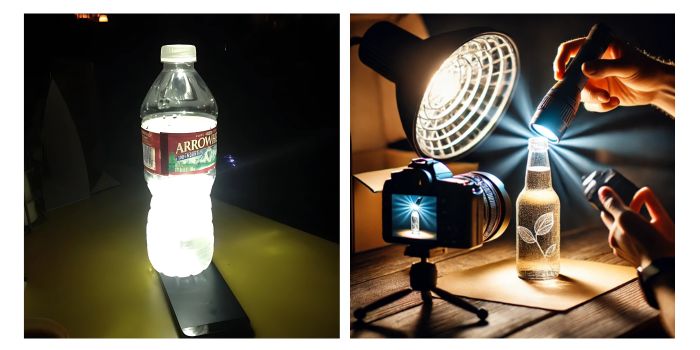
A Transparent Bottle Filled With Water
A transparent plastic water bottle can act as a light bulb giving you the perfect lighting for your photos. All you have to do is place a flashlight below the bottle
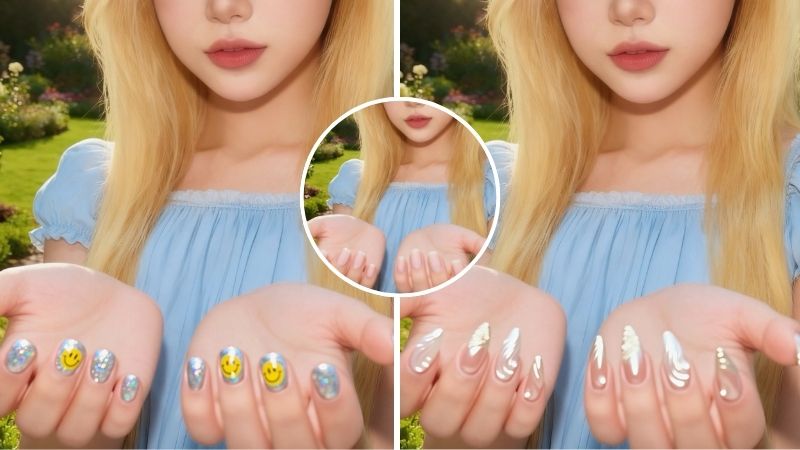
How To Use The Selfie Glow Cam To Diy Photography Lighting
BeautyPlus Glow Cam
You know how BeautyPlus has one of the most phenomenal beautifying tools that doesn’t just allow you to control your appearance on camera, but you can do so much more now? It’s the best camera app for Android and the best selfie app for photo editing features that have evolved over time and you can create some exceptional art pieces with the help of BeautyPlus. Its Glow Cam deserves all the attention as you are able to adjust lighting and the mood of your pictures in real-time. This is how you can use the BeautyPlus Glow Cam for photography.

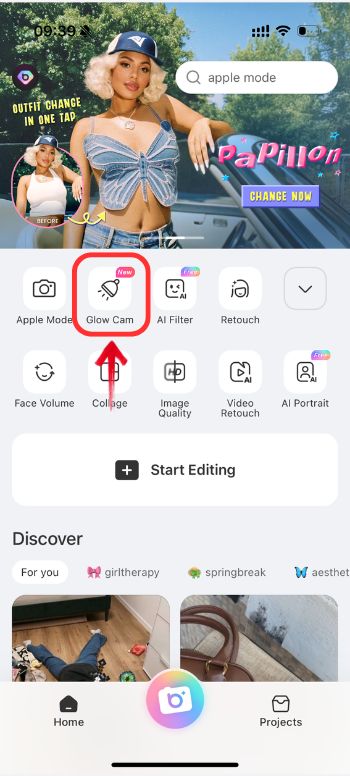
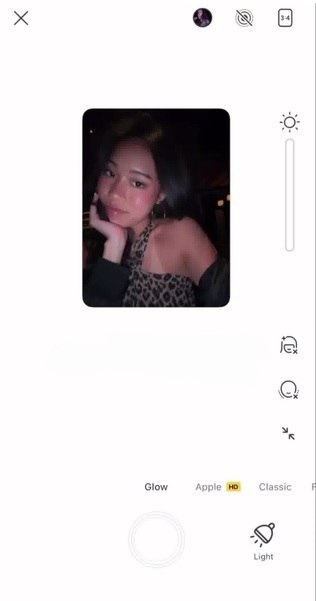
1. Open the BeautyPlus app on your device and if you do not have it installed yet, quickly install it, it is both compatible with iOS devices and Android.
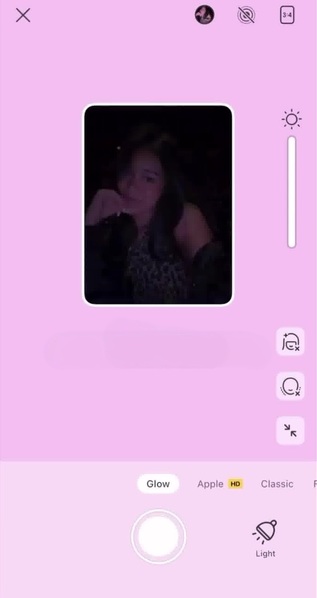
2. At the homepage, you will notice features offered by BeautyPlus. Choose “Glow Cam” by tapping it.
3. A camera will appear with multiple color options to choose from below. By selecting a color, the chosen hue will be displayed on the screen, casting its light onto your face to create your desired lighting effect. Tap on the color you want to apply.
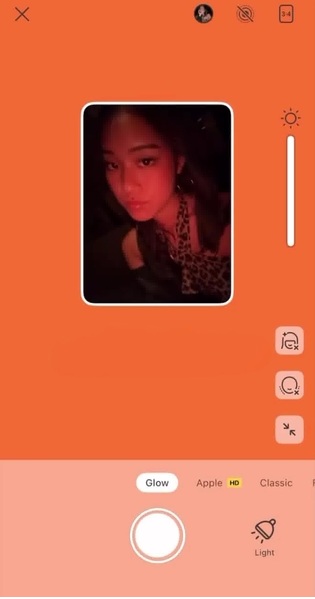
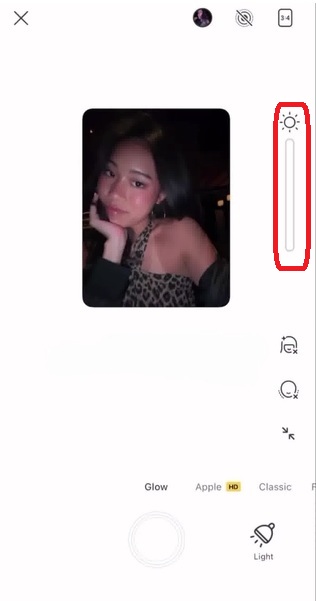
4. You can change the degree of brightness of the light colors by dragging through the brightness scale which is placed to the right.
5. You can adjust the beautifying features by tapping the “Beautify” option on the right side of the screen.
6. Tap on the Reshape icon or Zoom icon on the right side of the screen to subtly enhance facial features or adjust framings.

Bottom Line
If you have a knack for photography, you will quickly get the hang of it, because as all great photographers say, ‘angles and lighting’ are the most important factors in photography. It takes time to excel at anything, and you need to give yourself the time to become a pro in your photography journey.
![Free Camera Apps for iPhone that Take High-Quality, Beautiful Photos [2024 Latest and Recommended]](https://www.beautyplus.com/wp-content/uploads/2024/08/iphone-mode-cover-photo-3.jpg)